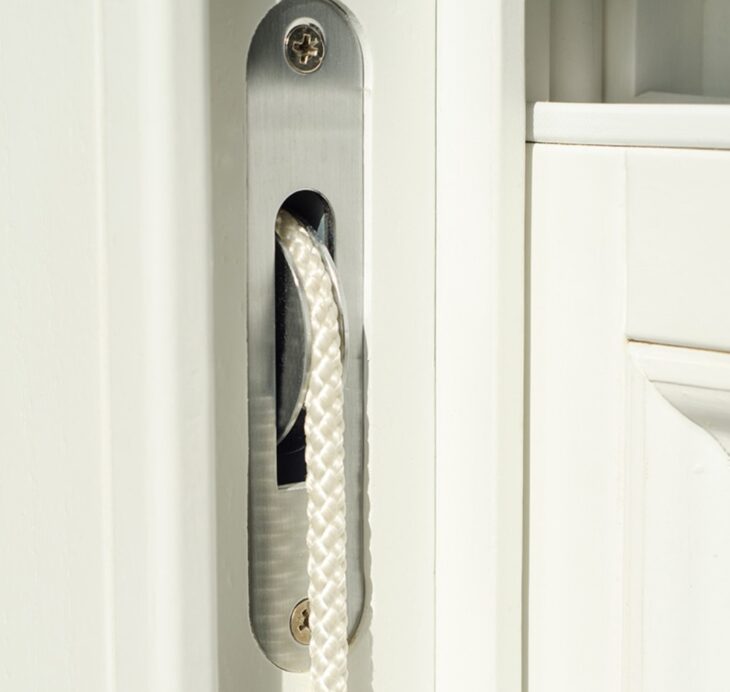
The main functionality of a glass unit is hidden behind a window sash. The cord is wound on a working pulley and attached to a metal counterweight. The weight increases the pulley force, and the window panel itself becomes much lighter.
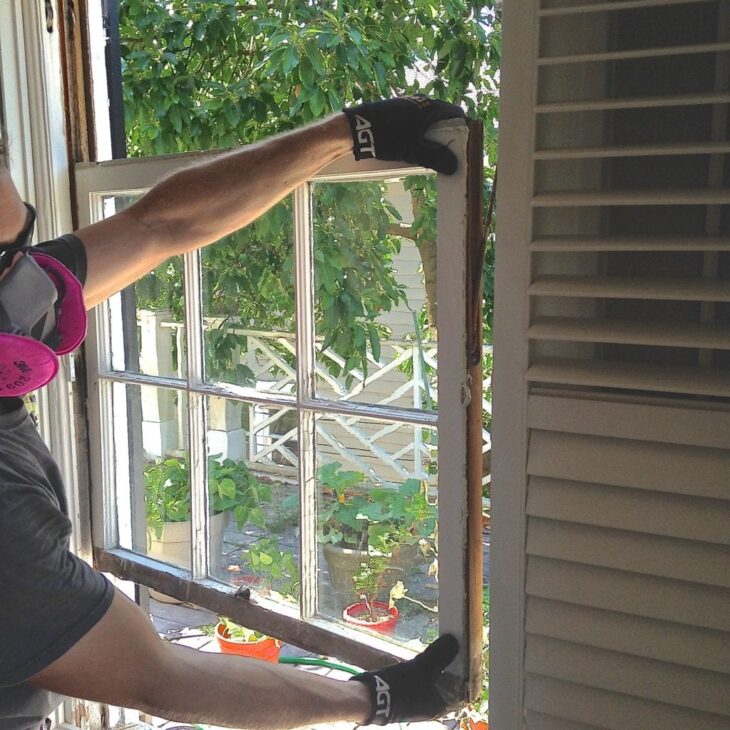
One of the common problems leading to the need for repairs is broken cords and damaged boards. If it breaks, you need to remove the sash one for windows to replace it. At the same time, it is recommended to replace both cords, because if one of them is out of order, it is likely that soon the same will happen with the second one.
Manufacturers choose hemp (waxed or not waxed) or synthetic fibres as cord material. Before choosing a new item, pay attention to its diameter, it should be the same as the old one.
Sash cords can be purchased in packaged and are long enough to suit various types of windows. If you are afraid that it may not be long enough, measure the distance from the top of the sash to the windowsill. The cord should be two-thirds larger than the number you get. For repair work, you need two such segments for the upper and lower sashes, but you shouldn’t cut the cord in advance.

Source: The Craftsman Blog
Preparation
When removing both sashes at the same time, remember to note the weight of the counterweights. This will tell you how much weight is needed for the outer and inner sashes. Visually, they may look the same, but if installed incorrectly, the windows will not work properly.
For the sash window cord repair, the lower sash must be removed from the glass unit. While if you repair the upper cord, you will need to first remove the lower and then the upper sash. When this step is complete, remove both beads installed on the inside of the frame. To avoid damaging the corners, start at the center of the beads. Next, use a hammer to put the chisel into the joint. The bead, lifted from the middle, allows the remainder to easily come off the frame. It can be pulled out of the beveled corners.

Source: YORD – Windows & Doors
How to fix sash it?
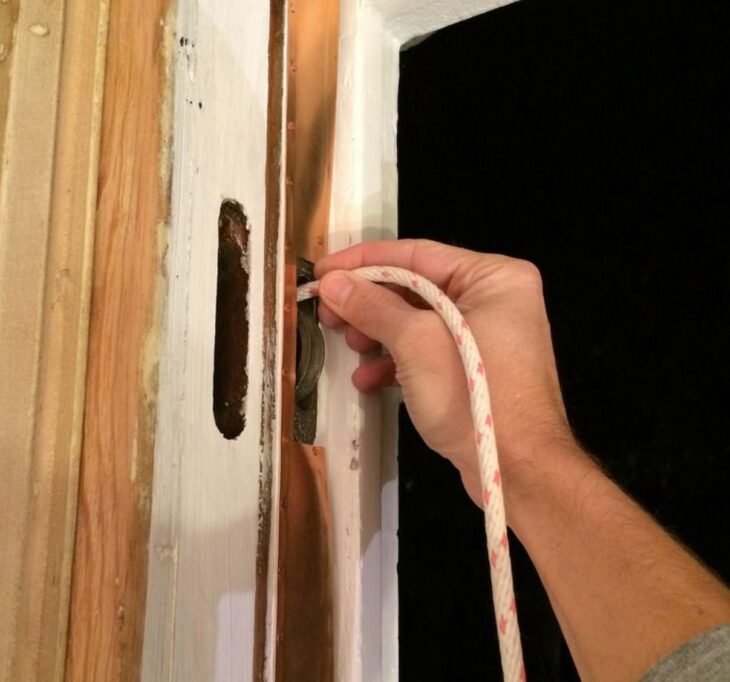
The cords can be tied around the pulley. This will make it easy to place the new cord. Now all that remains is to deal with the old cord by carefully lowering the weight to the bottom of the window. Don’t forget to raise the bottom sash when placing it on a table or workbench. Pull out the cord from both sides and use the pliers to remove the nails used for securing.
The spacer beads must be squeezed out of the grooves. They can be built-in, but you can screw or drive them in. Gently lift the top sash when replacing all cords, or leave it in its current position. All that remains is to cut the cords and pull them out of the window.
The pocket cover on both sides of the frame must be removed using a chisel. Such covers can be simply inserted into the glass unit or can be secured with screws or nails, which must be removed. Now take out the weights and pull out the old cords. If you have connected pieces of strings together, leave them on the pulley, but one end should be in the pocket.

Source: Pinterest
Replacing Them
If at this stage both sashes have already been removed, they should be replaced starting from the upper sash, after which it must be installed in the frame. Next, repeat these steps for the lower sash. Tie a figure-eight knot on the cord to prevent the weight from sliding off. Measure about 75mm from the end of it and loop at this point. Wrap the bottom of it around the back to make the knot. Put the cord forward and through the loop. Then follow these step-by-step instructions.
- In the place where the cord breaks, attach a screw or nail (about 50 mm) and then insert it into the hole located on top of the pulley. Pull the cord through the connector so it will be in the weight hold. This way you can easily remove it.
- The ends of it will hang from the pulleys. A new cord must be tied tightly to them. Each should be pulled through the pulley to enter the lower weight compartment and through the pocket.
- Remove the old one and thread the cord through the hole at the top of the weight. It must be tied with a stopper knot. The end of the cord is placed into the recess of the weight, after which the weights are placed in the pockets, it remains to put the covers in place.
Before starting the restoration work on the lower sash, don’t forget about the dividing boards, if the upper sash cannot be removed.

Source: The Shed Magazine
Re-Hanging The Sash
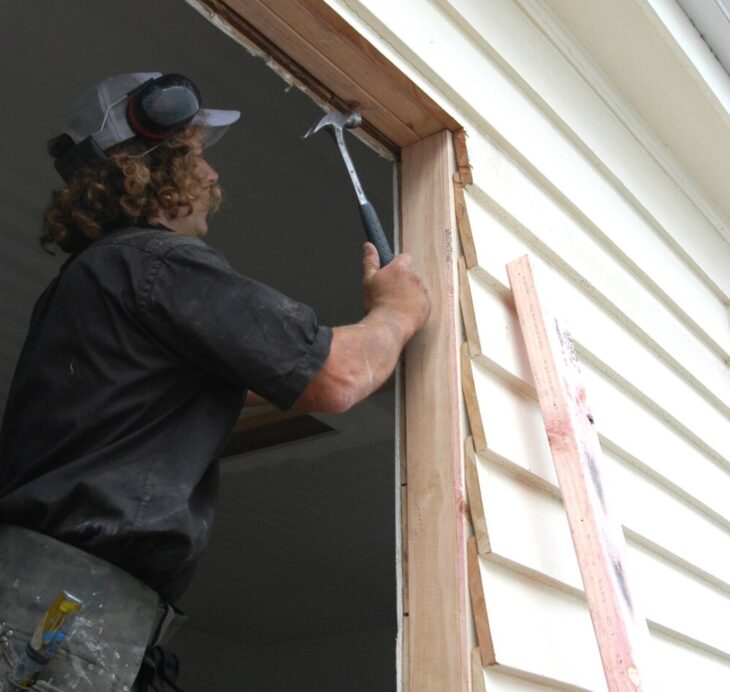
When the cords are replaced and all other steps are completed, you need to reassemble the window. The first step is to put the spacer beads back in their places. You can use a hammer to place them in the slots. If there is dust in the holes, it should be removed; use a screwdriver or chisel for this. In some windows, the beads are fastened with nails. They may have split during extraction, so you will need new ones. For this, measure the parameters of the window and cut new beads. Grind them so as not to damage the sash when returning to its place, and set to their original positions.
Place the lower sash on the windowsill. You will need help to lift the weights to the top position. To do this, your assistant must pull the cords. All you have to do is tie a small knot on the cords at the level of the holes. They are located on the side of the sash. Now you need to cut it, which is no longer needed. If the knot holes are damaged, use galvanized nails to help secure the cord while replacing the sash.
Return the beads to either side of the window. For this, use a hammer to place in 25 mm nails. Don’t block them completely. Check the operation of the sashes — they should move smoothly in the desired direction. You might also need bead adjustment.
When the window works as it should, it remains to hammer in the nails to the end. If during repairs the frame is damaged, use putty for wood. Only then you can paint the window. You can also contact the professionals who will repair the glass unit easily. Visit https://scottjameswindows.co.uk/sash-windows-repair-basildon/ to find out the cost to repair broken window sash cord.
