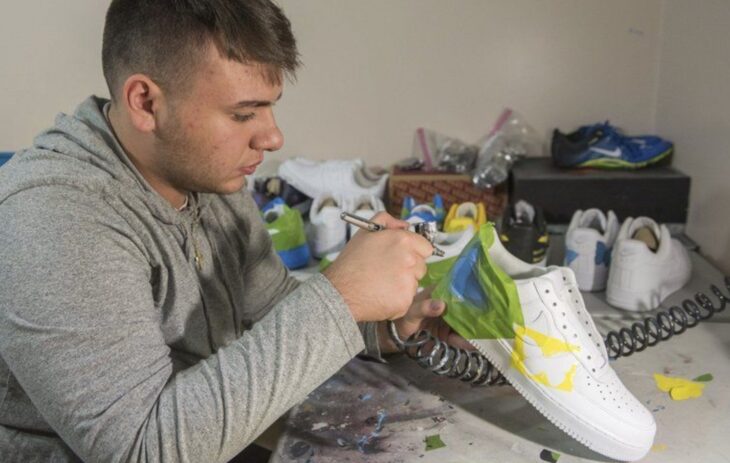
If you want to stand out from the crowd and be noticed everywhere you show up, you need to find a way to appear different than the rest. We know that they say there is no bad rep, but we suppose you want to be recognized for something good, right? Whether you are aware of it or not, what you wear affects how others see you immensely, and if you intend on presenting yourself in a different light, you need to have different wares. Considering how sneakers can make a difference, customization might be exactly what you need to make your point, so prepare to find how to customize your sneakers in 5 easy steps and draw the gazes wherever you set foot, literally.
Source: Salem News
Contents
1. Dare to Imagine
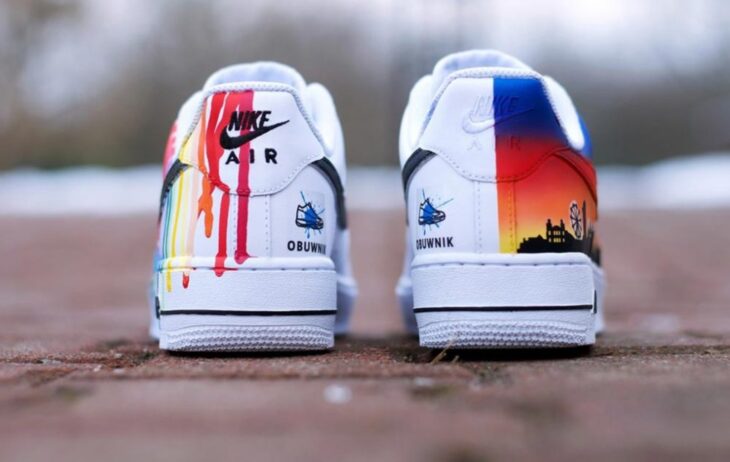
Originality is the core value that will always be recognized as one of the most affecting features whatever you might be doing. Namely, customizing your sneakers might be a means for you to present your artistic potential or to simply show that you are different. Thus, what you need to do primarily is to envisage how your future masterpiece shall look. You can either put it on the paper and write down the ideas or stick to the picture solely you know how looks, but the point is to know what you would need to make your thought become a part of reality. Thus, first, you imagine, then you materialize.
Source: Tarrago Brands
2. Plan
We know that a good plan makes the whole job halfway finished, so that leaves you the other half for the improvisation. Jokes aside, but what you need to do is think out how you will make your idea a reality. Namely, this section reminds you to make sure you have everything prepared for the modifications you want to implement. That implies you decide what materials you want to use and you know where to find them. Apart from acquiring materials, paint, and adequate tools like brushes, worry about the sneakers you are about to enhance. Picking the right model might be as important as the customization process itself, so make sure you choose one that would be capable of enduring everything you have in stock for it.
Source: Wallpaperflare
3. Testing, 1, 2, 3
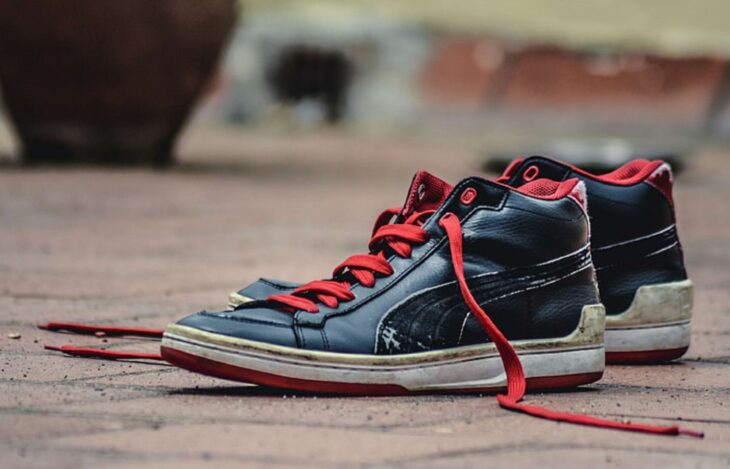
If this is your first time trying to customize your sneakers, then you should be aware of the fact that accidents happen. One way or another, you will end up with a hand-customized, one-of-a-kind pair of sneakers, but the point is to make them as similar to the design you have envisaged as possible. Particularly for that reason, you should consider testing out your plan before you begin working on the real deal, because once you start there is no turning back. We recommend using an old pair of sneakers made of the same or at least similar materials as the one you intend on enhancing. In that way, not only will you find out how the texture behaves when a certain paint is applied to its surface, but you will know what amends to make and perfect your plan before realizing it. If you consider this is too much work for a pair of unique sneakers or even if you want to find inspiration, visit Zotuz and find your answers there.
Source: JOHN X SANTOS
4. Insulation, Preparation, and Application
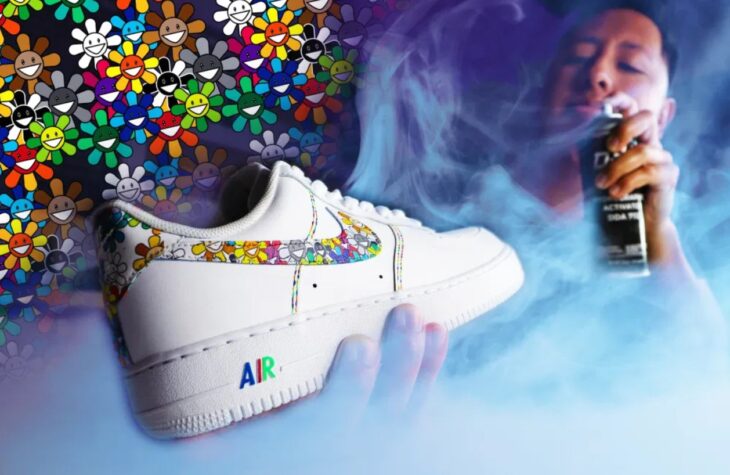
Whether you apply standard means of paint application or you think about hydro dipping your sneakers, which is a more complicated technique, you need to protect the segments of your artwork that you do not intend on coloring. This is important not solely because you can accidentally stain the part that should remain untouched, but it also enables you to work on your sneaker segment by segment.
If you thought you can solely pick the color you fancy and deliberately apply it to your sneakers you were wrong. Namely, the materials from which sneakers are made have been previously treated in order to withhold their original color and appearance and avoid additional modification that could happen due to different weather conditions or even after going through an inappropriate washing machine program. Fortunately, you can use different products to treat the surface you intend on repainting so what you must do is apply the one you pick up before you start decorating.
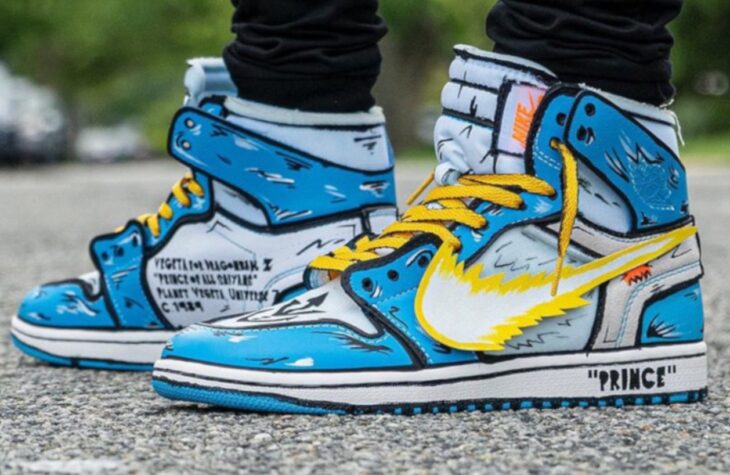
After you have secured that everything from the previous subtitles has been complied with, you can start having fun. We shall emphasize that you need to prepare sufficient amounts of paint before starting the procedure in order not to run out of it and end up with a shade different from the one you have started with. Thus, once you are sure you have covered everything, you can start having fun and bringing your idea to life. There is no need to rush, moreover, you can take as much time as you need. Not only is it safer, but also you can get a few more ideas you would like to apply as you progress.
Source: Sneakers-actus
5. Finalization
Once you are done with the paint job, you need to let the color set in and dries out. Even though you might be impatient, you should let your sneakers rest until you are sure they are ready for the next step. Even then, we advise you to treat them with a hairdryer just in case, so you do not end up with wet paint all over your hands and the project stalled. Finally, what you need to do is apply a finisher that would make sure that the design you have applied stays there. Unfortunately, you will have to wait for the finisher to set in and dry out as well, but that would be the least of your worries. If you have intended to apply additional accessories to your creation, now would be the time to do it. After additional enhancement is done, you would have nothing else to do but to admire the results of your hard but rewarding work.
Whatever you do, just make sure you consult intuition as you would follow the aforementioned pieces of advice we have prepared for you. If you manage to transfer at least a bit of your imagination to your sneakers, you will be satisfied with the results, and by following the steps from the lines above you will make sure they last long and endure all sorts of weather conditions and curious looks.
