Photos can get damaged for multiple reasons. Some of the reasons are- sudden power outage, incomplete file transfer, virus, corrupt USB driver, corrupt SD card, etc. Although some things are not in our hands, getting a photo repair tool can help you fix the damaged photos.
If your beloved photos have been damaged and you are looking for a robust solution to fix them, you have come to the right place. This article will talk about the best tool that you can use to repair your corrupt photos efficiently. Keep reading to find out all the details.
Contents
Part 1: Types of Images Corruption

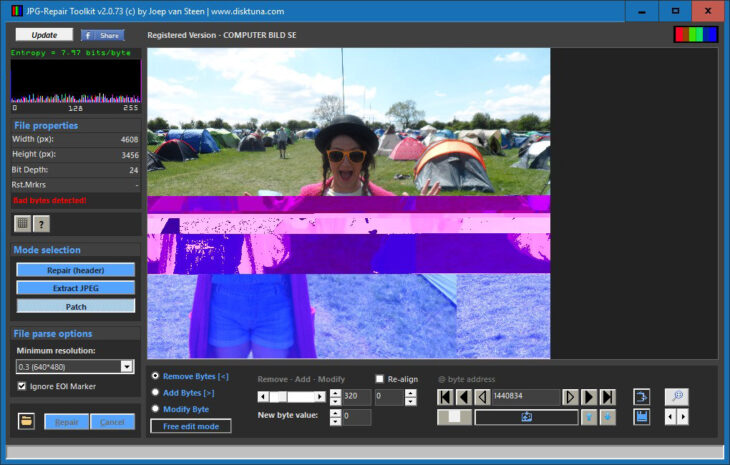
Source: geckoandfly.com
Well, there can be multiple reasons for images to get corrupt. So, before we tell you about the tool to use to repair corrupt photos, let’s check out some of the reasons for image corruption.
Reason 1: SD Card of Memory Card is Corrupt
One of the common reasons for losing photos from a memory or SD card is when the SD or memory card gets corrupted. Unfortunately, there are no valid reasons why your SD card can get corrupt, but it often happens.
Reason 2: The Hard Drive of Your PC is Damaged
The hard drive of your PC can lose its magnetic alignment, and when this happens, the photos that you have stored in the PC’s hard drive will automatically get corrupted as well.
Reason 3: You Have Accidentally Damaged the SD Card
While removing an SD card from a device, such as a smartphone, some people tend to get harsh. When you handle an SD card harshly, it can get damaged, which can eventually lead to damaged photos.
Reason 4: Incompatible Photo File Format
Sometimes the photos can get saved in a format, which is not readable by the computer. In such a case, you will come across the image is not supported error.
Reason 5: The Photo Has Crashed While Saving It
When you try to save your photo file, it can get crashed unexpectedly. Probably, there was a power cut when you tried saving your photos. And even in this case, images can get corrupted.
Reason 6: You Have Formatted the SD Card
If you have pressed the formatted option of your camera, you can lose your photo files through this also. When this happens, recovering the photos can become pretty tricky.

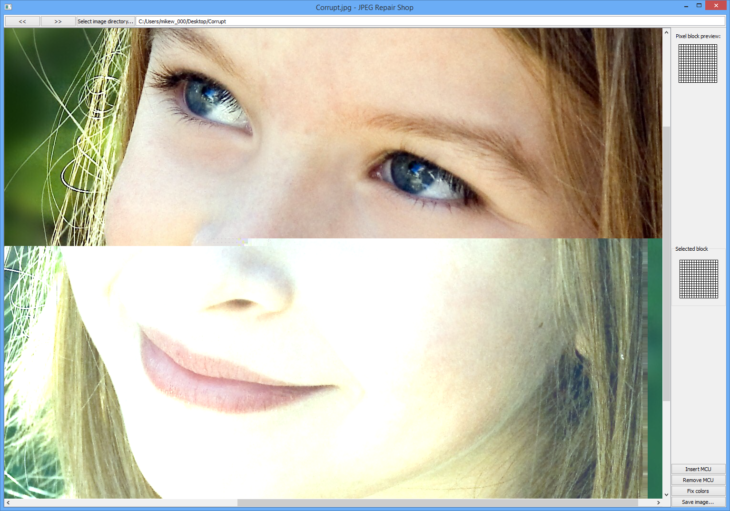
Source: downloadcrew.com
When it comes to recovering photos that have been damaged because of some reasons, one photo repair tool that genuinely stands out is Wondershare Repairit. This robust tool will not only let you recover damaged photos but videos as well. This easy-to-use tool is available for both Mac and Windows users. To recover the photos, you will simply have to follow three easy steps, and you will be all done.
Even if the photo files are broken, they can still be repaired by using Wondershare Repairit. The good thing about this tool is that it can restore multiple image formats, such as JPEG, GPR, DNG, NRW, NEF, CR2, CR3, JPG, and more.
⦁ Wondershare Repairit supports multiple image file types.
⦁ It lets you preview your image before saving it on the system.
⦁ It is available for both Mac and Windows PC.
⦁ The tool can bring back high-resolution photos of high-end cameras and phones.
⦁ It can fix all levels of corruption.
⦁ You can use Wondershare Repairit to repair photos in batches.
Price for Mac and Windows
For Windows
⦁ One month license: $39.99
⦁ One year license: $49.99
⦁ Lifetime license: $69.99
For Mac
⦁ One month license: $49.99
⦁ One year license: $59.99
⦁ Lifetime license: $79.99

Source: repairit.wondershare.com
Using Wondershare Repairit is pretty easy because it lets you repair your damaged photos in just three steps. Whether you are using a Mac or Windows computer, you can use Wondershare Repairit to recover an end number of photos seamlessly.
The first thing that you will have to do to repair corrupt photos is visiting the official website of Wondershare Repairit and download the correct version. If you have a Windows computer, download the version for Windows; else, click on the Mac version to download Wondershare Repairit for Mac computers. Once done, launch the tool. Now follow these steps to continue the recovering process.
Step 1: Add the Image Files That Need to be Repaired
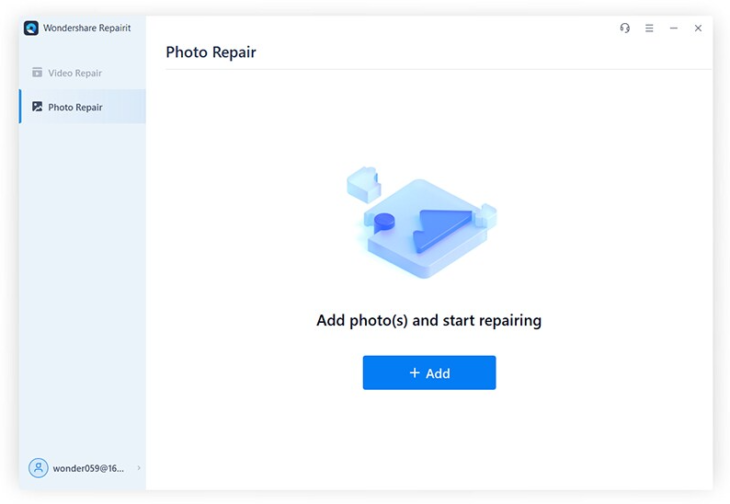
Once Wondershare Repairit is launched, you will see the home screen. The home screen will show you two options, one is video repair, and the second one is photo repair. Please click on the photo repair option. After that, click on the + Add tab, which is highlighted in blue. Once you do that, you will be able to add all the image files that are corrupted.
Step 2: Scan the Corrupted/Damaged Files and Click on Repair
Allow Wondershare Repairit some time to scan all the images that you have added. Wondershare Repairit can efficiently repair many image issues, such as grey images, pixelated images, wrong coloring, etc. After the images get uploaded, you will see the information of each photo, such as file size, resolution, and more.
If you are sure about the photos you have added, click on the Repair option, which will be towards the bottom right. Wondershare Repairit will take some time to repair the images. Once done, the tool will let you know.
Step 3: Preview and Save the Images
Wondershare Repairit will let you know when the repairing process gets completed. It will prompt you to preview your image files and then save them. Click on ok first, then hit the preview option to check your images. See if they look fine to you or not. If you are satisfied with the repairing process, click on the save all option to save all the image files to your preferred storage device.
And that’s about it; your photos are successfully repaired and stored.
Part 3: Tips to avoid photo corruption

Source: camerajabber.com
To avoid photo corruption, make sure that you create a backup. Other things that you can do are as follows:
⦁ Sometimes your computer can take a longer time to save images. When this happens, don’t feel tempted to close the application and don’t use Ctrl + Alt + Del. If you do this, the image files have a high probability of getting damaged.
⦁ Your image files can get corrupt due to a power cut. To avoid this situation, invest in a good UPS so that your computer can keep operating even if there is a power surge. If you are using a laptop, make sure it’s fully charged and has enough battery to save all the images.
⦁ Data corruption can happen not only to the hard drive of the computer but even the external hard drive. Make sure create an online backup for the image files. You can use Google Drive or any cloud service to store your images to get them back quickly.
⦁ For the final tip, always use a reliable photo repair tool. Images can get corrupted despite being careful. When such things happen, make sure to go with a dedicated image repairing tool to repair the photos efficiently.
Closing Words
Photos are precious to everyone, and losing them can be frustrating because photos are part of your memories. So, keep your photos protected by practicing the right ways to avoid photo corruption. Also, make sure to get Wondershare Repairit to repair corrupt photos or videos, such as mp4, a robust photo repairing software.
