
Nestled within the world of home improvement and energy efficiency is the often-overlooked process of installing laminated insulation. Given the remarkable benefits such as reduced energy bills and a more comfortable home environment, this is an upgrade that can’t be ignored. Whether you’re a seasoned DIY enthusiast or just starting your journey in home renovation, this guide is tailored to provide an easy-to-follow, comprehensive walkthrough.
Contents
Preparing the Work Area
On embarking upon this insulation journey, your first port of call is to ready your workspace. It’s not an undertaking to be done in a disorganized environment, so spend time decluttering and removing any unnecessary items from the area. This not only creates a safer workspace but also aids in accurately assessing the space that needs this.
To truly prepare your work area, arm yourself with the necessary tools for the installation process. Key items include a utility knife for cutting the laminated insulation, a staple gun for securing it in place, and safety gear like gloves, goggles, and a dust mask. Having these tools within easy reach will streamline your work and minimize interruptions during the installation process.
Measuring and Cutting
As we delve into the crux of the process, the first step is accurately gauging the dimensions of the space to be insulated. Be meticulous when taking measurements, ensuring you account for any irregularities in the structure. A tape measure should suffice for this, but for more complex layouts, laser measures could prove beneficial.
With measurements in hand, you can then proceed to cut the laminated insulation accordingly. Precision is crucial at this stage; a small error could result in gaps later on. Always remember the carpenter’s rule: Measure twice, cut once. Using a sharp utility knife, cut the insulation on a safe surface, keeping your fingers away from the cutting line.
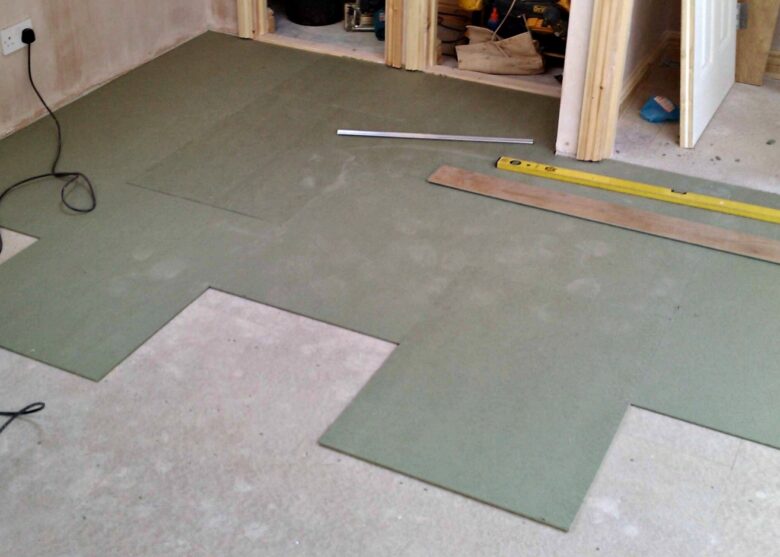
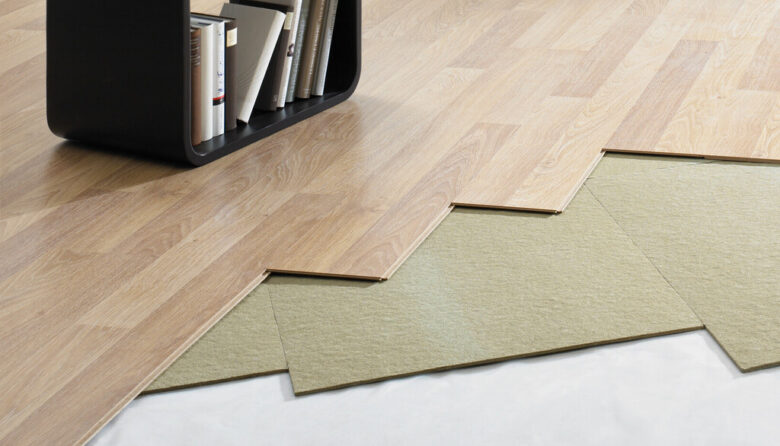
Installing in Small Spaces
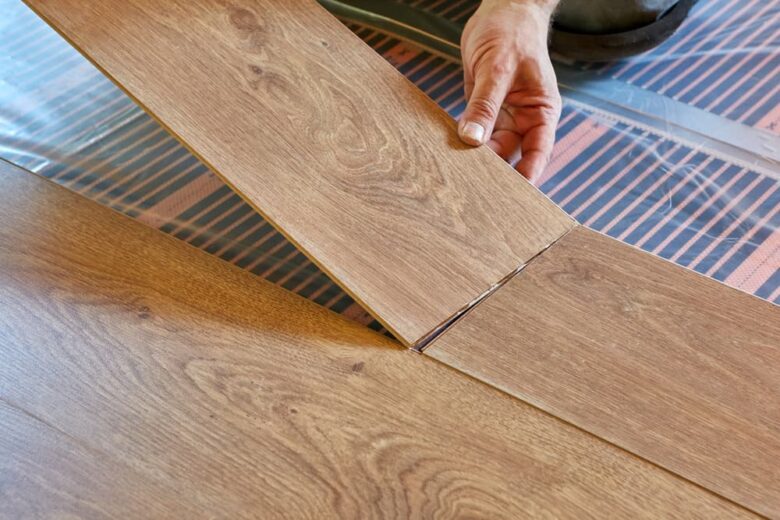
Now we move on to the heart of the matter: the installation process. Starting from one edge of the space, carefully align the insulation, ensuring it fits snugly against the walls. Pay attention to corners and junctions, as these areas need to be insulated as efficiently as the larger surfaces.
An aspect that deserves attention during installation is maintaining the integrity of the vapor barrier, usually the shiny side of the insulation. To prevent moisture issues, this barrier should always face the inside of the room or the heated side of the space. This small but crucial detail can be the difference between an efficient insulation setup and one plagued by damp and mold issues.

Securing Properly
Once the laminated insulation is in position, it’s essential to secure it effectively. Utilize your staple gun to attach it to the framing, placing staples approximately every 8 to 12 inches. This ensures a firm grip that will it in place, even in the face of regular temperature fluctuations and external pressure.
A quick tip while securing the insulation: don’t over-tighten it. An excessively tight fit might compress the insulation, significantly reducing its R-value – a measure of thermal resistance. Ideally, it should fit into the space without any force, like a hand sliding into a well-tailored glove.
Addressing Nooks and Crannies
Turning our focus to the more intricate parts of the job, it’s essential not to overlook the nooks, crannies, and smaller cavities in your space. These areas might seem inconsequential, but they can often be the Achilles heel in an otherwise perfect insulation setup, leading to unwanted heat loss or gain.
Addressing these small spaces isn’t complicated, but it does require patience and attention to detail. Custom-cut smaller pieces of insulation to fit these tricky spots, ensuring they’re as snug and secure as the larger pieces. Remember, a well-insulated home is all about leaving no space exposed.
Dealing with Potential Obstacles
In the realm of insulation installation, obstacles are par for the course. These could be anything from pipes and electrical conduits to awkwardly placed structural elements. Rather than seeing them as hindrances, consider them unique challenges to be overcome with clever problem-solving.
Navigate these obstacles by precisely cutting your insulation to accommodate them. For pipes and conduits, cut small slits or holes, then fit them around the obstacle. For larger obstructions, cut the insulation into pieces that can be installed on either side. This will ensure that you maintain a consistent layer of insulation throughout the space.
Sealing for Optimal Efficiency
With the insulation in place, the penultimate step is to ensure it’s adequately sealed. Proper sealing minimizes air leaks, boosting the insulation’s efficiency and preventing problems like drafts and heat loss. Using high-quality, mold-resistant sealing tape, cover all seams in the insulation, as well as any small holes or tears that might have occurred during installation.
Besides taping, consider using expanding foam spray for larger gaps or difficult-to-reach areas. This spray expands upon contact with air, filling up spaces and providing an extra layer. Once it has dried, any excess can be trimmed off with a utility knife.

Safety Precautions During Installation
Safety should never be an afterthought in any DIY project, and insulation installation is no exception. Always equip yourself with proper protective gear, including gloves, eye protection, and a dust mask or respirator. This prevents irritation from fiberglass particles or chemical fumes.
Apart from personal safety, it’s essential to be mindful of potential hazards in your workspace. Keep your workspace well-lit and free of tripping hazards, and ensure your tools are in good working order before starting. Finally, remember to take regular breaks to prevent fatigue, particularly when working in confined spaces.
Final Reflections
As we wrap up this comprehensive guide, it’s worth highlighting that installing laminated insulation, while straightforward, does require time, effort, and attention to detail. However, with careful preparation, precise measurements, and diligent follow-through, you can effectively insulate even the smallest spaces, creating a more comfortable and energy-efficient home. Be patient, be thorough, and remember that every nook and cranny insulated is a step towards a warmer winter, a cooler summer, and lower energy bills all year round.