

An outdoor renovation is easy to imagine badly. A patio looks spacious in a sketch, then feels cramped once a dining table, grill, door swing, and three people occupy it. A pergola seems perfectly placed until the afternoon shade lands somewhere else. A path appears direct on a screen but turns into an awkward detour around a planting bed.
Digital design tools help because they make those decisions visible before they become concrete, timber, excavation, or an invoice. The best use of the software is not producing a photorealistic “after” picture. It is testing several imperfect ideas quickly and finding the problems while they are still cheap to fix.

Start with a measured digital base
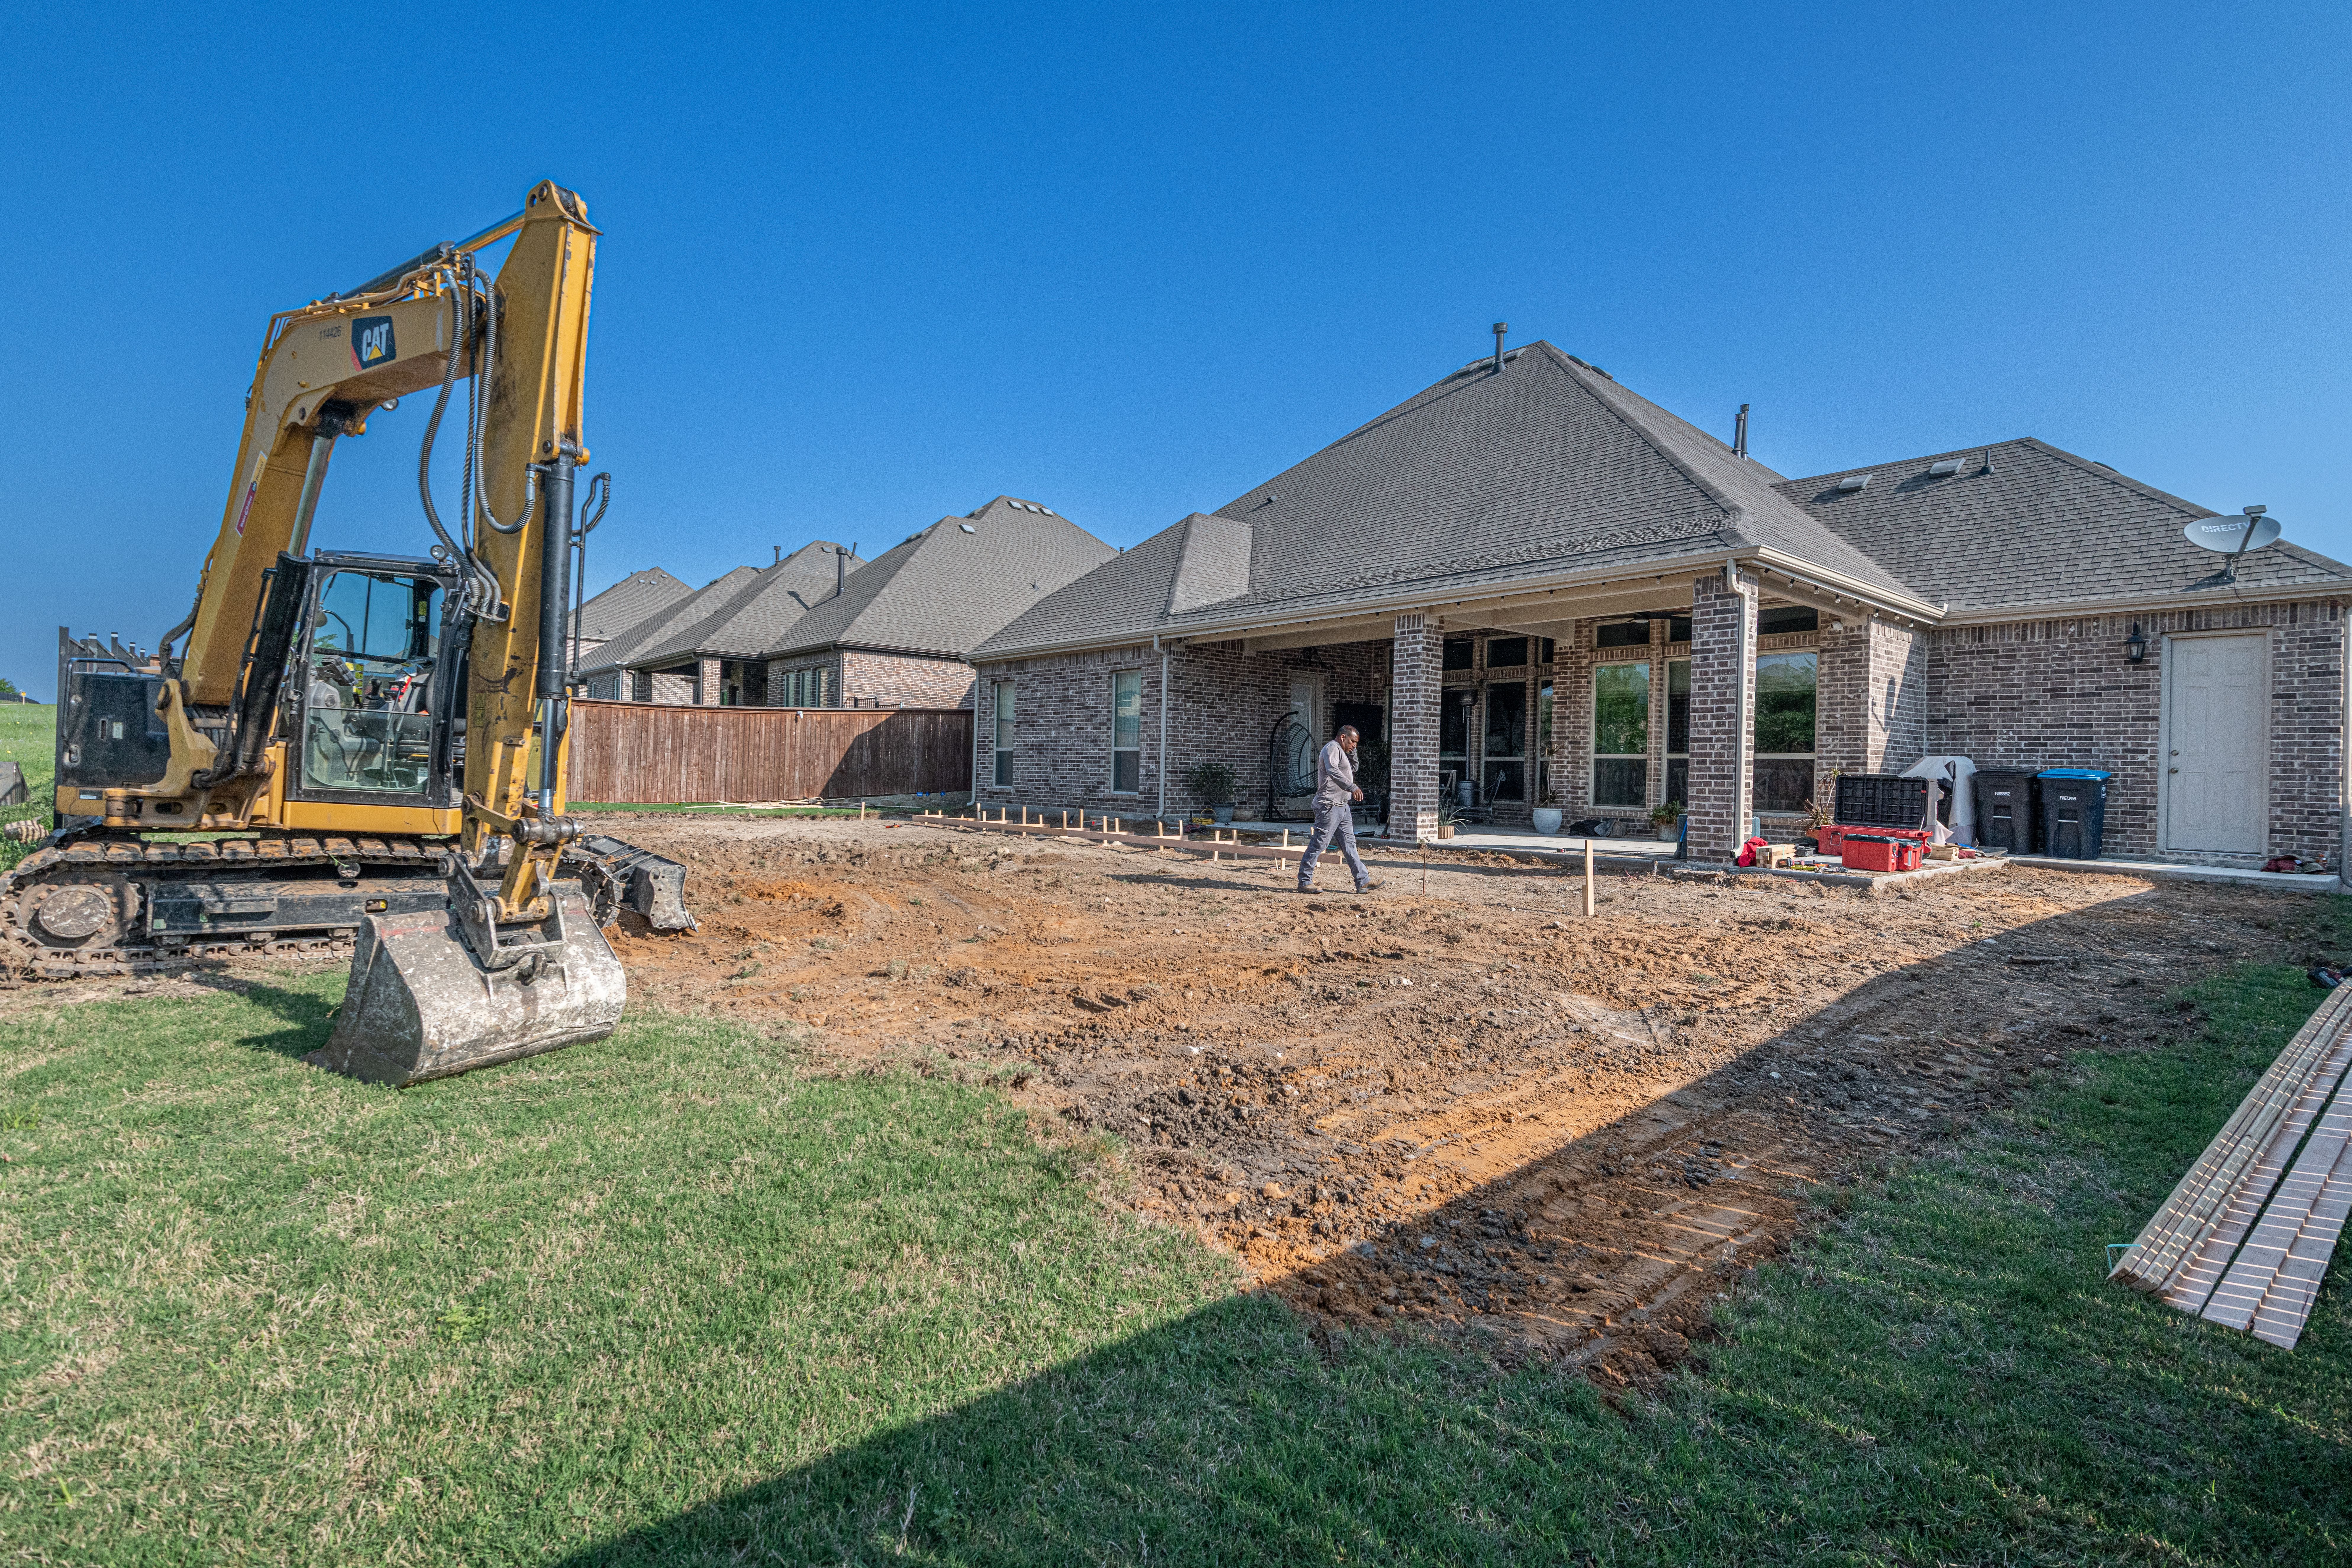
Before adding paving or planting, create a simple model of what already exists: the house wall, doors, windows, steps, fences, trees, utility features, slopes, and the edges of the property. A phone photo can help you remember the space, but it cannot replace measurements. Record the width of the yard, the distance from the back door to the proposed patio, and the clearances around anything that must remain accessible.
That base gives the renovation a reliable frame. It also exposes a common planning mistake: designing the new patio as if the yard were an empty rectangle. Existing trees cast shade, roof water needs somewhere to go, and a narrow side passage may be the only practical route for materials or maintenance.
For more complex sites, terrain-aware software can import location context, elevation, imagery, or survey data. Trimble’s SketchUp landscape architecture tools, for example, describe workflows for modifying terrain, importing 2D CAD or scan data, and studying shadows in a geolocated model. Homeowners do not need every professional feature, but the principle matters: the closer the digital starting point is to the real site, the less persuasive nonsense the final image can hide.
Use 2D to solve circulation, then 3D to test comfort
A top-down plan is usually the fastest place to begin. Draw the patio, lawn, steps, paths, planting areas, and storage zones as simple shapes. Then add the things that consume space in daily life: chairs pulled back from a table, a barbecue with its working side exposed, bins, bikes, children’s play equipment, and the route from the kitchen to the garden.
This is where digital planning beats a mood board. A mood board can tell you that you like pale paving and black metal. A plan can tell you whether two people can pass behind the chairs without brushing the planting bed.
Once the layout works in 2D, switch to a three-dimensional view. Change the camera height to something close to eye level and look from the rooms that face the garden, not only from the dramatic aerial angle. A design that looks balanced from above may block the view from the kitchen or make the yard feel dominated by one oversized structure.
Compare materials without ordering samples of everything
Most design platforms let users swap surfaces, colors, finishes, and objects without redrawing the whole scheme. That makes side-by-side comparisons more useful than trying to choose from isolated product photos.
Test the same layout with large-format pavers, smaller paving units, decking, gravel, or a mixed surface. Then change the visual weight of the boundary: a dark fence, a planted screen, a rendered wall, or open rails. The question is not simply “Which looks best?” It is “Which combination makes the space feel the right size, and will still make sense beside the house?”
Furniture deserves to be modeled at its real footprint rather than represented by a generic dot. If the plan includes a dining area, compare a compact table with a larger one and leave room for chairs to move. If the space is intended for lounging, test the arrangement with side tables and a route around the seating. Materials and furniture should be chosen as one system; a beautiful surface can feel unfinished if the objects placed on it are too small, too bulky, or visually unrelated. This is also the stage to explore composite outdoor furniture alongside the proposed decking, paving, or planting palette.
For homeowners working with a designer or contractor, a shared 3D model can reduce vague conversations. Houzz Pro’s current landscape-planning documentation describes outdoor surfaces for decks, patios, lawns, driveways, pathways, and gravel, along with adjustable outdoor products such as pergolas, lighting, planters, fencing, and furniture. Its exact features depend on the product and plan, but the useful idea is general: a material decision becomes easier to discuss when everyone can see it in the intended location.
Let the model challenge the “pretty” version
A rendering is at its most valuable when it is allowed to make the proposal less attractive for a moment. Add the drain channel. Show the retaining edge. Include the downspout, gate, hose, storage box, and access needed for maintenance. Remove the flattering evening light and inspect the design in bright midday conditions.
Shade studies are particularly useful. They can help compare a pergola position, a tree location, or a seating area across different times of day. But treat the result as a design aid, not a guarantee. Nearby buildings, tree growth, screen height, weather, and the accuracy of the model all affect what happens on site.
Drainage deserves the same attention. If a digital plan replaces planting beds with hard surfaces, it should also prompt a question about where rainwater will travel. The U.S. Environmental Protection Agency explains that rain gardens and permeable pavements can help retain or infiltrate stormwater where it falls. A homeowner can therefore use the model to reserve space for a rain garden, permeable path, planting strip, or downspout connection before the entire yard is covered in an impervious surface.
Three views are better than one perfect render
Save at least three views of the proposal:
- Plan view: checks dimensions, movement, setbacks, and the relationship between hardscape and planting.
- House view: shows what the renovation looks like from the kitchen, living room, or upper windows.
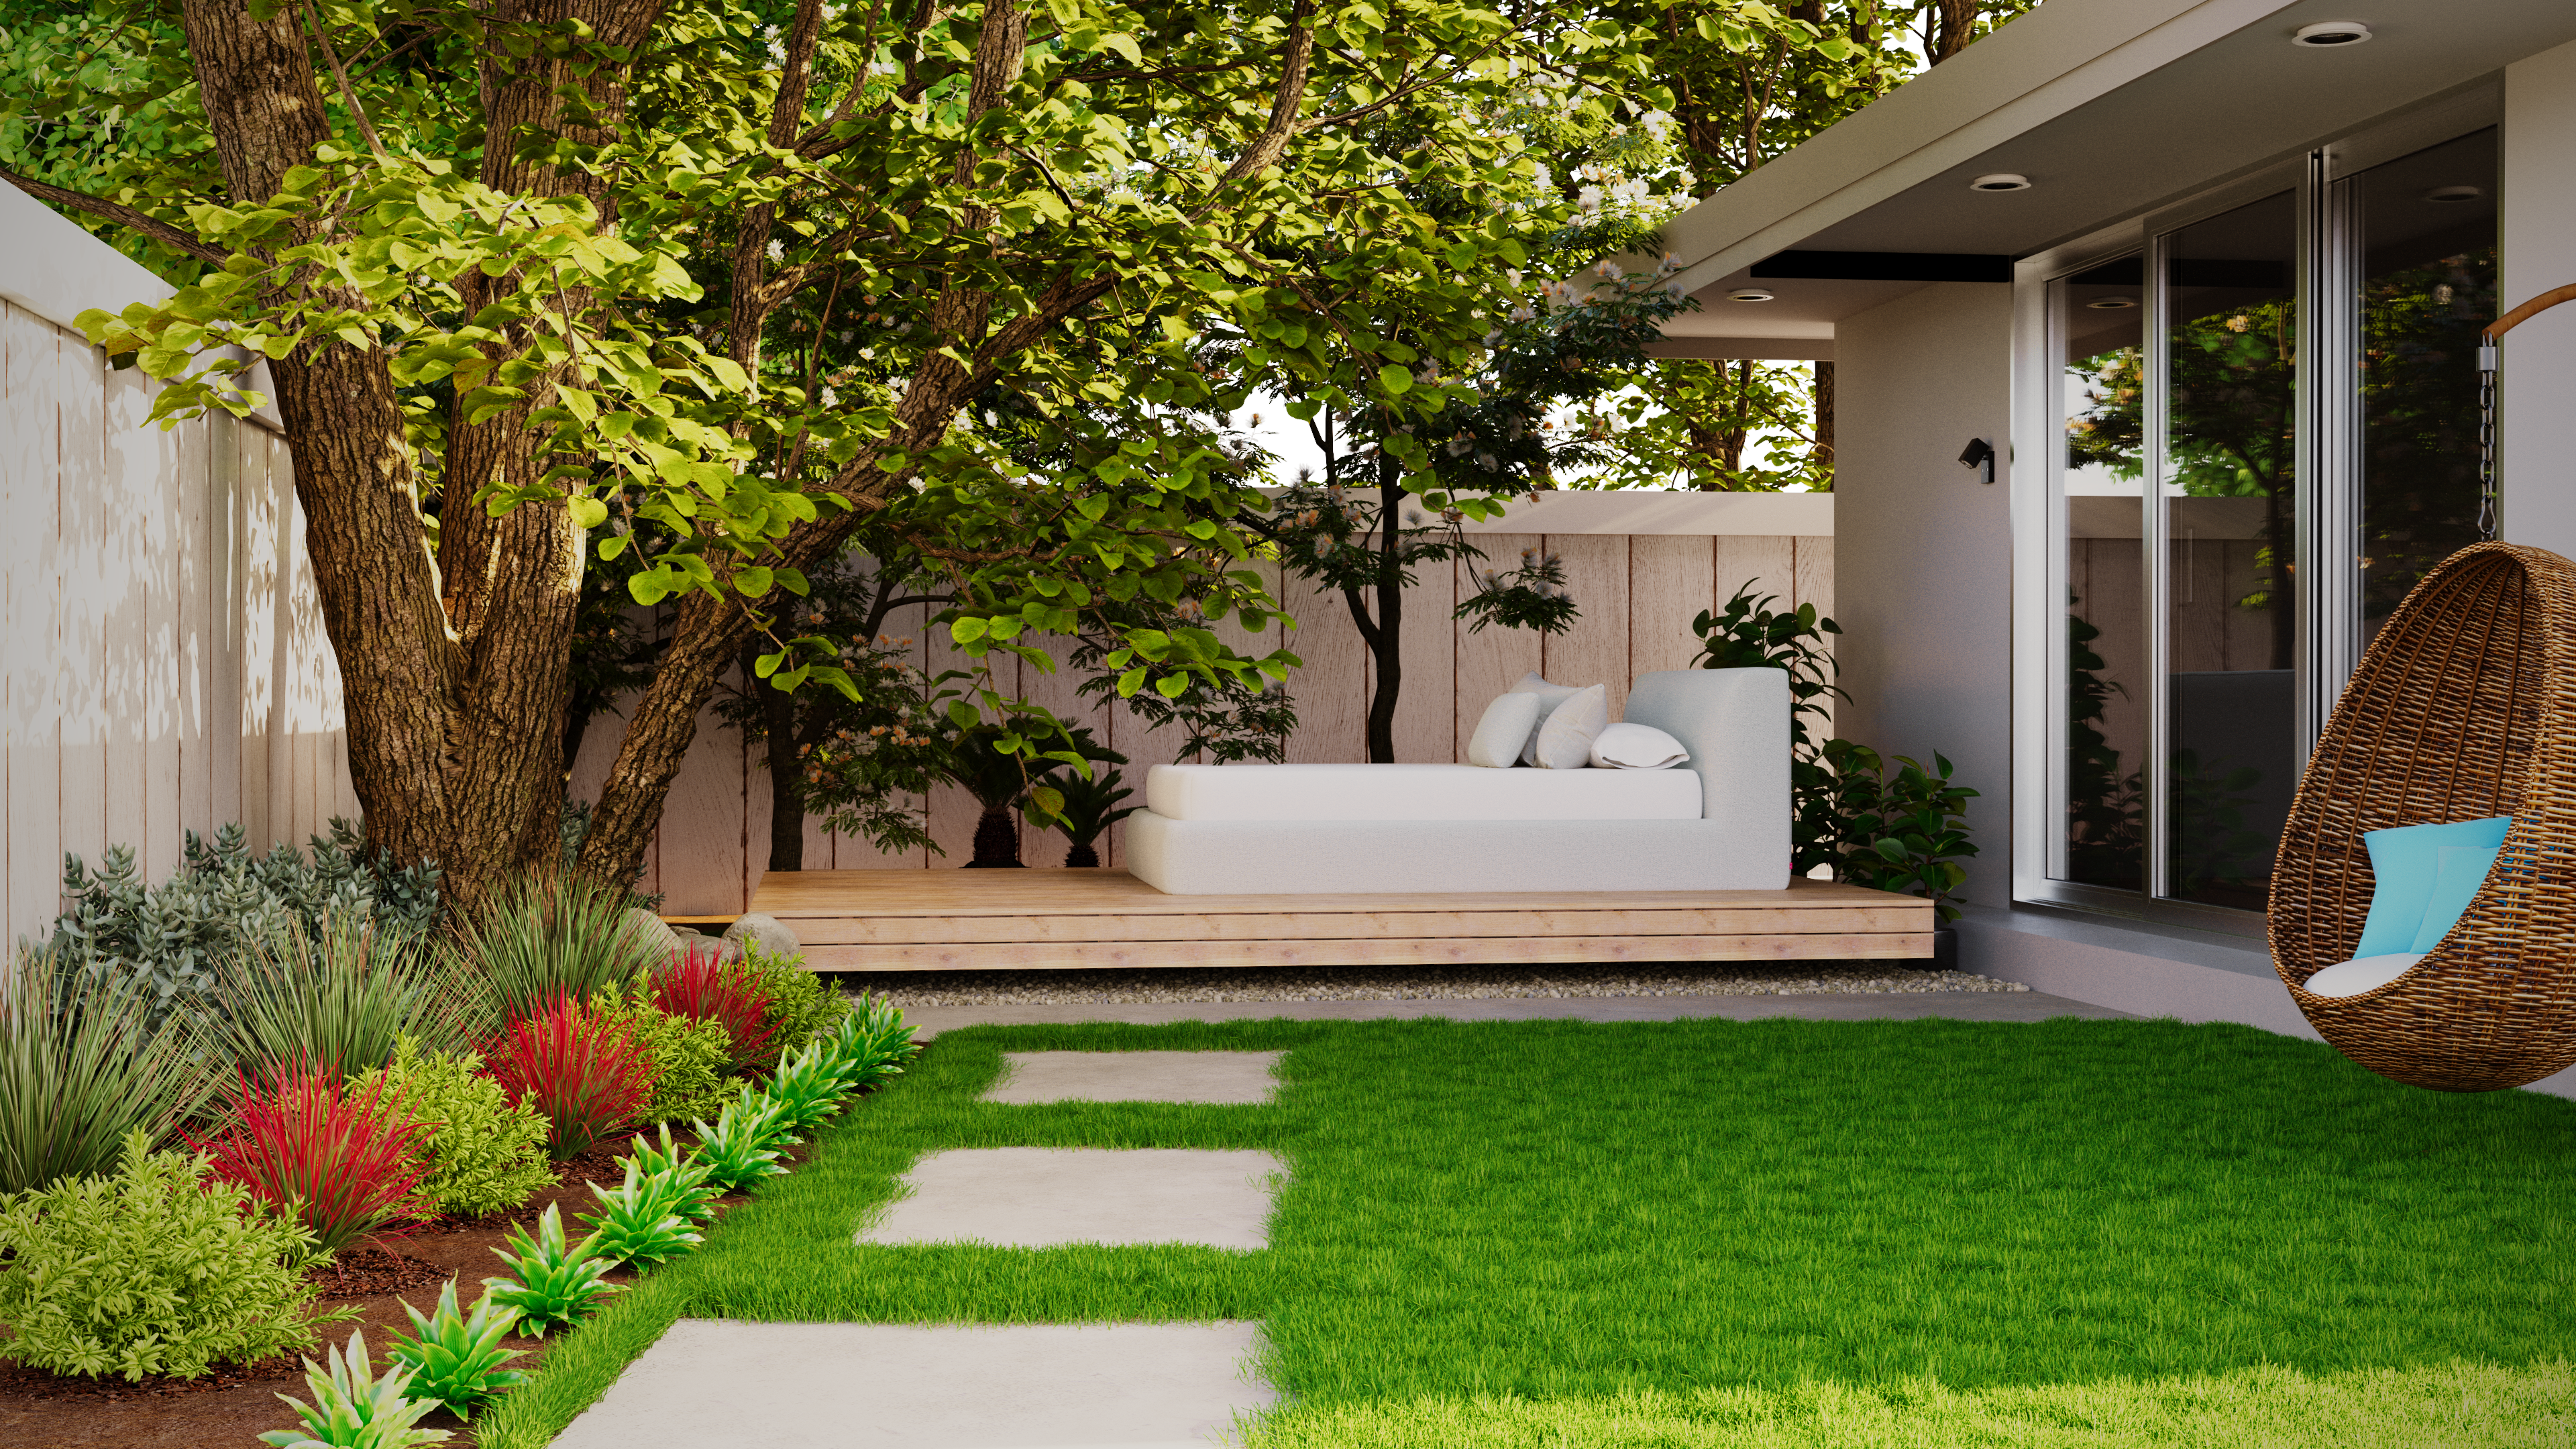
- Garden view: tests how the space feels when someone is sitting in it rather than admiring it from above.
Then make a second version, not just a more polished version. Move the dining zone, reduce the patio, change the path, or remove one structural element. Comparing alternatives is where homeowners learn what they actually value. Perhaps the outdoor kitchen was the exciting idea, but the wider planting border is what makes the yard feel comfortable. Perhaps the covered seating works, but only after the lawn is shifted away from the door.
What digital tools cannot tell you
Software can show a slope, but an inaccurate slope produces an inaccurate plan. It can place a retaining wall, but it cannot by itself establish whether that wall needs engineering. It can show a boundary, but it cannot settle a property-line dispute. It can place a tree, but it cannot confirm the mature root behavior, local planting conditions, or underground services.
That is the boundary homeowners should keep in mind: use the model for decisions and communication, then have the buildable details checked by the appropriate professional. Confirm dimensions on site, check local approvals, verify drainage conditions, and ask the contractor how the proposal will be set out before treating an attractive image as a construction document.
My view is that digital design tools are most valuable before anyone starts shopping. They do not eliminate judgment, and they do not make a difficult site simple. They make trade-offs visible: more paving means less planting, a larger table means less circulation, a taller screen changes light, and a beautiful finish still needs a sensible water strategy.
A practical homeowner workflow
- Photograph the yard from the house, boundaries, and main access points.
- Measure the existing conditions and mark fixed features in a 2D plan.
- Draw two or three rough layouts before choosing finishes.
- Add realistic furniture, gates, storage, steps, and maintenance access.
- Review the model from inside the house and at seated eye level outside.
- Test shade, surface changes, slopes, and likely rainwater routes.
- Export a clear plan and a small set of views for contractor conversations.
- Verify the design on site before ordering materials or beginning work.
The winning plan is rarely the one with the most features. It is the one that still works when the camera is removed: when someone carries food through the door, a chair is pulled out, rain needs somewhere to go, and the garden has to be maintained in an ordinary week.