Are you looking to master the art of painting? Get a smooth, even finish with no brush marks – saving time and effort?
If so, you’re in the right place! In this article, we’ll show you exactly how to use a paint roller like an expert – giving you flawless results every time.
Contents
Preparing for Painting
Once you’ve chosen your paint color and roller size, it’s important to take the proper steps in prepping for painting. It’s important to make sure that the space is clean from dust, dirt, grease and other debris so that the paint will adhere to the surface properly and result in a flawless finish.
Before starting any painting project, repair any old or damaged surfaces you may be working with. Fill cracks, sand down rough patches, use spackling putty for dents. You may also want to prime for added durability as well as better color coverage. Priming also helps to prevent mildew buildup.
When it comes to using paint rollers, it’s important to choose the right tool for the job. Monarch paint rollers, for example, are known for their high quality and durability. To avoid creating a mess, it is important not to overload your roller – highly saturated rollers will only create more of a mess than desired in this case less is more! When coating surfaces ensure that there are no drips by keeping your rollers rolling back over spots where there appears to be too much – this can help eliminate drip marks later on! It is also important that after you are done for each coat (including primer), wait at least two hours before adding a fresh coat of paint – otherwise these coats may interact unfavorably with one another (this property is known as ‘blocking’ while blocking can sometimes be useful when trying out posting effects such as decoupage painting here its best avoided).

Source: canva.com
Applying the Paint
When it comes to getting a flawless finish, doing it with a paint roller is the key. Applying the paint to your walls or ceilings quickly and evenly will help you get the desired results without too much effort.
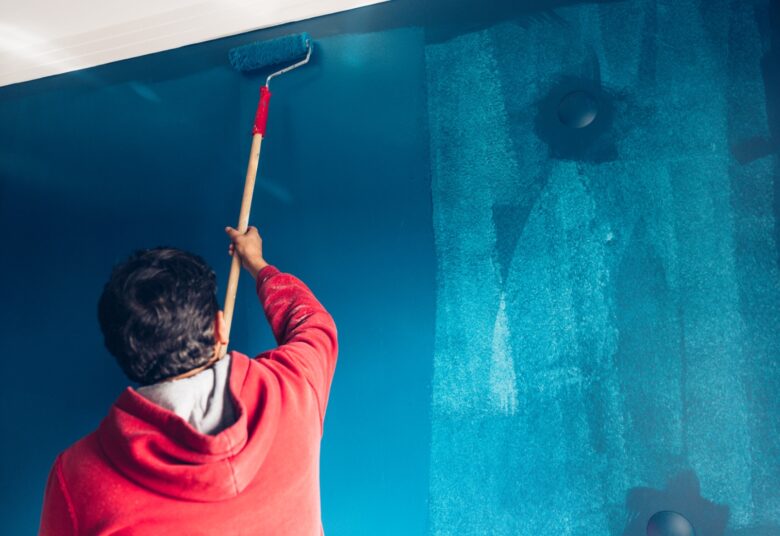
Before loading your roller, pour some of the paint into a partitioned tray and use this as a buffer so that you do not over-load your roller with excess paint. Load up just enough to cover half of the roller, then start at one end of your wall or ceiling and roll in an ‘M’ motion to evenly disperse it. Roll up and down systematically for an even spread.
Keep reloading halfway through each stroke when needed, but avoid dipping more than halfway into the tray at any one time as this can overcome your roller with too much paint, making it difficult to apply correctly. Avoid pressing too hard onto the wall or ceiling – the weight of the roller should be enough to push the paint through onto it while still keeping control of it.
When you reach edges or corners of walls/ceilings, use only light pressure as heavy-handedness here will mean patches will show when overlapping on another wall/ceiling during finished painting. To ensure that everything is well blended together as one seamless color, feather out these areas lightly by rolling at an angle and pulling away from corners before each overlap onto another surface area. Use this technique for outside walls and surfaces which do not require precision detail or extra care such as skirting boards or trims within tight areas close to adjacent partitions.

Source: canva.com
Finishing Touches
Once you’ve finished painting with your roller, it’s important to do some finishing touches in order to create a flawless finish. After the section of wall that you’ve been working on is completely dry, you should inspect the area for any missed spots or lines that need touching up.
You can use a brush, foam roller, and/or edging pad to get into the crevices and corners of the wall. A brush should be used if necessary to touch up along the skirting boards and corners. For larger areas, use a foam roller as this will give a smoother finish than a brush would. An edging pad is best used if there are still noticeable lines or streaks in the middle of your wall, as this will help blend in any remaining marks.
A broom and/or vacuum should also be used for long strokes along plastered walls as dust can become embedded in them when rolling paint onto them. This will trigger an allergic reaction for anyone who is sensitive to dust particles or other allergens and so should be avoided at all costs.
Finally, apply two coats of paint rather than one if possible – this gives much better coverage and results in an overall better finish!

Source: canva.com
Maintaining Your Paint Roller
Achieving the perfect finish with it requires using a clean roller and following a few simple techniques. Regularly cleaning your roller is necessary to help keep up its performance and extend its lifespan. Taking the time to clean between uses will also help keep your finished results looking flawless.
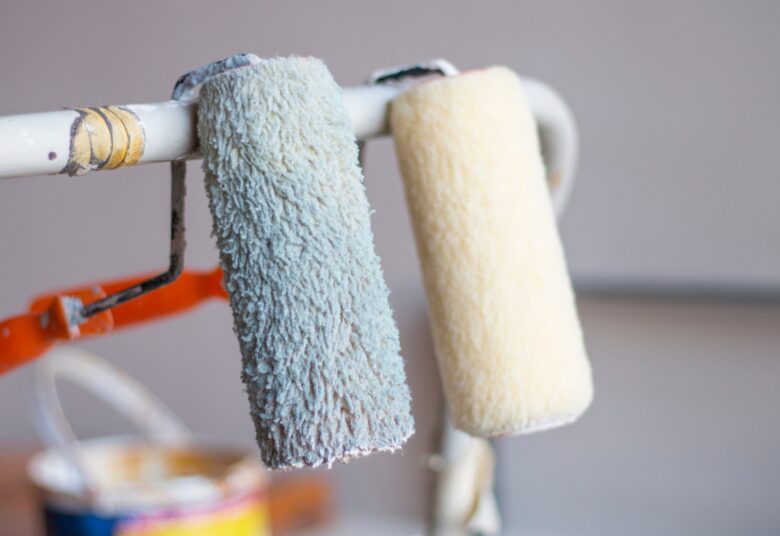
The process for cleaning a roller is fairly simple and should take just minutes, even for large-scale projects. First, use a cloth or brush to remove any big chunks of excess paint from the surface of the roller before submerging it into warm, soapy water. Let it soak for several minutes in the soapy water and gently agitate if needed. Next, rinse the roller in warm water until the water runs clear with no more paint residue visible. Then squeeze out any remaining moisture, before leaving to dry fully on an absorbent towel on top of newspaper or a dust cover overnight. Doing this will ensure that all moisture has been removed before you store your roller away in its protective sleeve until next time!

Source: canva.com
Conclusion
It is important that the right kind of roller is used for the job and that it is adjusted properly. If you take the time to make sure you are using the correct type of roller, and you understand how to utilize different techniques, then your results will speak for themselves. With some practice, you can master the art of painting with a paint roller and have beautiful results every time!
