
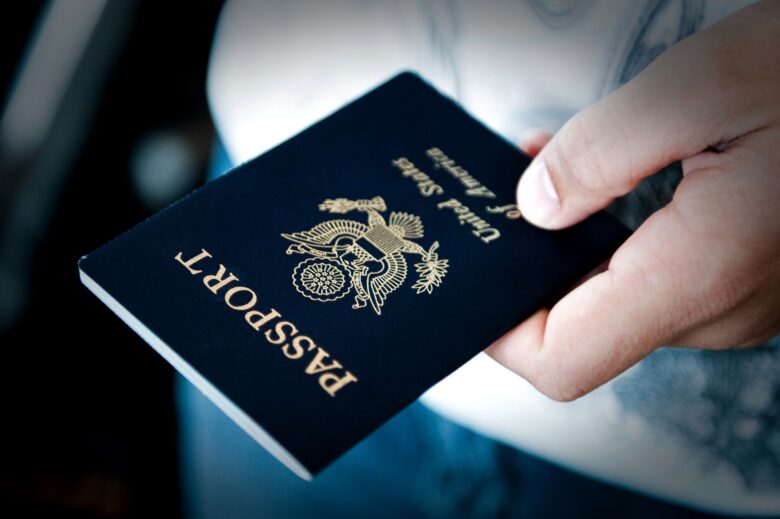
Have you ever been frustrated standing in line at the post office to take your passport photo? Time is precious and we all know how it feels to wait in an unnecessarily long line. Well, the hassle is over!
This guide will provide step-by-step instructions on how to create a digital passport photo that meets the guidelines set by the International Civil Aviation Organization (ICAO). To ensure accuracy and quality, it is important to read and follow the guidelines before taking your passport photo.
Contents
What you need
Creating your own passport photo is an easy and inexpensive way to comply with passport photo regulations while having control over how you look in the picture. Before you get started, you will need to ensure that you have all the necessary items on hand. Here’s what you need:
-White background—a medium-weight, matt paper should be used. Ensure there are no distractions or shadows in your background;
-Adequate lighting that casts no shadows or glare—direct lighting works best with this type of photography;
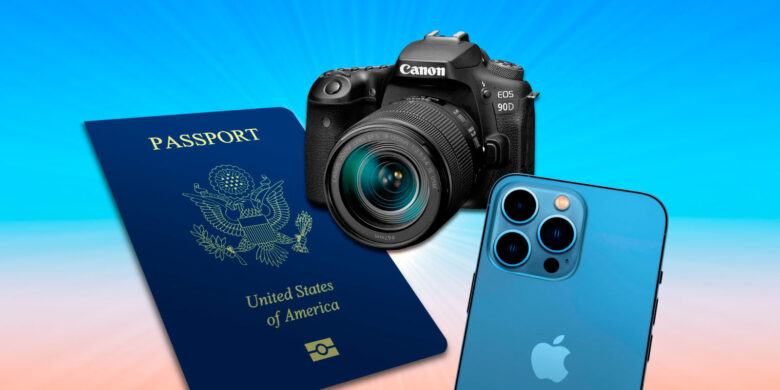
-Your digital camera/phone camera, set up to capture at least 600 dpi resolution and passport photo tool;
-The passport photo template from your country of origin;
-Strong color printer—most people opt for a laser printer for more detailed prints over an inkjet one;
-Scissors—either electronic or good old-fashioned paper scissors will do; and
-Adhesive glue stick.
Once all the supplies are ready and within reach, take some practice shots to ensure that everything is set up correctly. You may want to consider having someone else take the photograph so they can check if all corners of the frame are showing properly while you pose. You’ll also want to check if there are any unwanted glares from glasses or jewelry that could be distracting from your face in the final print. Once everything looks good on camera, you can start working on creating your personalized passport photo!
A step-by-step guide
- Choose the right background. Passport photos should have a white or off-white background that is free from shadows and other distractions. If possible, use a wall or solid sheet as a backdrop for your photo.
- Pick an appropriate outfit. Passport photos should be taken in clothing that is suitable for business or formal occasions — no hats, bandanas, headscarves, or sunglasses! Additionally, choose colors that do not match the background too closely and opt to avoid vibrant colors such as yellow and green unless absolutely necessary.
- Arrange to light so that it does not cast harsh shadows or glare on your face or clothing — try to position two lamps on either side of the frame for an even lighting effect on all parts of your face and body in the shot.
- Find an appropriate camera setting — use natural settings such as aperture priority mode rather than an auto setting in order to control exactly what shows up in the frame (i.e., no extras such as random objects). Select a large enough resolution so that details are clear while also keeping the file size low enough to meet travel document requirements (500 x 500 minimum).
- Take multiple shots so that you have plenty of options when it comes to choosing the optimal photograph later on — it’s always better to have too many options than too few!
- Edit your photograph if necessary in order to meet passports guidelines — make sure there are no red-eye effects present; brighten up dark spots with brightness settings; crop out unnecessary objects like phone cords; use color adjustment tools if needed in order correct skin tones; sharpen any fuzzy details; blur any lines near facial features; crop image into proper dimensions according to National ID Card dimensions or those specified by your respective country’s regulations (e.g., passport); convert the digital file into the appropriate format (e..g., .jpeg).
Choosing the right background

It is important to select a solid color, preferably white or light blue, as the backdrop for your photo. The color frame should be diffuse, suggesting that it is uniform in color and brightness across the photo. Darker hues and textures will affect the accuracy of facial features and are not recommended for passport photos.
In addition to selecting a soft-colored background, you should make sure that there are no patterns visible in the background of your picture. Busy backgrounds can cause distortions which can lead to rejections by authorities.
Positioning yourself
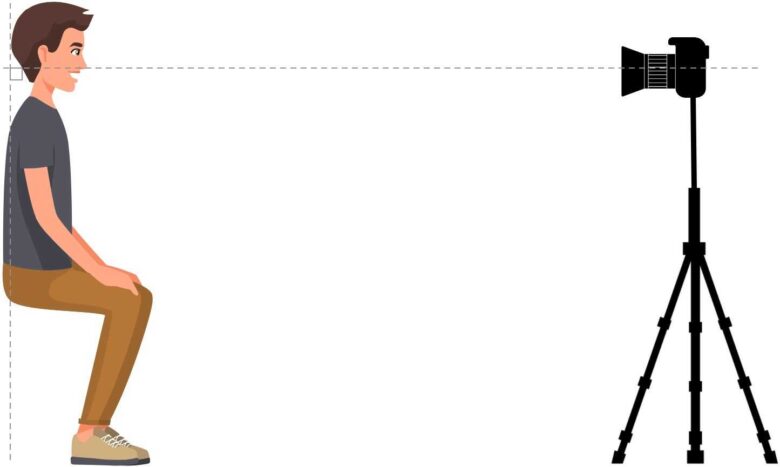
It is important to position yourself properly in order to take a passport-quality photo. Taking time to get the right position will help ensure that you have a photo that meets all the standards and can be accepted by passport services.
Stand against a white or off-white wall and keep your head facing straight ahead with your eyes looking at the camera. Make sure to stay still and keep your body posture relaxed but professional. You should also avoid any facial expressions — keeping your expression neutral ensures that you will not run into issues when having your passport processed by an authority.
Positioning for passport photos includes:
-Remain at least 4 inches away from the camera in order to get a clear image of your face without distortion
-Keep both eyes open and visible, wearing no eyeglasses if possible
-Do not tilt or turn your head in either direction, but instead keep it facing straight ahead
-Make sure there are no other facial features besides glasses obscuring any part of your face
-Have no more than 1/8 inch of space between the top of your hairline to the edge of the photograph
Printing the passport photo
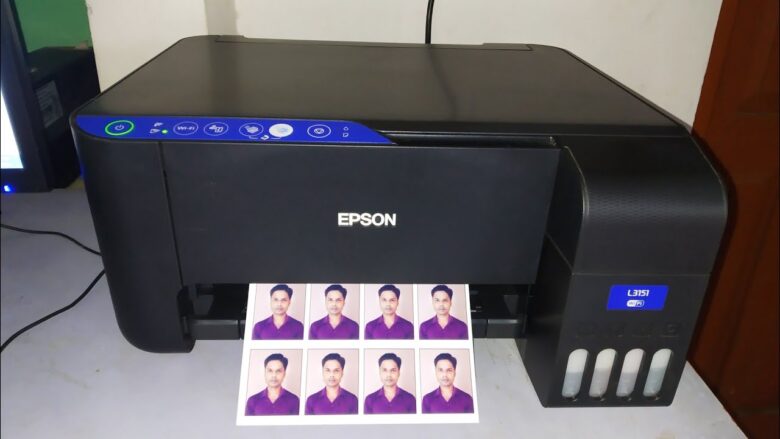
Once you are sure that it meets the requirements for display size, quality, and composition methods for each governing body, you can prepare the passport photo for printing. If you are printing at home then use standard matt or glossy paper designed for photos – standard office paper will not provide a good quality printed result. You can also head to your local drugstore or online shop that offers printing services from digital sources such as CDs or USB flash drives at competitive prices
When printing, be sure to align each copy of your passport photo correctly with the highest possible print resolution available on your printer in order to ensure that each copy is clear and clean – no smudging or blurring should be present! After dotting every I and crossing every t – let’s get those pictures printed! When done correctly, you should now have an excellent-quality printed passport photo fit for submission when needed!
Conclusion
Creating your own passport can be a fun and rewarding experience, and with the help of this guide, you can be on your way to creating the perfect document for your travel needs. By following these simple steps, you’ll have everything you need to create a beautiful passport that accurately reflects who you are as a person. Thanks for reading!