Have you ever entered a room and felt so inspired by its beauty that you wish you could bring that same feeling to your own home? Well, good news! You don’t have to be an experienced painter or decorator to achieve this. With the right tools, techniques and a bit of creativity, anyone can make their room look like it was done by a pro. So, grab your paintbrush and let’s get started!
Contents
Preparing the Room

Source: homes.winnipegfreepress.com
Before you begin any painting project, adequate preparation of the space is necessary to ensure a professional-looking finish. When prepping a room for painting, use the following tips to achieve the best results:
- Clear out furniture and other items from the room: Remove all furniture, window coverings, rugs, and floor protectors before starting. Also take down any pictures or decorations on walls or around windows to allow for smooth and even coverage of it. Move items outside of the room into another space or store in clear plastic bags.
- Clean walls: Dirt and grease can prevent it from adhering correctly to your walls and will create an uneven finish when painted over. Using a vacuum cleaner with brush attachment can help remove stubborn dirt while tidying up dust particles in the process before you start priming whatever is left behind after cleaning.
- Use caulk around windows: Caulk helps make up for any cracks or gaps between window sills and frames that could cause air drafts later on when wall paint has dried if left uncovered. This makes your rooms feel warmer as colder air won’t be able to sneak through in finished spaces! Keep in mind that caulk does not fill holes; use spackle or putty before replacing caulking if needed beforehand.
- Sand rough areas: Use fine-grit sandpaper to smooth out any imperfections on your wall surface that may have been missed during cleaning routines but can be seen when priming begins after preparation work has been completed successfully! Sanding will also help with adherence of primer later on – making sure your end product looks its best!
Choosing the Right Paint

Source: thespruce.com
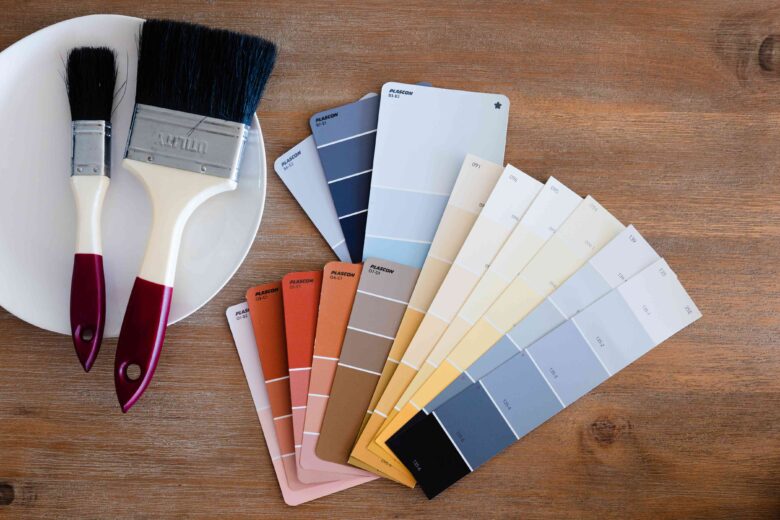
Choosing the right one is key to a professional-looking finish. The first step is to consider basic colors and hues, along with any accents you’d like. When establishing a general tone for a room, it helps to start with something light and neutral. You should also consider the lighting in the space and whether the room will face direct sunlight for any length of time.
The next step is you should choose paint that’s appropriate for the area you want to do. For example, ones made with vinyl acrylics are best suited for high-traffic areas such as hallways and kitchens because they’re more durable than regular flat finishes; satin and semi-gloss finishes are best in higher traffic areas too. For interior walls without a lot of wear and tear, eggshell or flat finish could work.
Finally, be sure that you purchase enough for your space—measure your room before painting begins and always remember that lighter colors may need two coats while darker shades often require only one coat coverage—so make sure you factor this into your calculations when selecting your color scheme and estimating the amount of it needed!
Creating a Professional Finish

Source: marcpoulospainting.com
Creating a professionally-finished job doesn’t have to take an experienced painter’s time or nimble-fingered expertise. You can achieve a polished, professional style with the right supplies and care. Here are tips that will help you get started in creating a professional paint finish:
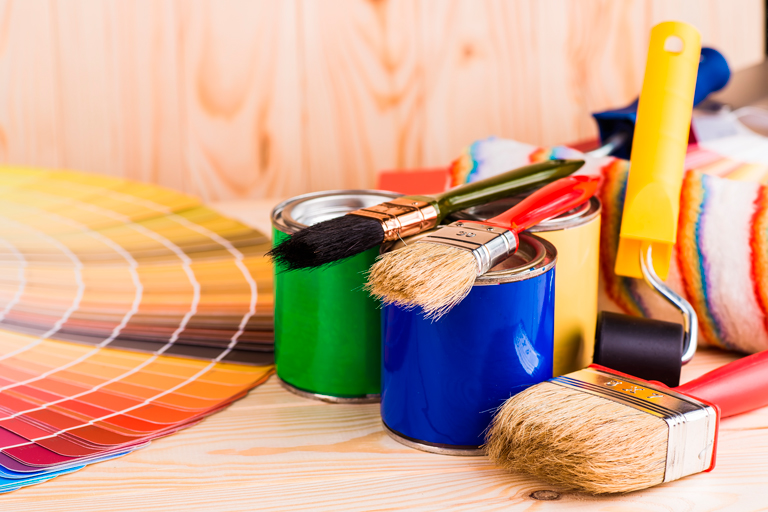
- Be sure to use quality wall paint and primer that is made for interior walls. The right product will make putting on the paint much easier and provide better coverage with less effort.
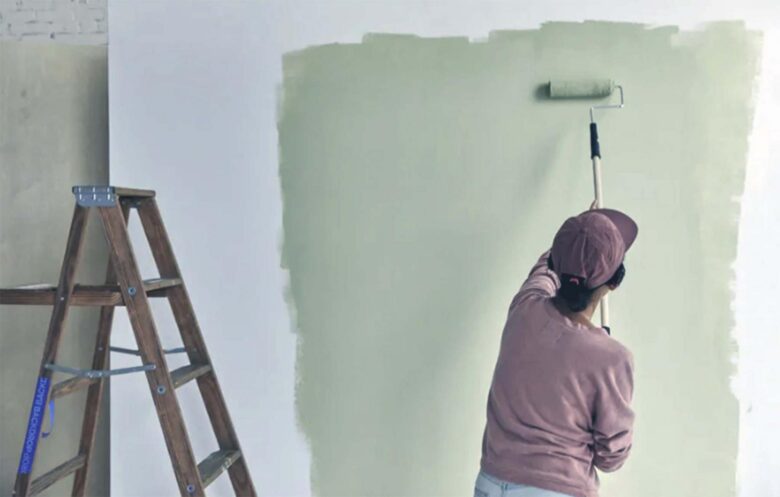
- Paint edges first: Start by cutting in the edges where walls meet ceilings, around door frames or windows, and other breaks in the surface with a brush or small applicator roller. Use even strokes, allow each stroke to dry partially before overlapping it with another stroke. This technique works especially well when using darker colors as it reduces the amount of time needed for touch ups once the wall is finished.
- Use tape for guidelines: Tape off corners and trim as needed to create neat lines where different colors meet. To create an extra crisp edge, press adhesive tape down firmly around all edges before painting to prevent any bleeding of color onto adjacent areas..
- Allow plenty of drying time between coats: Follow label directions on paints exactly for recommended drying times between coats so you don’t end up with visible roller marks or uneven splotches from multiple layers of wet paint sitting on top of each other.
- Remove excess paint from rollers: To prevent leaving drips on your work surface, roll off excess paint after each session onto an old piece of cardboard or wood instead of into your tray or bucket full of clean roller nap solution – this will reduce how often you need to replace your cleaning liquid.
Finally – inspect your work! Once dry, inspect each wall carefully by standing back at least several feet away so you can get an overall feel for how everything looks together in its finished state and make any minor touch up required before fully enjoying your completed professional looking work!
Maintaining the Professional Look

Source: oahupropainters.com
Once you’ve finished a room, there are a few extra steps to ensure that you maintain the professional look. First, give the walls a final inspection for any missed or rough areas that need to be fixed. Next, add some protection with door and switchplate covers or wall art. This prevents dirt and scratches from occurring when you move furniture around. Finally, take a few minutes to clean up your supplies. Put away brushes and rollers in plastic bags, seal cans tightly and get rid of any excess residue with mild soap and warm water. By following these steps, your room will continue to look well-maintained and professionally-done for years to come.
