Are you planning to buy a hatchet? If yes, then it is better to consider buying a new but old hatchet than a brand new one for two reasons. The first reason is that the heads of old hatchets were made using pure and high carbon steel.
It is very unlike today’s hatchets are most often made using melted down metal. This makes older hatchet heads much stronger and durable than the newer modern ones. Besides, older hatches are cheaper than new ones and are best bought at flea markets, old barns and even in some online sites.
Of the many brands available, Gransfors Burk, Husqvarna, and Fiskars are the best brands to choose from. Gransfors Burk and Husqvarna hatchets have a long history, are both from Sweden, and are known for manufacturing handcrafted hatchets. Fiskars is another famous hatchet manufacturing company that is based in Finland and is also known for making some of the best axes.
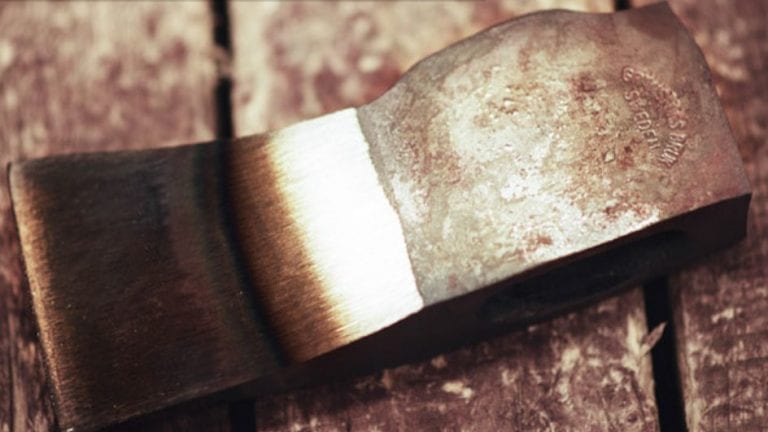
Source: gransforsbruk.com
Once you manage to find an old hatchet that comes from your grandfather’s barn to make it look brand new, it is time to start the restoration process. Here is the step by step restoration process explained for you to follow.
And to do this, you first need to know all there is to know about the different parts of an axe.
The different hatchet parts
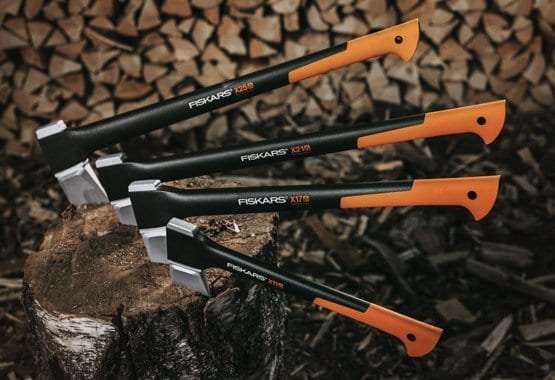
It is quite obvious that the hatchet is divided into the head and the handle where the handle is also called a haft. The head is a large piece of metal, comprising of two sides. One of the sides is called a bit or blade, while the other side is called the butt or pole.
While the top of the head is called the toe, the bottom is called the heal, and the sides are called cheeks. The haft is installed to the head through a hole called the eye, and the process of installing the head into the haft is called hanging. While a wooden wedge is used for attaching the haft, a metal cross wedge is used to hold it securely in place.
Source: fiskars.com
Hatchet restoration process
Here is the entire process of restoring an axe or hatchet, broken down into separate steps.
1. Disassembling the hatchet
Before you start the restoration, you have to take apart the hatchet to assess its condition. This is because you may have to replace the haft if it is damaged or weak so that it is safe to use. You don’t want to spend so much time restoring the hatchet only to have the hatchet flying around because of a broken handle.
2. Remove any rust from the head
There is a high chance of the heads of old hatchets getting rusty with time, even though they were made of excellent quality steel. Time takes its toll, so you have to remove the rust using either one of these two ways.
If it is a case of superficial rusting, then you can use some sandpaper to clean any rust off the surface. However, if there is some pitting, you can try soaking the head in Evaporust or white vinegar for a few hours and then use some steel wool to polish it up.
3. Blade profiling
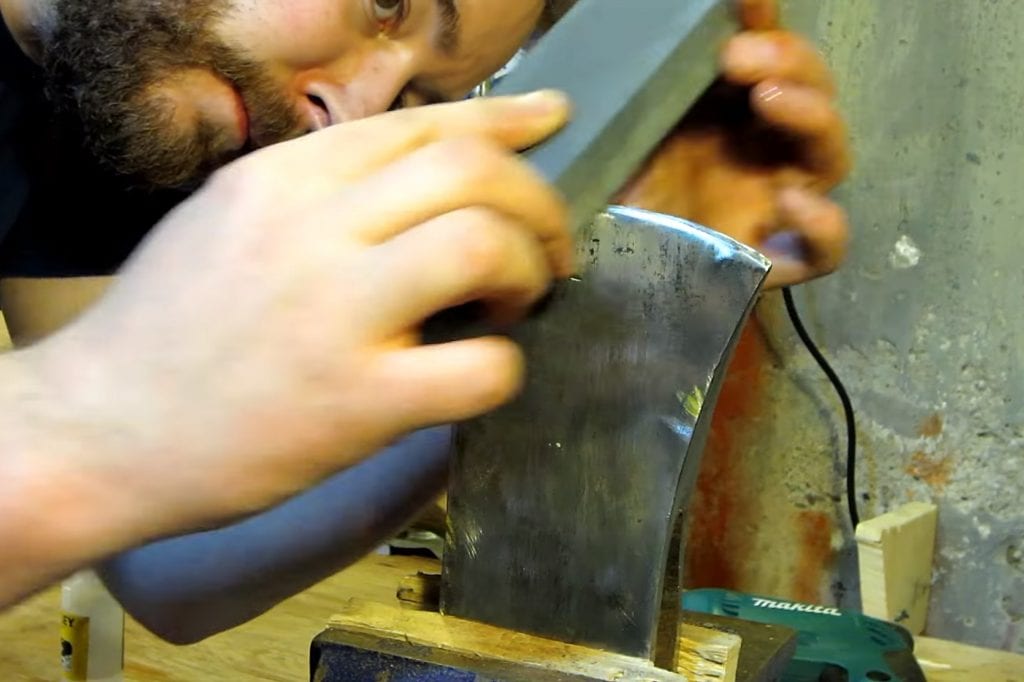
Besides rust, there is a high chance that the blade ends up dinged with use over the years. They may at times even end up damaged because of poor or improper storage. This is when you should consider profiling the blade to establish new bevels which together form the blade’s cutting edge.
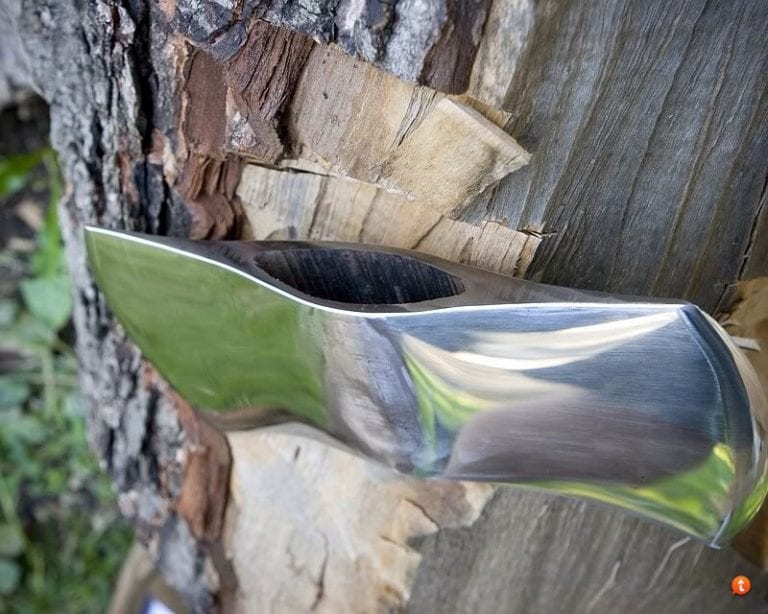
You can do your profiling using a mil bastard file and then follow it up with some sandpaper of 400-1,000 grit or use sharpening stones. You then finish off the profiling to give a smooth edge using a leather strop.
4. Cleaning the haft
In case of hatchets with a sound haft, you have the choice of leaving it with its patina, or you can also opt to give it a new surface. It is also worth taking note of the type of wood used in making the hatchet.
It is better if the handle is made of some light and tight-grained wood like ash because straight grained hafts prevent the handle and hatchet from breaking when in use. Hafts with curved grains are generally shorter and weak in the structure which can get a bit risky while using the hatchet.
Source: Recoil OffGrid Magazine
5. Hanging the head
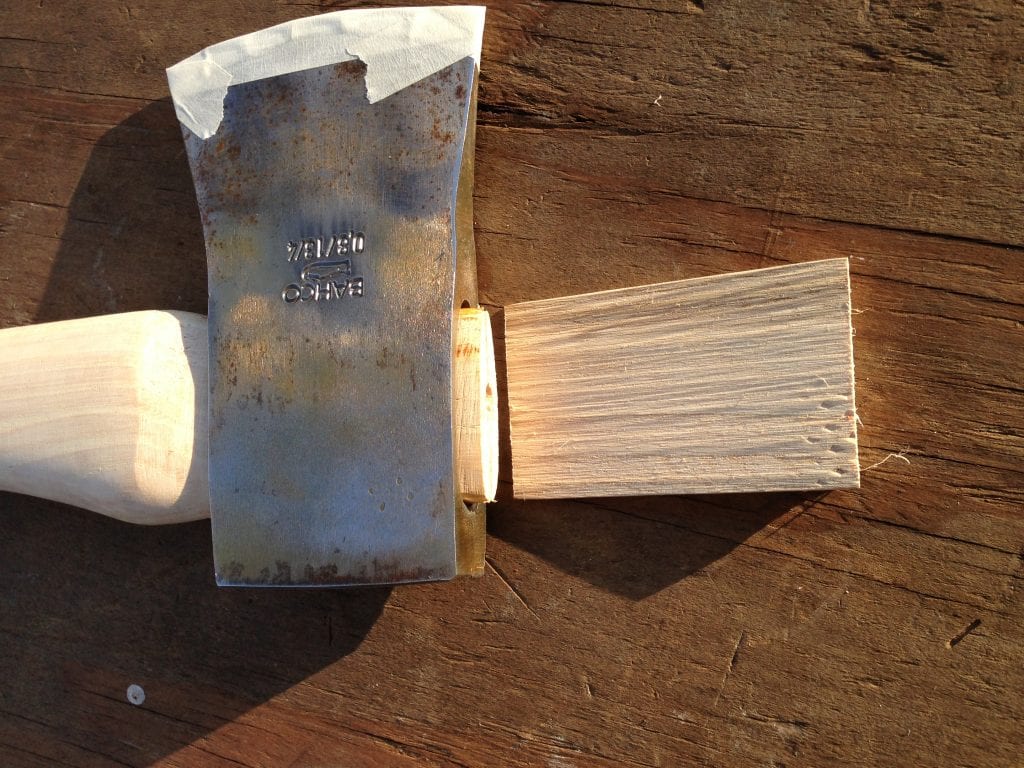
Once the blade’s metal is ready, and the haft is all cleaned and sanded, it’s time to proceed to the next step, which is the hanging or attaching of the head. To do this, you first have to look for a cut that goes in line with the head at the top of the haft. This is the spot where you pound a wooden wedge into it.
You next have to pound a metal cross wedge placed at an angle to the wooden wedge. This is an important part of the hanging process because it helps to lock the haft in place, and also ensures that the haft is completely inside the eye. You have done it right, and can be proud if you find a small bit of the haft protruding out of the eye.
Once the head is installed into the haft, then it’s time to soak it upside down in boiled linseed oil. This is done so that the wood inside the eye further expands, to give the wood a tight and secure fit. Once you are done oiling the haft and have rubbed it out, you can safely use your hatchet for not only years, for even decades to come.
Now that you have learned about how to restore an axe, you will undoubtedly agree that it is not something complicated, but is instead an art all woodworking enthusiasts should definitely learn. You can add a touch of elegance to the hatchet by storing it in a leather sheath. It will not only look great on the hatchet, but it also keeps you and the hatchet safe until you next use it.
Source: Bushcraft USA Forums
