With the most special day of your life approaching, besides all the tasks that wait for you stubbornly to come and do them, the last thing you want is to dedicate too much time to such a little thing – a wedding invitation. But, let’s just take a look on the bright side – working on this can be pretty engaging and creative. Something like your unique opportunity to weave yourself and your ideas into your invitations, give them a special shimmer and make them enchant the person who will receive them.
And what do you get from it? A wonderful remembrance in the form of this small gorgeous detail – without much unnecessary nervousness, but with so much love. How? Here it is.
Contents
Step 1: What kind of wedding do I want?
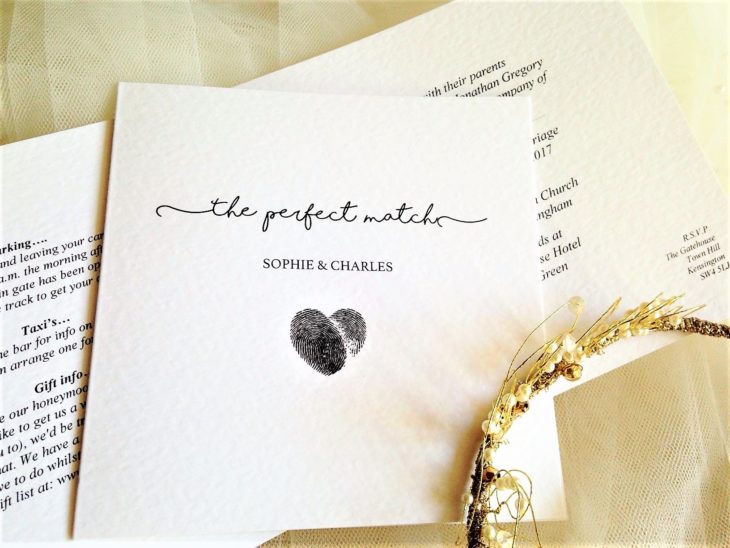
If you already have a preconceived idea of how do you want your special day to look like (and we all know that you do!), it’s necessary to think carefully and define the kind of wedding you would like to have. And when we say “kind of wedding”, we are referring to the atmosphere. Whether it’s a classic, sophisticated, glamorous wedding with lots of white details or something completely new, creative, modern or funky, it must be closely associated with the choice of your wedding invitations.

Source: daisychaininvites
Step 2: What should I write?
One of the most significant things which certainly should be done without any mistakes is those few written lines within which are supposed to say all that matters, without leaving any crucial information out. Don’t worry – it might look difficult, but actually… it’s a piece of cake.
Details that your wedding invitation HAS to contain are:
– names of the bride and groom
– the name of the restaurant or the venue
– a convenient request for your guests to confirm their attendance.
And… nothing else. Wrap it up in the way that fits the style of your wedding – you can also add a verse, a love quote or simply come up with some witty little text. Take care of spelling, grammar and pronunciation – not respecting those rules show carelessness and lack of effort.
Step 3: Design of your wedding invitations
Provide readability – it certainly will not be achieved simply by putting dark letters on a dark paper or bright letters on a bright paper. Be careful with the contrast, so that the letters are noticeable.
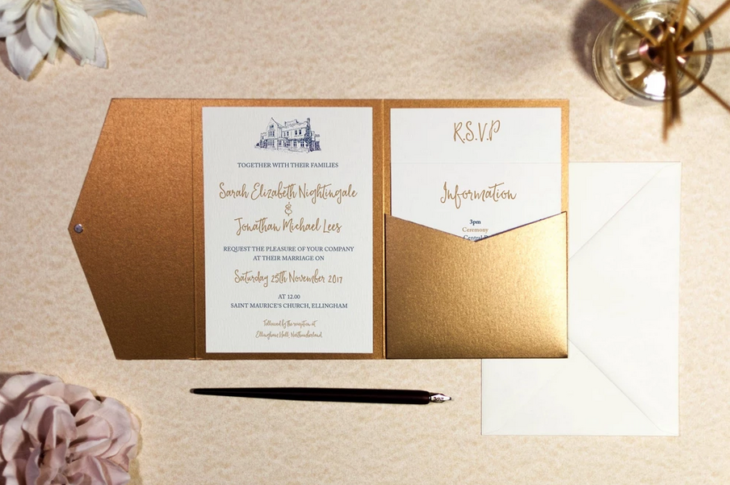
Also, it’s unnecessary to experiment too much with the type of font and its size. It’s not that you need to follow a textbook example and have your invitations typed in Times New Roman font or choose complicated, fancy letters. Less is more. And yes, one more thing – you don’t need to do this alone. For example, sweet websites like Dream Day Invitations offer a service of getting your own sample packs at a quite reasonable price before they make the invitations for you. In case you are hesitant or unsure about the design that would make you happy, this will save you time and make it much easier.

Source: combossaweddinginvitations
Step 4: Printing wedding invitations
Your wedding invitations now look exactly as you imagined and wanted them to look. The next thing you should do is give them a shape. Before you start, dedicate yourself to finding the best ways to print them out. Visit the best printing places in your town, ask them about the prices, mentioning the details you would like to add so you can get an impression of how much money you’d need to spend for a certain number of invitations. In this last phase, you’ll experience the most satisfying moment of the whole process – being able to touch and feel the thing that was only a brainchild of yours getting into its final form, ready to go places!
