Have you ever been in a situation where a hydraulic hose in your machine breaks down, and you don’t know what to do? Fear not! This comprehensive guide will escort you through the process of replacing a hydraulic hose, demystifying the intricacies of this task that may appear daunting to many. Even if you’re a novice, you’ll find this guide to be a trusted companion in your maintenance journey.
Contents
Identify the Fault
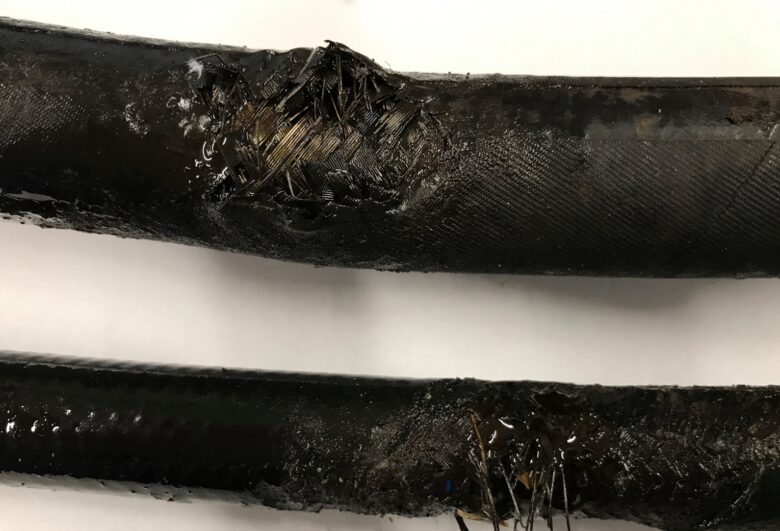
Spotting the defective hydraulic hose is the initial step of this journey. Signs of malfunctioning might include irregularities in machine performance, visible wear, and tear, or even leakage of hydraulic fluid. This preliminary stage demands a vigilant inspection, as ignoring a faulty one can lead to machine breakdowns, costly repairs, and potential safety hazards.
The second part of identifying the problem lies in discerning the nature and extent of the hose damage. Look out for blisters, kinks, or cracks on the hose’s surface, or an unexplained drop in hydraulic pressure. Armed with this knowledge, you’ll be prepared to take the next step – releasing the hydraulic pressure.

Source: cotswoldhose.co.uk
Release the Pressure
The release of hydraulic pressure is a vital safety measure. It’s essential to note that hydraulic systems often operate under high pressure, and an unexpected release of this pressure can cause severe injuries. Before you venture further into the replacement process, ensure that the system’s pressure has been reduced to a safe level, typically zero psi.
During this phase, caution is of paramount importance. It’s not just about lowering the pressure but doing so in a controlled manner. Carefully follow the manufacturer’s instructions to bleed the system and prevent a sudden surge of pressure. Once the pressure is completely released, we’re ready to drain the hydraulic fluid, if needed.
Drain Hydraulic Fluid (if applicable)
In certain circumstances, draining the hydraulic fluid becomes necessary. This step is typically required when the fluid is contaminated or when the machine design warrants it. To carry out this process, have a suitable container ready to collect the drained fluid and prevent spills, which could be both a safety hazard and an environmental issue.
In the latter half of this stage, don’t overlook the proper disposal of the hydraulic fluid. It’s not merely an issue of environmental concern but also a legal requirement in many jurisdictions. Adhere to local waste disposal regulations to ensure you’re acting responsibly, protecting both the environment and yourself from potential penalties.
Remove the Fittings and Connections
Now comes the stage of detaching the hose fittings and connections. At this juncture, having the right tools at your disposal, such as wrenches and clamps, is essential. As you embark on this phase, ensure that you follow the manufacturer’s guidelines closely to prevent damage.
Upon removing the fittings, keep track of their locations. A simple trick is to take photos or sketch a diagram of the assembly. Such visual aids can prove invaluable during the installation of the new hose. With the fittings removed, we can move on to detaching the faulty one.

Source: 1tomplumber.com
Detach
It’s time to bid farewell to the old hydraulic hose. Start by loosening it from its attachments, being mindful of any sharp edges that could cause injuries or further damage. A systematic approach to this phase will ensure a smooth detachment process.
During the removal, make sure you take note of how the old one was routed. This information will be crucial when installing the replacement hose. With the faulty hose successfully detached, we’re ready to select its replacement – a task of great importance, as the choice will directly impact the system’s performance.
Choose the Right Replacement
Choosing the right replacement hose isn’t merely about matching the dimensions. One must also consider factors like pressure ratings, material compatibility, and the hose’s bend radius. An accurate choice ensures seamless performance, longevity of the hose, and safety of the hydraulic system.
A trusted company in this field can help with this. TT Weber Hydraulics will carefully assess what will be needed to get your equipment back up to working order.
Another key consideration is the quality of the replacement hose. High-quality hydraulic hoses are more resilient and provide better performance. So, even though they may come with a higher price tag, they offer enhanced value for money in the long run. Now, with the perfect replacement in hand, it’s time to move on to its installation.
Install the New Hose
The time has arrived to install the new hydraulic hose. Follow the route of the old hose, which you observed during its removal, to ensure the new one fits correctly. Remember, a poorly installed hose can compromise the entire hydraulic system, so precision is crucial during this phase.
As you proceed with the installation, be careful not to twist the hose. This could create unnecessary strain, leading to premature failure. Having correctly installed the new hose, you can now reattach the fittings and connections.
Reattach the Fittings and Connections
Reattaching the fittings and connections is the penultimate step of this process. The visual aids you created earlier will now come into play. Following these, tighten the connections firmly but avoid over-tightening as it may damage the fittings.
Once the fittings are securely in place, double-check your work. Ensure that all connections are tight and that the hose is routed correctly. Completing this step brings us to the final phase – refilling the hydraulic fluid, if applicable.
Refill the Fluid (if applicable)
Refilling the hydraulic fluid is a critical step in resuming the operation of your machine. The fluid type should match the specifications provided by the machine’s manufacturer. Make sure you refill the fluid to the correct level, as an overfilled or underfilled system can lead to performance issues or even damage.
With the fluid refilled, you’ll need to bleed the system to remove any air that may have entered during the hose replacement. A system filled with air can lead to spongy performance or even component failure. With the hydraulic fluid refilled and the system bled the last action to take is to check for leaks and perform a pressure test.
Check for Leaks and Pressure Test
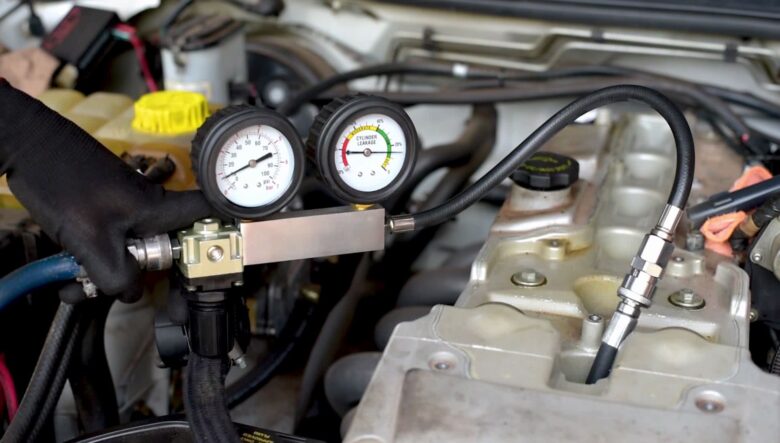
The final stage involves checking for leaks and pressure testing. Any leaks, however small, can lead to significant issues over time, including reduced system efficiency and possible failure. Keep an eye out for any signs of hydraulic fluid around the fittings.
The pressure test is equally essential. This test ensures that the new hose can handle the system’s operational pressure. Run the machine at its typical operating pressure and check for any signs of strain on the hose. If all is well, then congratulations! You’ve successfully replaced a hydraulic hose.

Source: toolwarehouse.com.cy
In Retrospect
Through this enlightening journey, you’ve not only replaced a hydraulic hose but also unraveled the seemingly complex task that lay before you. The step-by-step process should serve as a robust framework, empowering you to tackle future replacements with ease and confidence. Remember, each phase is important, from identifying the faulty hose to performing the final checks. By embracing a meticulous approach, you can ensure the health and longevity of your hydraulic system.
