For many of us, our cars are our pride and joy. We’ve put a lot of thought into exactly the car we want, we’ve made an effort to get a good deal on the precise model, and frankly, we’ve paid a pretty penny to be able to call the car our own finally. At the end of the day, our cars are a little piece of who we are as people. It comes as no surprise then that we want to keep our cars in as good as shape as possible. Of course, there’s a lot that goes on under the hood, but the most visible and obvious impression your car will make is it’s exterior.
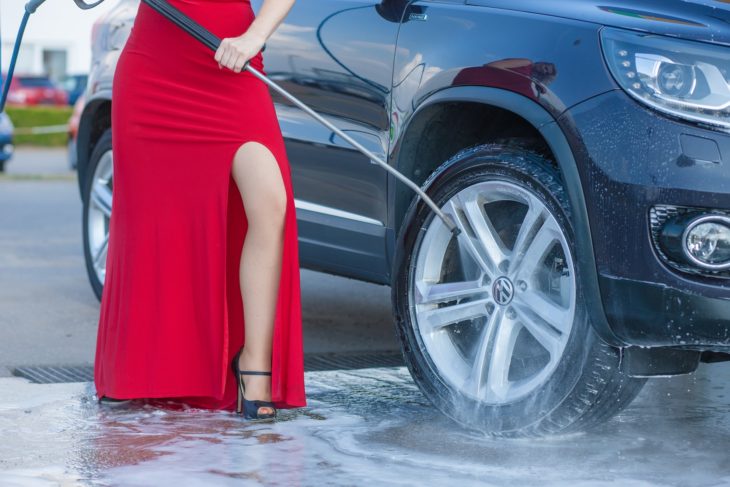
Sure, you could go to a carwash to get your car cleaned, but many of us find great joy and pride in washing our own car. There are a number of reasons why you’d want to use a pressure washer to take care of the cleaning – it saves water, it’s easier, and it works better. But having the nozzle pointed directly at the car won’t do you any good, and sometimes it might even take a turn for the worse. Pressure washers are relatively affordable nowadays such as the Karcher pressure washer. You do need to be careful, though, as pressure washers are powerful tools that can cause some damage if not used properly. Here are the steps you should take to clean your car with a pressure washer:

Start With A Rinse
Before you go any further, you want to make sure you start your cleaning procedure with a complete rinse of your car. This will remove any dirt or particles that could scratch your paint job later on. You’ll want to use as wide of a nozzle on your pressure washer as possible so that the pressure is dispersed minimally. According to www.thebestelectricpressurewasher.com, most pressure washers come with at least five different nozzles of varying angles.
Make sure to start from a distance; you can always move closer as you get more comfortable so that you know you’re not applying too much force to your car’s paint job. Once you’ve thoroughly rinsed the body, you can switch to a more narrow nozzle for the tires and hub caps – just make sure to avoid hitting the painted surfaces of your car’s body.

Apply Some Suds
With your car all rinsed down and ready to go it’s time soap it up and removes all of the stuck-on grime. Make sure to use soap specifically designed for auto body use, and fill up your pressure washer’s detergent reservoir at the appropriate dilution.
When choosing a nozzle for soap application, there’s going to be a little bit of art involved. The best way to go about it is to use a foam cannon attachment for your pressure washer if you have one. Usually, these are specifically designed for each model, so if you don’t have one, it’s worth looking around to see if you can find one that fits. If you don’t have a foam cannon, you still want to use as wide of an angle as possible as you did with the rinse step.
The difference here is that with the detergent mixed in you’re going to be creating a lot of suds, and reducing the pressure of the water in the process. As such, you may need to use a slightly narrower nozzle for the soap application. Always air on the side of less force on your paint job, you can always try again with a narrower nozzle if you don’t get your car clean enough.

Final Rinse Down and Polish
With your soap thoroughly applied it’s time to rinse it away and make your car shine. Perform the final rinse down in a similar fashion to the initial rinse, just make sure that you thoroughly rinse out the detergent container prior to doing so unless you have the ability to switch the detergent on and off, which many pressure washers do.
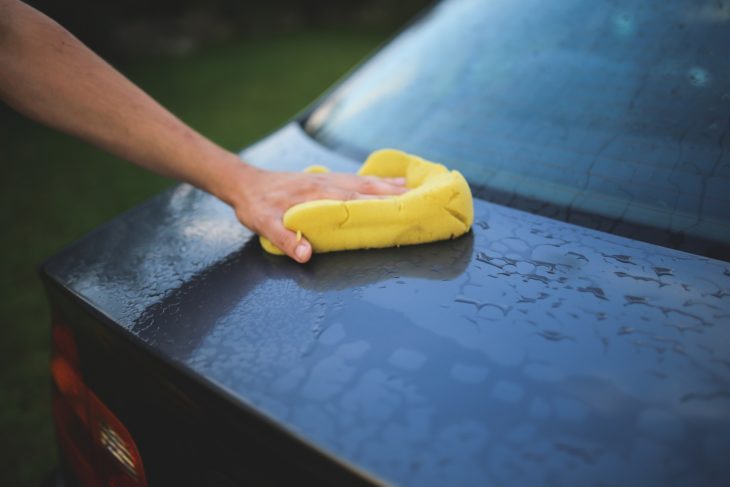
Once you have thoroughly rinsed the body of the car, you’ll want to gently dry it down with a microfiber cloth to prevent water spots. You then have the option (which is highly recommended) of applying wax to both make your car shine extra bright and also protect that precious paint job.
