Home decoration is really important, and every once in a while we have to re-paint our walls because as time passes by, the previous paint tends to wear off or get smudged, and it just doesn’t look good. We tend to spend most of our time in our own homes, so if we don’t make sure that we love the way they look and feel to us, we won’t find comfort as easily.
Decorations aren’t always a priority, but there’s a reason why every person that we know eventually invests a bit in making their home look slightly better. A new facade, wall-repaint or new furniture always feels nice, but today we are going to focus entirely on wall-painting, how you can do it on your own, and most importantly, some of the most useful tools that you can use.
Since there is a lot to talk about, let’s end this introduction right here and jump straight into the content, shall we?
Contents
1. Multiple-group Paint Mixing Bucket
Source: HGTV
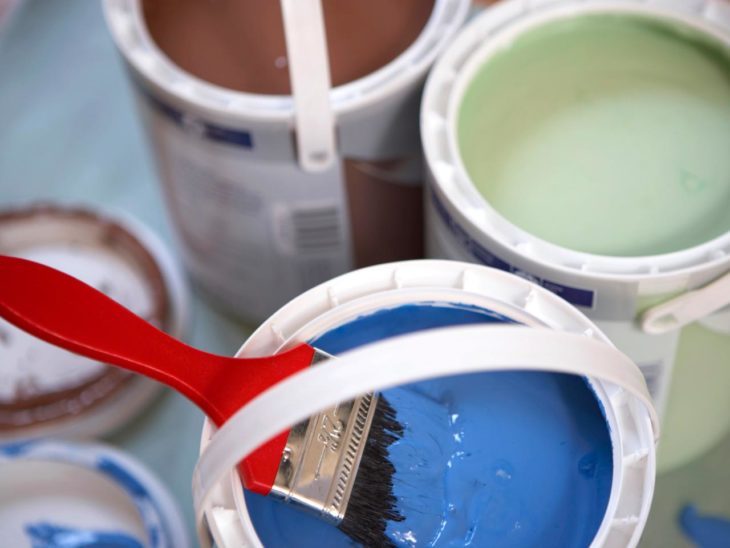
Some people want to paint their walls in different colors, and this usually requires an item, such as a bucket, in which you can mix the different shades of those colors, but a regular bucket just won’t do it because it has only one “group”.
These multiple-group buckets have many groups in which you can separately mix different colors without letting them mix and create one huge mess. These can usually be found in hardware stores, but we are not sure if one will be enough for all of your painting needs if you are aiming to re-paint your entire home in one session.
2. Paint-Spraying Gun
Source: Paint Sprayer Judge
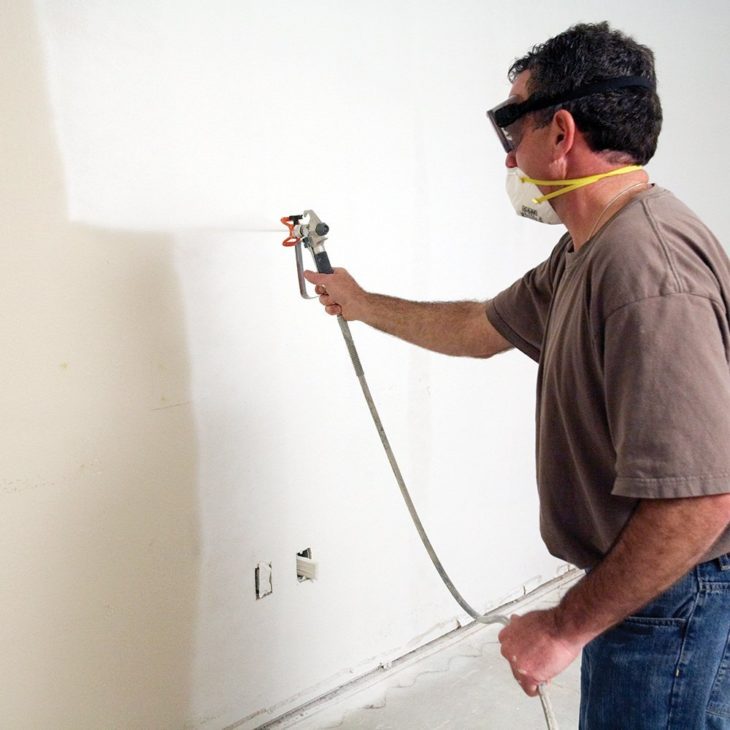
Although the most “old-school” and traditional way of re-painting your walls is by using a roller, why not use the advancement of technology and replace that hand-tiring thingy with a professional paint-gun? These things are fully automatic, and you won’t have to do anything with your hands besides holding the gun and aiming it at the area that you want to color.
They are designed to carefully spray the paint in such a manner that won’t leave you with any areas that look over or under-painted. Now, they might be more expensive than a roller, but a roller is used once or twice before it gets replaced because they are just designed to be easily worn-off, so in the long-run, you’ll still end up paying the same amount of money.
For more information and top recommendation of spray painting tools, you can visit toolzpick.com.
3. A good ol’ roller
Source: The Family Handyman
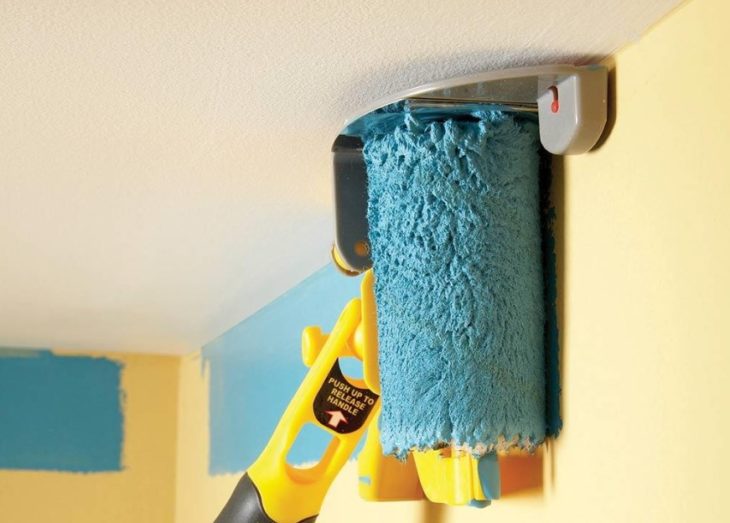
If you like to keep things traditional, despite the many advantages of a paint-spraying gun, there’s nothing wrong with using a roller, especially if you are a professional painter and you’re exceptionally good at using one of these.
Rollers come in many different shapes and sizes, some of them being simply of higher quality compared to others. If you need to reach high areas, you can purchase a longer one, if you need it for the lower half of the walls, or you’re simply a very tall person, get a shorter one. A best-case scenario is to purchase the ones that can be adjusted in terms of length, but they might be more expensive, so let your budget decide the outcome here.
For more information on these valuable items, you can visit https://www.behangservicenederland.com
4. Texture Scrapping Tool
Source: AliExpress
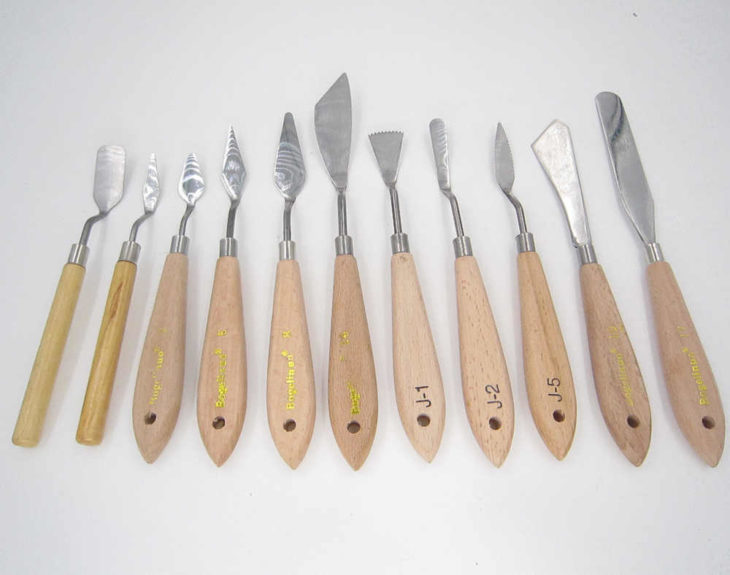
Before you start painting your walls, you’ll need to make sure that the texture is completely smoothed-out, and you’ll have a much easier time applying the paint this way. A Texture scrapping tool, also known as “A Texture Terminator” is something that helps you use a metal blade to take care of those popcorn ceilings and walls, completely smoothing them out so that you can start your procedure without any issues.
These things cannot be used forever without the need for replacement, but you don’t need to replace them as a whole, just the metal blade, which by the way is said that it can take care of about two hundred square feet of the surface without the need for a replacement.
And, if you are worried about making a mess, don’t be, because these things are designed with a bucket right under the place where the bits would fall off, so they immediately fall in the bucket instead.
5. Dry Paint Eraser

Source: ideapaint
Maybe sometimes you’ll want to re-color your walls in a brighter shade than what’s currently applied, so how are you going to cover the previous paint if the one you are applying now is lighter? You can’t, and you’ll have to erase the previous one. This can be done without causing any mess or damage to your walls by scrubbing them with any home-held items, by using the dry paint erase kit, which doesn’t cost more than twenty or thirty bucks in your nearest hardware store. Pretty amazing stuff and it gets the job done.
6. The Infamous Frog Tape
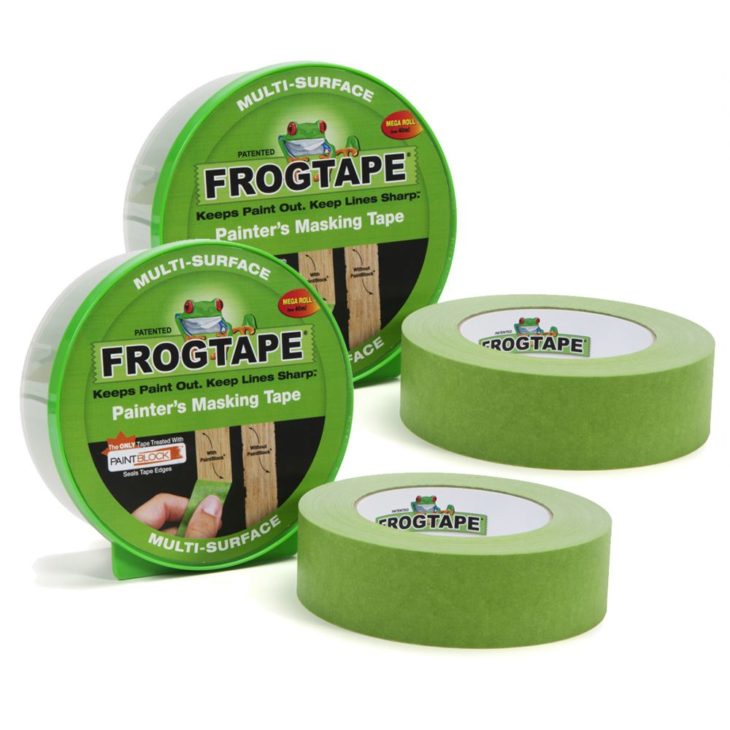
Source: eBay
It is very important that you cover only your walls with paint, and not the rest of the things in your home, so using a frog-tape to ensure safety in some areas is pretty important. If you want to make some special designs as well, such as painting half of your wall in one color and half of it in a different one, a piece of frog-tape prevents you from messing up your design, but make sure to use wider lines just to be safer.
You can also place these on the bottom of your walls to prevent the paint dripping down on your floor and causing a mess.
7. A Werner Work Platform
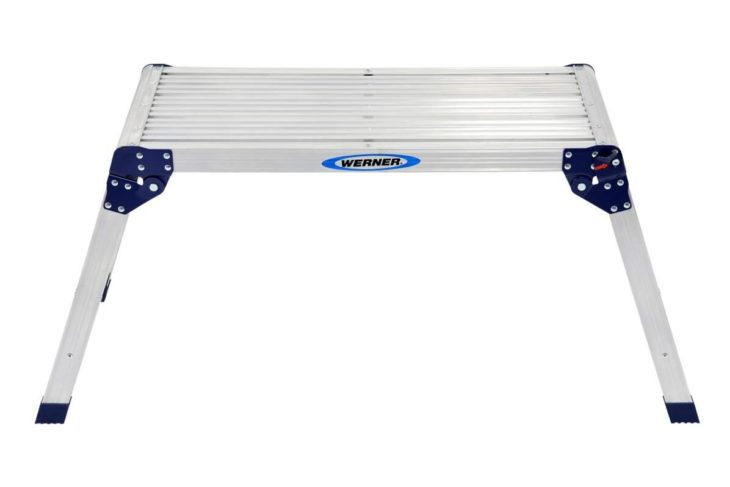
Source: Brewers Decorator Centres
Most DIY-ers will use a ladder to paint from, especially when they need to reach higher areas, but is this the best way to do a thing? We don’t think so. Using a ladder can sometimes be unsafe, and if something happens, you could be risking your health falling from that height. Also, your balance is not good enough, so your hands might be shaky and you can mess up your entire painting process.
A Werner work platform is not as tall but it can be adjusted, and by using one you have a much larger area to stand on, so there’s nothing to worry about when it comes to losing balance.
