Makeup sponges have become a must-have tool in the beauty world. They provide flawless application and blending for foundation, concealer, and other makeup products. However, to maintain the effectiveness of these essential applicators and prevent the spread of bacteria, it’s crucial to clean them regularly.
In this comprehensive guide, we will explore ten easy methods for cleaning your makeup sponge, ensuring you have a fresh and sanitized tool for your daily beauty routine.
Contents
- Method 1: Gentle Hand-Washing with Soap and Water
- Method 2: Deep Clean with a DIY Cleaning Solution
- Method 3: Microwave Steam Cleaning
- Method 4: Cleaning with a Sponge Cleanser
- Method 5: Using a Silicone Cleaning Pad
- Method 6: Double-Cleansing for Stubborn Stains
- Method 7: Cleaning with a Solid Cleansing Bar
- Method 8: Cleaning with Vinegar Solution
- Method 9: Using a Makeup Sponge Washing Machine
- Method 10: Cleaning with a Gentle Facial Cleansing Wipe
- Final Words
Method 1: Gentle Hand-Washing with Soap and Water

- Choose a gentle soap or cleanser: Look for a soap or cleanser that’s gentle on your skin, like baby shampoo or a mild facial cleanser.
- Wet the sponge: Thoroughly wet it with warm water.
- Apply soap or cleanser: Squeeze a small amount of soap or cleanser onto the wet sponge.
- Lather and massage: Gently massage the soap into the beauty blender, working it into a lather.
- Rinse thoroughly: Rinse the sponge under warm water until the water runs clear and there’s no soap left.
- Air dry: Squeeze out any excess water and let the sponge air dry on a clean towel or drying rack.
Method 2: Deep Clean with a DIY Cleaning Solution
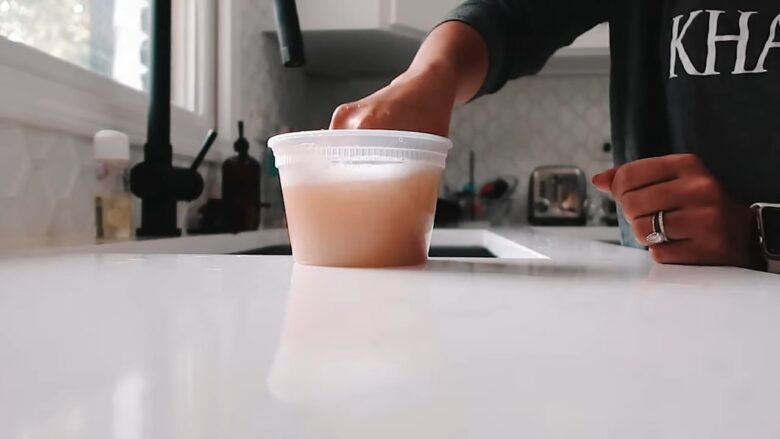
- Create a DIY cleaning solution: Mix equal parts of liquid dish soap and olive oil in a small bowl.
- Wet the beauty blender: Thoroughly wet your makeup sponge with warm water.
- Apply the cleaning solution: Dip the wet beauty blender into the cleaning solution, covering all areas.
- Massage and squeeze: Gently massage the cleaning solution into the sponge, squeezing it to remove dirt and makeup residue.
- Rinse thoroughly: Rinse the beauty blender under warm water until the water runs clear and there’s no cleaning solution left.
- Air dry: Squeeze out any excess water and let the sponge air dry on a clean towel or drying rack.
Method 3: Microwave Steam Cleaning
- Fill a microwave-safe bowl: Add water and a few drops of gentle soap or cleanser to a microwave-safe bowl.
- Submerge the sponge: Place your beauty blender in the bowl, ensuring it’s completely submerged.
- Microwave the bowl: Place the bowl in the microwave and heat on high for 1-2 minutes.
- Let it cool: Carefully remove the bowl from the microwave and allow it to cool for a few minutes.
- Rinse and dry: Rinse the beauty blender under cold water, squeezing out any excess soap and water. Allow it to air dry on a clean towel or drying rack.
Method 4: Cleaning with a Sponge Cleanser
- Purchase a sponge cleanser: Choose a cleanser specifically designed for beauty blenders, available at beauty supply stores or online retailers.
- Wet the beauty blender: Thoroughly wet your makeup sponge with warm water.
- Apply the cleanser: Squeeze a small amount of the sponge cleanser onto the wet beauty blender.
- Massage and squeeze: Gently massage the cleanser into the sponge, squeezing it to remove dirt and makeup residue.
- Rinse thoroughly: Rinse it under warm water until the water runs clear and there’s no cleanser left.
- Air dry: Squeeze out any excess water and let it air dry on a clean towel or drying rack.
Method 5: Using a Silicone Cleaning Pad

- Purchase a silicone cleaning pad: Find a cleaning pad with various textures designed for cleaning makeup sponges and brushes, available at beauty supply stores or online retailers.
- Wet the beauty blender: Thoroughly wet your makeup sponge with warm water.
- Apply soap or cleanser: Squeeze a small amount of gentle soap or cleanser onto the wet sponge.
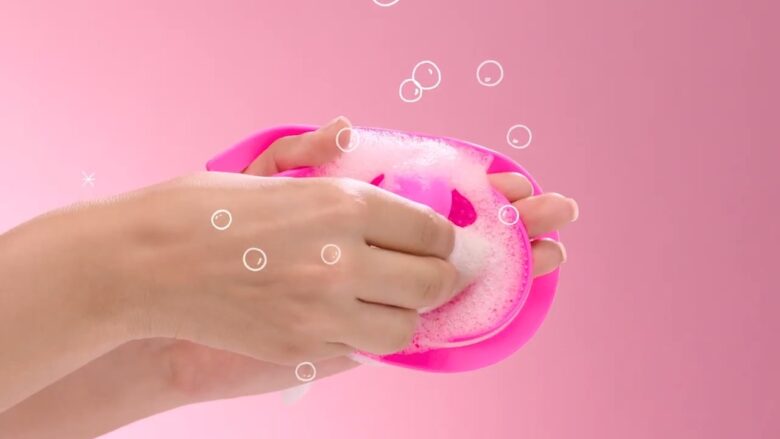
- Clean with the pad: Gently rub the beauty blender against the silicone cleaning pad, working the soap into a lather and allowing the textured surface to dislodge dirt and makeup residue.
- Rinse and dry: Rinse it under warm water until the water runs clear, and there’s no soap left. Squeeze out any excess water and let the sponge air dry on a clean towel or drying rack.
Method 6: Double-Cleansing for Stubborn Stains
- First cleanse: Use one of the previously mentioned methods (such as hand-washing with soap and water or using a sponge cleanser) to clean your makeup sponge initially.
- Check for stains: Inspect your sponge for any remaining stains or residue.
- Second cleanse: If stubborn stains remain, use a different cleaning method (such as the DIY cleaning solution or silicone cleaning pad) for a more thorough clean.
- Rinse and dry: Rinse the sponge under warm water until the water runs clear and there’s no soap or cleanser left. Squeeze out any excess water and let the sponge air dry on a clean towel or drying rack.
Method 7: Cleaning with a Solid Cleansing Bar

- Purchase a solid cleansing bar: Choose a bar designed specifically for cleaning makeup sponges and brushes, available at beauty supply stores or online retailers.
- Wet the beauty blender: Thoroughly wet your makeup sponge with warm water.
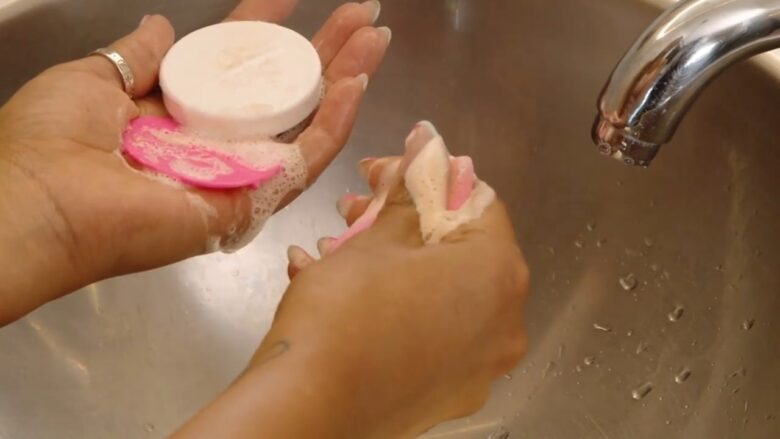
- Lather the cleansing bar: Rub it while it is wet against the solid cleansing bar, working up a lather.
- Massage and squeeze: Gently massage the lather into the sponge, squeezing it to remove dirt and makeup residue.
- Rinse thoroughly: Rinse it under warm water until the water runs clear, and there’s no soap left.
- Air dry: Squeeze out any excess water and let it air dry on a clean towel or drying rack.
Method 8: Cleaning with Vinegar Solution
- Mix a vinegar solution: Combine one part of distilled white vinegar with three parts of warm water in a small bowl.
- Soak the sponge: Submerge your makeup sponge in the vinegar solution and let it soak for 5-10 minutes.
- Rinse thoroughly: Rinse it under warm water until the water runs clear, and there’s no vinegar smell left.
- Air dry: Squeeze out any excess water and let the beauty blender air dry on a clean towel or drying rack.
It’s also important to know when to replace your makeup sponge entirely. Check out our article on extending the life of your makeup products for tips on when to throw away and replace your sponges, brushes, and other tools. Keeping your makeup tools clean and well-maintained is key to achieving a flawless makeup look while also taking care of your skin.
Method 9: Using a Makeup Sponge Washing Machine

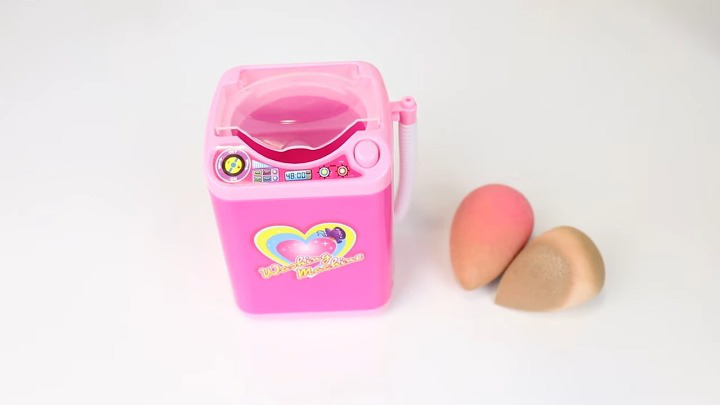
- Purchase a beauty blender washing machine: These small devices, designed specifically for cleaning beauty blenders, are available at beauty supply stores or online retailers.
- Prepare the washing machine: Fill the device with warm water and a few drops of gentle soap or cleanser.
- Place the sponge in the machine: Insert it into the washing machine.
- Start the cycle: Turn on the device and let it run for the recommended time, usually a few minutes.
- Rinse and dry: Remove it from the machine, rinse it under warm water until the water runs clear, and let it air dry on a clean towel or drying rack.
Method 10: Cleaning with a Gentle Facial Cleansing Wipe
- Choose a gentle facial cleansing wipe: Look for a wipe that’s gentle on your skin and effective at removing makeup.
- Saturate the sponge: Wet your beauty blender with warm water.
- Wipe the sponge: Gently rub the wet beauty blender with the cleansing wipe, focusing on areas with heavy makeup residue.
- Rinse thoroughly: Rinse the sponge under warm water until the water runs clear and there’s no residue left from the wipe.
- Air dry: Squeeze out any excess water and let the sponge air dry on a clean towel or drying rack.
Final Words
With these ten easy methods for cleaning your makeup sponge, you can ensure that your essential beauty tool remains fresh, clean, and effective. Regular cleaning not only prolongs the life of your beauty blender but also helps prevent the spread of bacteria and promotes flawless makeup application. Choose the method that works best for you and make it a part of your regular beauty routine to keep your beauty blender in optimal condition.
