The demand for disposable vapes is constantly on the rise owing to their diverse flavors and advanced features. This popularity is expected to continue to surge at a compound annual growth rate of 11.2% from 2022 to 2030.
Different brands have specific types of flavors to their names. For instance, the product line of Lost Mary vape has close to 34 premium flavors. So be it fruity, minty, citrusy, or candy, you have countless options to try and experiment with.
However, isn’t it more exciting when you can make and invent your own disposable vape flavor? Therefore, in this article, we will uphold the detailed step-by-step process of creating an e-liquid flavor you can use in your disposable vape.
Contents
Step-By-Step Guide to Make Your Own Vape Juice
Listed below is the step-by-step process, following which you can create your own exclusive vape flavor:

Source: hometownhero.com
Step 1- Gather Pieces of Equipment
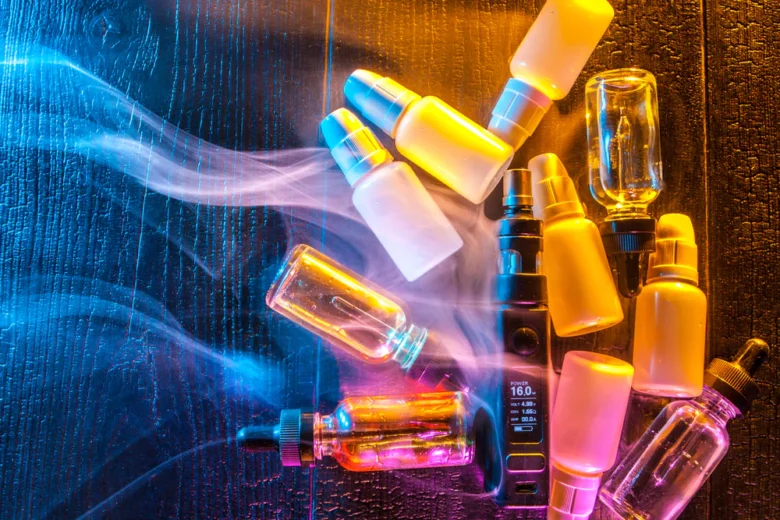
In order to make your own vape juice, you will first need to have possession of specific pieces of equipment or tools. The first thing you will need is bottles of different sizes. These are easily available in the market.
You can purchase 5ml and 10ml bottles to be used for measuring and blending tester flavors. However, if you wish to store the final product for a longer duration, you can go for 30, 50, or 100ml bottles.
The next tool you need is a measuring container or beaker. It is particularly important if you wish to make large batches of vape juice.
Alongside these, you should also invest in syringes and pipettes. They help get the right quantity of each liquid to make the vape juice successfully. With the help of these, you can extract the exact amount of PG, VG, and flavor concentrate.
Step 2- Gather Essential Liquids
Without proper ingredients in the store, you will not be successful in creating your own vape juice. Thus, ensure you have all the essential liquids before starting the process.
The very first liquid that you need to purchase is the nic shots. You can avail of different types and styles of nicotine in the market. Some have a higher VG, while others have a higher PG. Some nic shots also utilize ‘nicotine salts’ in order to create strong and smooth vape juice.
You can buy the most suitable one based on your choice and preference. However, it is important to note the legal amounts of nicotine you can use in your country.
The next essential ingredients are the PG and VG liquids. Propylene Glycol and Vegetable Glycerine are two organic ingredients that are very important for the formation of vape juice.
PG is a thin liquid that helps in the better delivery of flavor while vaping. It also offers the “hit” most vapers desire. On the contrary, VG is relatively thicker and helps the consumer produce large, dense clouds. It also ensures that the vape juice is much smoother to inhale.

Source: vapejuice.com
Step 3- Determine the Fluid Measurements
You must decide how strong you want the vape juice to be and how much nicotine is amenable to you. Deciding whether you want thin PG vape juice or thicker VG vape juice is also important.
You can take the help of online resources or vape juice calculators to look for guidance and suggestions. Also, several vape juice calculators are available on the Play Store, which you can download and keep for future use.
Step 4- Prepare the Base Mixture
The next big step in preparing your vape juice is the base mixture. For this step, you will have to wear your gloves.
Based on the results obtained on the vape juice calculator, use the appropriate syringe and extract the needed PG and VG amounts. The next step involves adding them to the beakers, which will be used for blending purposes.
Step 5- Add the Vape Juice Flavor Concentrates
To add flavor to the existing vape juice, you will now have to add the flavor concentrate. PG is flavorless, and VG only carries a slight sugary flavor.
Depending on how intense you want your vape juice flavor to be, you can add the concentrates. You also have the option of mixing two concentrates together to build a new flavor of your choice.
As a general rule, the addition of 5% vape juice concentrate will provide a very subtle flavor. However, if you want a strong flavor, you can add up to 20% to the solution. As a result, you will get a much stronger and sweeter flavor.

Source: vapingpost.com
Step 6- Add Nicotine
You can skip this step if you want your vape juice to be nicotine-free. However, if you decide to add nicotine or nic salt, it is important to ensure the concentration being added.
Nicotine is a very powerful substance. Getting the wrong dosage can deteriorate the vaping experience and pose health risks.
The strength of nicotine is judged against the overall quantity of vape juice. Thus, make sure to get the right concentration before adding it to the mixture.
Step 7- Blend the Mixture
Now that you have all the ingredients in the beakers, it is time to mix them properly. After the mixture is adequately blended, you can transfer it into bottles with the help of the syringe.
Before transferring it into bottles, make sure to give the mixture a nice stir so that all the ingredients have the proper consistency.
It is important for the vape juice to be steep so that the flavor can blossom and intensify. In order to achieve this, place your vape juice in a cool, dark place with lids open.
It will help the flavors become much more powerful. The average steep time is between 4-5 days, after which you can start vaping the e-liquid mixture.

Source: bistrotcbd.com
Conclusion
Now you no longer have to be bored of buying the same store-bought vape flavors. Following the given steps, you can easily create your own vape flavor.
However, it is important to ensure to keep a check on the concentration levels of each ingredient for a safe and flavorful vaping experience.
