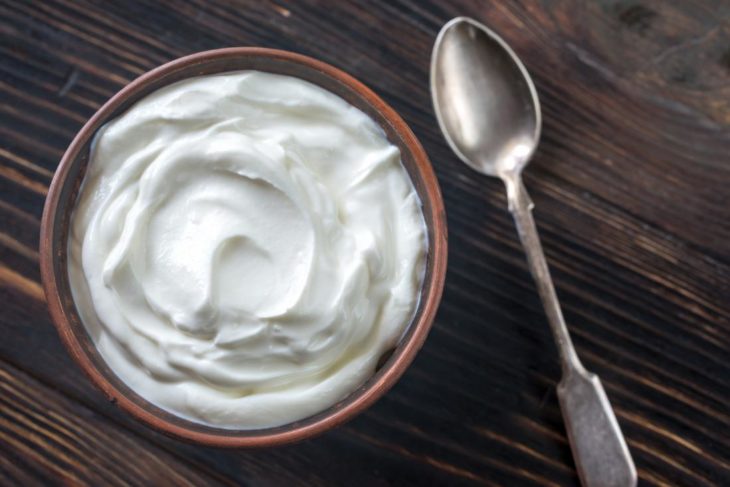
I’m one of those people who looks at food and thinks, “Could I make this myself?” I figure it’s always worth a shot, especially if I feel like I’m paying a lot for something on a frequent basis. When someone told me that Greek yogurt is just strained regular yogurt, I made a mental stink-face thinking about the fact that I was spending $7 every few days on quarts of Fage. So I looked up a few different recipes, tried it a few times, and found out that Greek yogurt is one of the easiest things to make at home. I’ve been making it for the last five months. If I make it with organic milk, I save 50% each time; if I make it with conventional milk, I save 80%. EIGHTY. BEAT THAT.
Now, small disclaimer before we launch into the recipe: I’ve been working with food and in kitchens for a very long time, and I’m not squeamish about the potential hazards of fermenting stuff at home. But you are going to be fermenting dairy, so make sure your equipment is sterilized before you go ahead.
The hardest thing you have to do in this recipe, cooking-wise, is boil milk. Easy peasy! The trade-off is that it’s a bit of a long process and it requires a little patience. I find that if I start this at 8 PM on a Friday night, it’ll be done by 11 AM on Saturday. This makes two quarts.

Source: Medical News Today
OK! Here’s what you need to get started:
- A gallon of milk
- ½ cup of yogurt starter (either from a previous batch of yogurt or, if it’s your first time, from store-bought Greek yogurt that specifically has live & active bacteria)
- A stock pot
- A whisk
- At least one large, heat-proof bowl (two preferable)
- Plastic wrap
- A couple of towels
- A stovetop and an oven
- A large colander and paper coffee filters, or, if you’re fancy and you have the room for it, a chinois
- Two quart-sized glass jars
Step One: Put the milk in the stock pot and heat it on the stove until it’s bubbling and you can smell it (mmmmm). You do this so that the proteins in the milk break down. Then, turn the heat off and let the milk cool off until it’s lukewarm, or until you can touch it without it hurting – this usually takes me about an hour. (45 minutes to boil, 1 hour to cool)
Step Two: Whisk the yogurt starter into the warm milk, then pour it into your heat-proof bowl. Cover the bowl with plastic wrap. Turn your oven on to 350˚ for just ONE minute, then turn it off. Immediately put the covered bowl of started milk into the oven, then surround it with towels (I do one on top of and one bunched around the bowl). Close the oven door, and let the yogurt incubate for 10-12 hours – but really no more than 12 hours. If you let it go too long, it’ll spoil. (10-12 hours to incubate)
Ready to incubate.
This is what it’ll look like when it’s done incubating – thick, with a layer of liquid on top.

Source: Pressure Cook Recipes
Step Three: Woo! High five for being patient! It’s time to prepare your straining mechanism. If you have a chinois, well, lah-dee-dah. The size of chinois you’d need would be pretty big and pretty expensive, and most people use them very rarely, so I didn’t bother investing in one – instead, I just use a very large colander that I had anyway, which I line with wet coffee filters (wet so that they stick to the round surface of the colander better). This will allow the liquid whey in the yogurt to strain through the coffee filters without losing the protein that makes up the bulk of the yogurt. Once you’ve set up your “chinois,” pour in the fermented yogurt. You can either strain your yogurt in your sink, or you can set the colander over a second large bowl, cover it with plastic wrap, and put it in your fridge. Strain it for three hours, or until it’s about halved in volume. (3 hours, or longer, if it’s in the fridge)
Step Four: PHEW! Almost done. Dump your whey, and transfer your yogurt back to one of your large bowls. When you transfer it, if you’re using the coffee filters, make sure that none of them end up in the bowl with your yogurt.
Step Five: Whisk it until it’s smooth, then transfer it to your glass quart jars.
YOU’RE DONE!!
Two tips: The more you use starter from your last batch, the better your yogurt tastes. I’ve had fat-free homemade Greek yogurt that tastes like whole milk regular yogurt. Also, if you end up with little lumps in your yogurt, no fear – just use a little less starter next time.
Original by
