Are you tired of waiting for an hour in the salon? Not to mention the trouble to get there. Or, you just simply don’t have the budget? We feel you, girl.
The good news is, you can do-it-yourself at a fraction of cost. Goodbye to all the waiting, driving, and out of the budget expense that is associated with salons.
So, girl let’s do this. The following are the step by step procedure.
First, you need to buy the basic gel kit.
- Nail lamp – if you can’t afford, blow dryer can do the trick
- Acetone -alcohol, and alcohol base product can use as an alternative.
- Cotton pads
- Nail polish clips – to remove nail polish easier
- Cuticle remover – I recommend using the mild one. It contains alpha hydroxy acids (AHAs) which much better compared to potassium hydroxide and sodium hydroxide
- Nail file – there are various options, however, the glass is preferred by many
- Cuticle remover and cutters – you can buy a set at Amazon
- Nail clippers
- Cuticle clippers
- Nail buffer– use it properly, it can weaken and make your nails thin.
- Rubbing alcohol
- PH bond, base coat, and top coat – to prevent degradation, its act as sealer and protection.
- Gel nail polish – There are a lot of options for this item, even each brand offers a variety to their product line. However, you must try a gel polish soak off kit if you haven’t tried one yet.

source: lifewithme.com
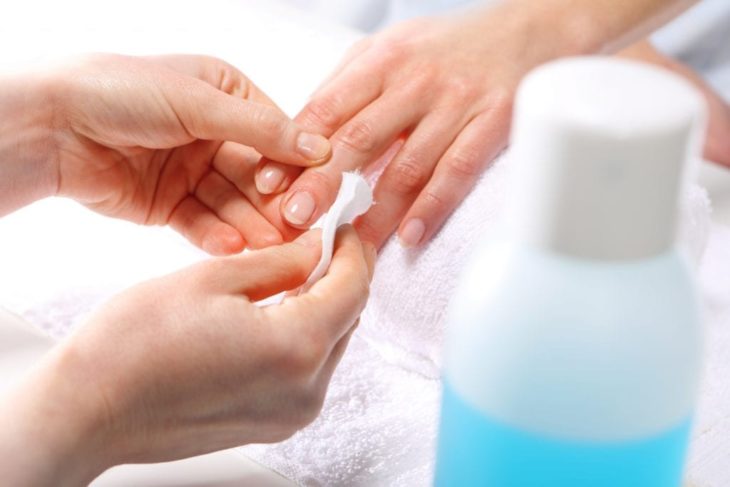
Step 1 – you need to remove the existing nail polish by applying acetone. You can use the remover-clip or cotton pads. Wait for 15 minutes, if still difficult to remove, re-apply until it weakens.
Step 2 – Apply the instant cuticle remover and wait for a minute, gently push back the cuticle with a manicure stick, then used the cuticle clipper to cut it.
Step 3 – Use the nail clippers and file to shape the nails in your desired outcome, then polish the top with the buffer.
Step 4 – Wash your hand with warm water (don’t apply soap) remove all the dead skin and liquid remover. Make sure to clean and dry it.
Step 5 – Apply the PH bond on the nail. It’s has a dehydrating effect to help to dry out your nails.
Step 6 – Next apply a thin layer of the base coat, then cures it under the lamp in 2 minutes. It will help the gel polish to stick firmly.
Step 7 – At this stage, you can apply the gel polish. Make sure that the first layer is extremely thin, then cure it in 2 minutes. Then reapply for the second layer and cure it again. Some polish need the 3rd layer, and if so, just repeat the process. Also, remove all the excess polish in your skin by using cotton buds with acetone.
Step 8 – then, apply the top coat, as usual, cure it in 2 minutes. It will prevent chipping, scratching, and peeling.
Step 9 – Finally, it’s done, rub your nail with a cotton pad soak with rubbing alcohol. Now you can touch anything, it’s already dry. That’s why I love gel polish, you don’t need to wait.

source: ohmynailpolish.com
Note: Like most of the things in life, practice makes perfect.

