Many photographers enter the world of photography due to a special theme: nature. There can be, therefore, nature, mountains, also man-made constructions in a natural environment, deserts, beaches, forests, jungles, lakes, rivers, waterfalls…
When you initially think of photographing nature, automatically, you relate that you need to cover as much as possible in it, because when you are viewing a landscape, you see a very wide, extensive surface.
Many times, the best landscapes are not the widest or those that cover the most to infinity, but those that show us in detail the beauty that we want to capture at that moment.
Contents
Photographing landscapes

Source: pinterest
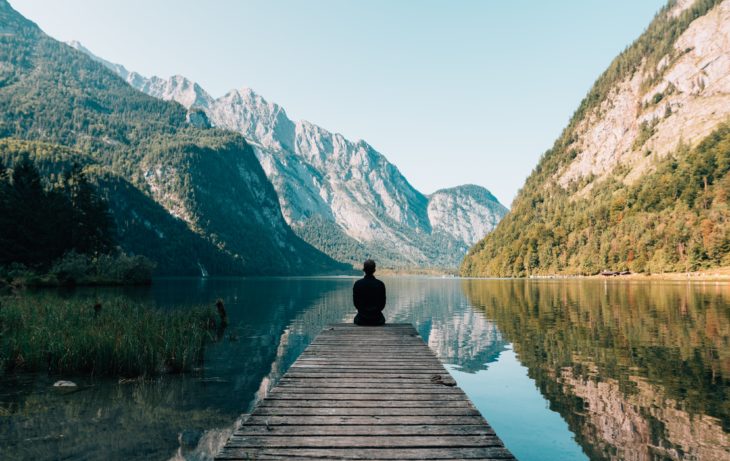
Who has not ever been in front of a beautiful landscape and has taken out his camera (even if it is the mobile phone) to take one? When we are in these types of situations in which nature shines in all its splendor, and although we are not photographers, it is difficult not to feel the need to capture it. It is for this reason that landscape photography, along with portraits, is one of the themes for which many people become addicted to this hobby.
On the other hand, landscape is a very broad term … photographing landscape with waterfalls is not the same as a landscape in the middle of the forest.
Tips for beginners:
1. The Importance of planning
If you want to get a great picture of nature the first rule that you must follow is to make a good plan. If we plan well, we will discover locations from which we can take our shot, we will also find out what is the best time of day to do it, or how sunlight will affect it.
Having a good planning will also help us to know if we need special clothing to get to our destination or if we are going to the coast, to have info about tide. It is always important to follow the work of professionals, such as Youss Foto, from whom you will get valuable ideas and learn a lot.

Source: medium
2. Find new points of view
If we want to make great shot, we cannot limit ourselves to taking it from a viewpoint that everyone can access. We must try to find strategic places, although access to them is more costly in time and effort, in order to achieve a different and original point of view of the environment before us.
And when you get to them, get down, look for new angles and explore the environment before shooting … Only in this way will we truly amaze those who see it.
3. Use semi-automatic modes
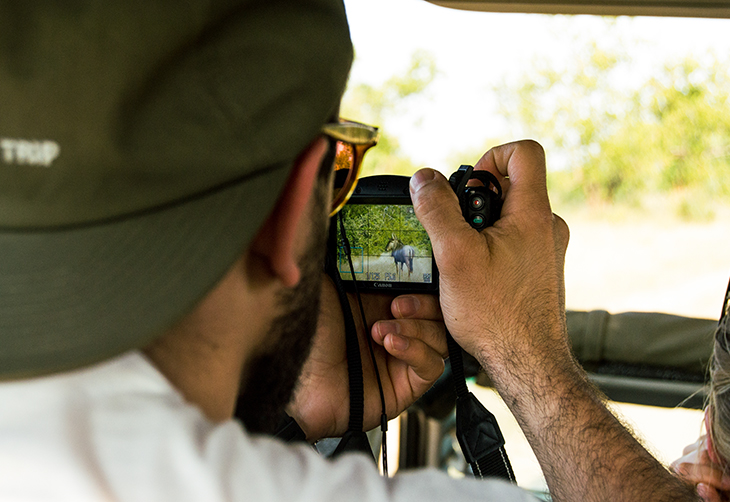
There are occasions when a ray of sun sneaks through a mass of clouds, or a bird perches in front of the tree in front of us … In those situations you cannot stop to configure the camera in manual mode, because you will probably miss the moment. But do not worry, because for that there are the semi-automatic modes.
These modes allow us to have control over the two variables that most affect the aesthetics of the image, with the camera being in charge of calculating the rest of the parameters to obtain an adequate exposure. This allows us to have the camera ready more quickly, so we do not miss any moment.

Source: Free Business Listing
4. Don’t forget to use the tripod
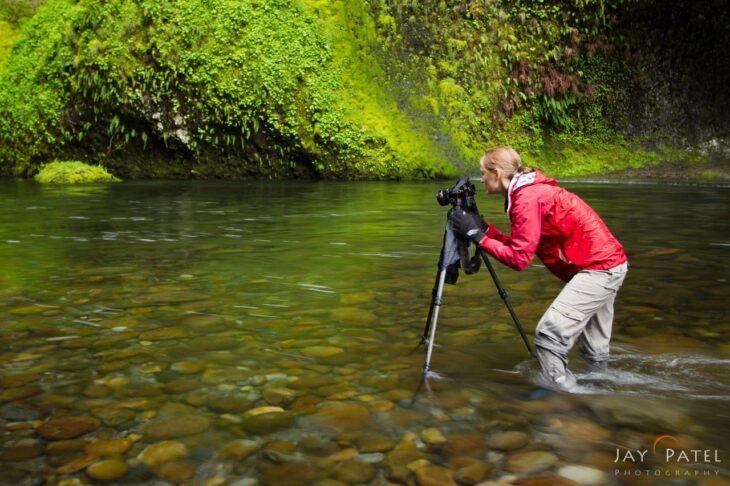
It has to be sharp, very sharp, and for this there is an accessory that is essential: the tripod. If we work with the camera on the tripod we will be eliminating any possibility of shaking due to camera movement at the time of shooting, and that will undoubtedly benefit the result of our shot.
5. Analyze the light
In addition to composition, another important factor in nature photography (and in any other subject) is light. No matter how well exposed and composed your photo is, if the light at the moment you take it is not good, the photo will be missing something.
If you ask any photographer, it will tell you that the best time to have a good light is undoubtedly during sunrise and sunset, since both the temperature and the angle of the light impact the scene in a very attractive way; while the midday light is usually the least recommended for its zenith direction.

Source: medium
6. Placing of horizon
The next million dollar question is where do I place the horizon? Well, in the end, after shooting a few tens of thousands of photos, you will come to the conclusion that it completely depends on each photo. It is true that there are some rules, and I am going to tell you, but do not forget that taking photos always according to the rules will make you a predictable and boring photographer, not so much for others, but especially for yourself.
The first rule one learns is that the horizon should never be placed in the center of the photo. This is largely true. You have to decide if the protagonist of your photo is the sky or what is below the horizon.
For example, if you have a cloudy day, the whole sky will be the same color and many times white. In these cases, the sky is of no importance, you can place the horizon in the upper third of the photo without any problem.
If instead you have a sky with clouds but not completely cloudy and it is a sunset and the clouds are beautiful, clearly place the horizon in the lower third since what you want to highlight will be the clouds.
As I said before, the rules are not obligations, you can have beautiful clouds but want to highlight the bottom to the horizon or vice versa. It is entirely up to you.
Watch out for the horizon, try to make it look as straight as possible. You can always straighten it later during development but at the cost of losing a little bit of the sides of the photo. Try to avoid losing information.

Source: photofixexpert
Conclusion
Don’t expect to learn everything about this hobby quickly and easily. It will take time and a lot of effort, but you will be rewarded with a wonderful time spent in nature.
