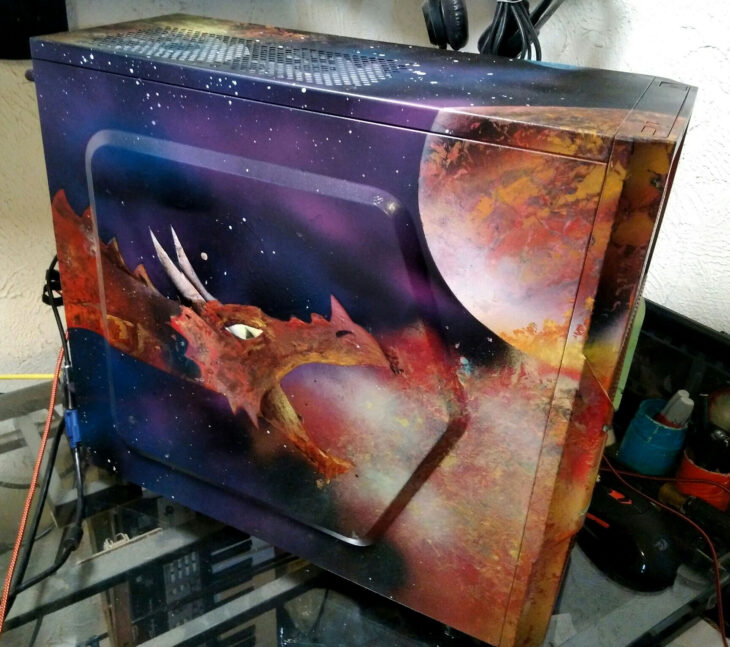
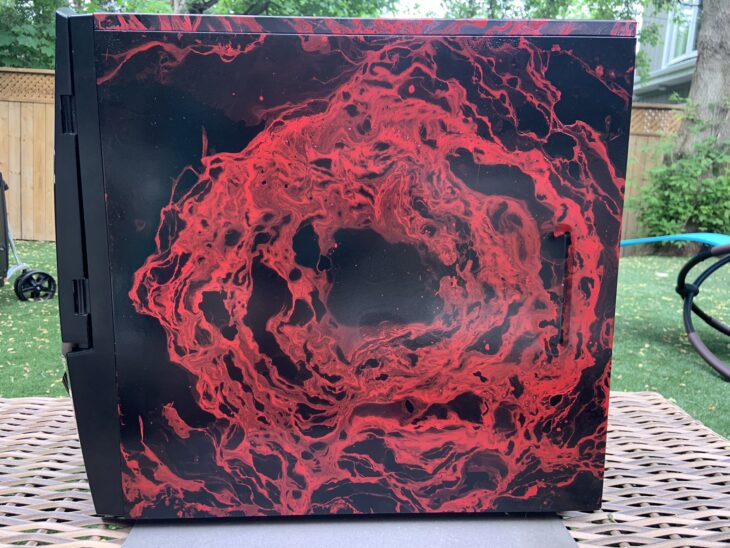
Painting a PC Case seems easy, but it’s very technical work done carefully. A single mistake can destroy the look of your PC Case. So it would be best if you were careful while painting your PC Case. However, if you are a newbie who has never painted his PC Case, then you have landed on the right spot. This article will clear all your problems from start to end.
This will be a long article, so let’s keep the unnecessary points aside, and let’s come to our primary point. You’ve to follow these steps one by one to paint your PC Case without any problem successfully.
Contents
To paint your PC Case, you need to follow these 6 easy steps:
1. Decide The Color
2. Unbox and Clean Your PC Case
3. Remove The Stickers
4. Start The Spray
5. Be Patient For a While
6. Fit Your PC Case Again
Follow these steps that we will brief one by one. So, without further ado, let’s start our article with the first step to decide the color.
1. Decide the Color

Source: johnefike.artstation.com
Whenever you want to paint your PC Case, the very first thing you should do is to decide its color. Gamers should see some previous samples on YouTube or Google to get an idea of which color is best for them to apply. Going to any shop to buy such colors without keeping this in mind will waste your time.
Before leaving your home to purchase the color, you need to see the previous samples uploaded on the internet. Let’s say you have an NZXT H1 case you want to paint. See the previously painted models on YouTube, Google and Phenom Builts. You’ll find many. After finding the perfect fit for yourself, get that color. Deciding the color is necessary because you don’t get what you’d expected when you don’t do this. Previous samples will prevent disappointments.
2. Unbox and Clean Your PC Case
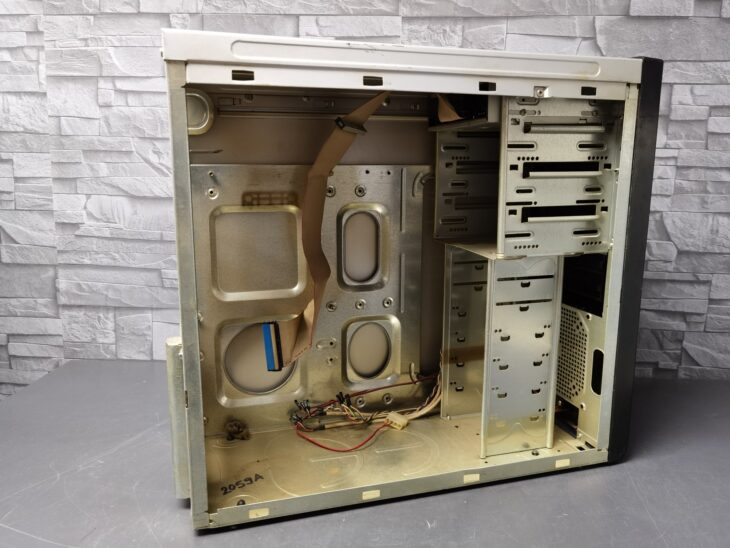
When you’ve decided the color and got it in your home, then it’s time to paint the case. So before dropping a single paint on your PC Case, you need to unbox it and remove everything inside. PC Case’s unboxing is done by opening the screws, but people re-insert the screws after taking the motherboard out.
That’s the mistake you should avoid. Never re-insert the screws because painting the screws isn’t recommended. So clean everything one by one. Before cleaning your PC Case’s inside stuff, it’s better to remove your Graphics Card and other heavy stuff. That’s the tip I want to share. Remove the serious stuff first, and you’ll complete that process efficiently. Then, when your PC Case is unboxed and its inside property is cleaned, you need to follow the 3rd step: removing stickers.
3. Remove the Stickers

Source: twitter.com
When you have removed the inside stuff, the next step is to remove the outside stuff. In the outer section, we get stickers and other things used to design the PC Case. Remove the stickers and clean that area by using a little bit of water.
You can also use sanding papers on those stickers to hide them. Using sanding papers is recommended because removing the stickers can make your PC Cases look rude. But when you apply sanding paper, your stickers are saved, and your PC Case doesn’t look ugly. So using sanding paper on these stickers is recommended.
4. Start the Spray
When you’ve decided the color, unbox your PC Case, clean the inside and outside stuff, remove the stickers, and then start spraying your PC Case. Spraying your PC Case is the technical step that needs close attention. First, you’ve to begin spraying the PC Case with the spray you purchased from the shop.
Thoroughly spray the PC Case and don’t leave a single area. After you’ve completed the spray, at least look 2 or 3 times on your PC Case. If any space is left, fill that space by respraying it. This step is necessary because a tiny hole unsprayed destroys the entire view. Your PC Case looks weird when some area isn’t sprayed well. So thoroughly check this thing before fitting your PC Case.
5. Be Patient for a While
When the spray is completed, you need to be patient. At that time, we recommend putting that PC Case in sunlight. I recommend my users spray your PC Case in daylight, but if you haven’t sprayed it, then dry it in the sunlight. The color will be applied when you dry your PC Case in sunlight.
So it’s better to put your PC Case in the sunlight after applying the paint. This was the final step of painting a PC Case, but one more step is left.
6. Fit Your PC Case Again

Source: kupindo.com
So when you have sprayed the PC Case and dried it altogether, one more thing is left: reassemble the PC Case. Fit your PC Case to make it look the same, just like before. That’s tricky, but you should challenge yourself to improve your painting skills.
Conclusion
So this is it. These are the 6 steps that you must follow to paint your PC Case with ease. If you have liked our article, share your feedback in our website’s comments section. We are expecting positive feedback from our users. Your positive feedback motivates us. If you still have any questions, you can ask them by dropping a comment.
