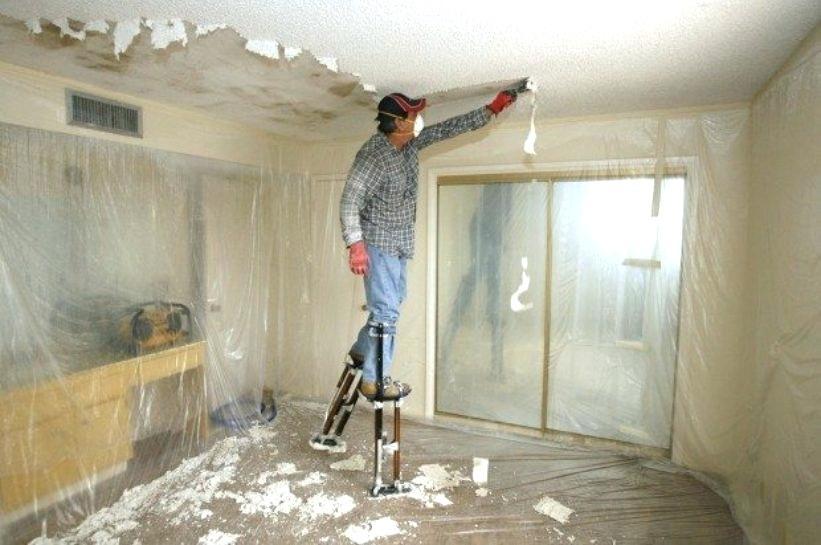
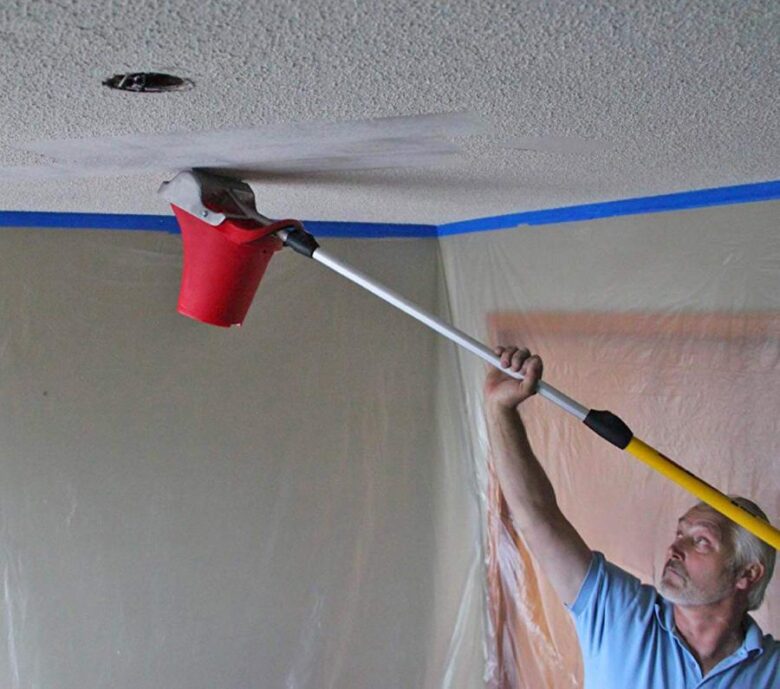
The popcorn finish is just one of several options builders have for finishing ceilings. It is used because it’s easy to apply and fairly cheap. Unfortunately, some people just find it ugly. Not only that, but it can also start to degrade as a house ages. A lot of people just remove their popcorn ceilings to avoid the problems that come with them. But what do you do after removing them?
You really have four options:
- Flatten and paint them
- Apply a stipple finish
- Apply an orange peel finish
- Install a secondary material.
If you were so inclined, you could go as far as to put in a drop ceiling. That hardly seems worth the effort unless you are looking at 10-foot ceilings and you would rather have them lower. But even so, drop ceilings don’t look all that good in homes. They are best left for commercial buildings.

Source: manmadediy.com
Contents
Let Them Fully Dry, First
Regardless of your choice, the first thing you need to do after removing a popcorn ceiling is let the drywall underneath fully dry. You likely used water to help loosen the popcorn and then wiped everything down afterwards. If you try to cover the ceilings without letting them fully dry, you could wind up with mold. That’s no good.
Time and relatively low humidity will do the trick in a day or two. If you are in a rush, you can always crank up the heat or open the windows and run some fans.
Flatten and Paint the Ceilings
Assuming you took down the popcorn because it was ugly, your first inclination might be to paint the ceiling. You can never go wrong with that choice. Flat, painted ceilings are extremely popular across the country. They fit with any style and design preference.
A flat finish done right should really look good. But be prepared to put in the work. That popcorn ceiling probably left behind some imperfections you are going to have to deal with.
Preparing for Paint
You put all the effort into removing the popcorn, so don’t just vacuum up the mess and move right to paint. Take some time to prepare the surface. You have already wiped down the ceilings and let them dry. Now go over them very carefully with a good light to identify blemishes.
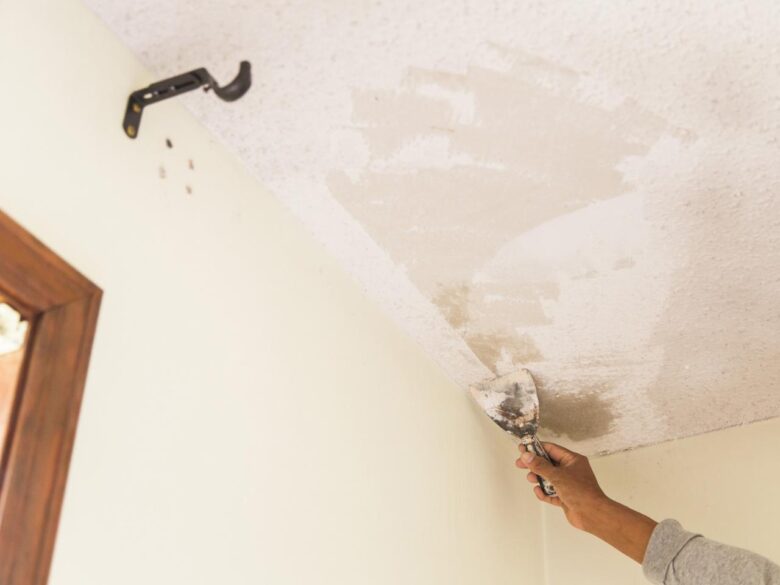
Use drywall compound to fill in nicks and scratches. You may have to apply a coat or two over seams, butt joints, and nail or screw holes. Just remember the number one rule for using drywall compound: three thin coats are better than one thick coat. Using thinner coats makes for a better finish and allows you to feather each coat.

Source: hgtv.com
Choose a Quality Paint
After the drywall compound dries, you can sand and then vacuum up the dust. Now you are ready for paint. You’ll need one coat of primer and one or two coats of paint. Dallas Paints, a family-owned business in the Dallas-Fort Worth area, recommends a flat ceiling white. Whatever your choice, be sure to follow the instructions printed on the can.
Stipple the Ceilings
You might be okay with a textured ceiling as long as it’s not popcorn. If that’s the case, a popular choice in the Northeast is the stippled ceiling. Its major benefit is that you don’t have to go to the trouble of addressing all those imperfections. As long as all the seams and butt joints are intact, you can apply the texture as soon as the ceiling is dry.
You can find online videos showing you how this is accomplished. In short, stippling requires rolling thinned drywall compound onto the ceiling and then gently hitting it with a stippled brush. A professional can stipple a 10 x 10 ceiling in under 30 minutes. It will probably take you longer, but you’ll spend less time stippling as compared to finishing and painting.
Experts say you can also mix ceiling white into the drywall compound for a whiter finish. Otherwise, the drywall compound dries with a slight gray tint.
Apply Orange Peel
An orange peel finish is another type of textured finish. Again, the underlying drywall does not have to be perfect before you apply it. Applying orange peel is also easier than stippling. You start with the same first step: rolling thinned drywall compound onto the ceiling.
Next, you take a cement trowel and run it across the ceiling in straight lines, applying just enough pressure to flatten the compound. You don’t want so much pressure that you’re scraping compound off the ceiling. Light pressure will flatten things out but leave behind small hills and valleys that resemble an orange peel. Again, you can add paint to the drywall compound if you’d like.

Source: odditymall.com
Install a Secondary Material
Finally, you may want to avoid drywall compound and paint altogether. You can do so by applying a secondary material over the drywall. For example, wainscoting or shiplap can give your home a more rustic look. Leave the wood unstained for a more natural aesthetic or finish it with stain or paint for a more modern look.
Not into wood? You can always install tin. Although tin ceiling panels can be expensive, they are very unique. At least they are now. Tin ceilings were a lot more popular back in the days before drywall and horse hair plaster.
The only caveat with a tin ceiling is that you really have to know what you’re doing to end up with a quality job. So, if you’re just a weekend warrior with beginner to intermediate DIY skills, this is one job you might want to hire out.
Removing a popcorn ceiling shouldn’t leave you with a room that looks worse than when you started. You do have options. You can flatten and paint the ceiling, texture it with stippling or orange peel, or even install a secondary material like wood or tin. It is your home. You get to decide what will give you the aesthetic you are looking for.
