Do you know the purpose of using a table saw? It is usually used in home work-spaces and construction sites in order to accomplish some of the woodworking tasks successfully.
Since the tool takes enough torture on a daily basis, its blade gets dull, weaker, and blunt after a certain amount of time. This is why you should know how to change a table saw blade in the right way. To learn the rules and techniques of switching it, ensure to read this complete write-up till the end. Trust me, it will be a piece of cake to change or replace the blade!
Contents
Different Types of Table Saw Blades:
img source: thesprucecrafts.com
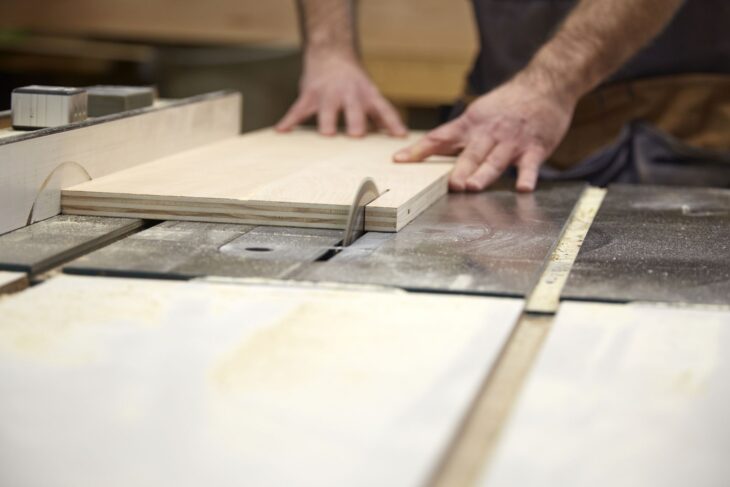
Considering the right blade is a must if you want to accomplish your sawing-task with success. Basically, you will find three different types, including smooth cutting, rip, and dado.
Also, it’s come in a couple of various colors, sizes, and range of teeth. The functionality of those blades might be different as well. So, your duty is to pick out the one that suits your projects. Confused about your decision? Who will suggest you the best one? Okay fine! ToolsHaven is here to help you. Anyway, follow our step by step guide.
Tools that Required While Changing a Table Saw Blade:
- An efficient table saw blade
- Set of gloves
- Allen or Hex wrench
- Screwdriver
- A tiny block of wood
Step by Step Guide
img source: cardwellhardwoods.com
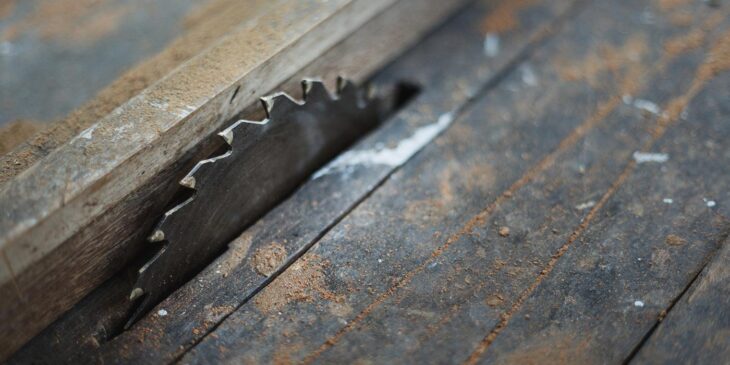
Whether you are a beginner or an expert, you have to make sure to follow these steps below to learn the most convenient way of switching your table saw blade. And trust me, it’s not rocket science!
Step-1: Turn Off the Power of your Saw!
In order to maintain maximum safety while changing, make sure to disconnect the power of your device. IT’S A MUST! And you know what? You might have to end up with serious accidents if you forget about turning the power off. For additional safety, ensure to unplug your saw from the socket. Wait for a while, even if it turns completely off.
Step-2: Time to Detach the Blade Plate
Let’s put on safety gloves to remove the plate with maximum safety. Now, focus on that area where the plate is actually located.
The plate is made of metal that you will find on the peak of your saw.
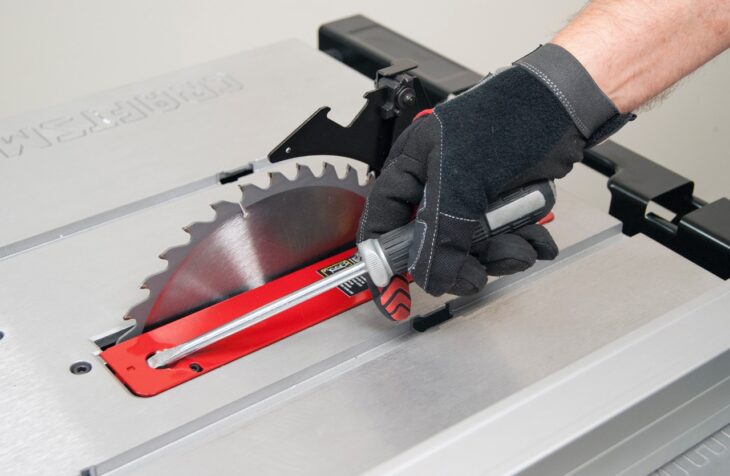
Most of the plates are fastened with two pieces of screws, one on the front side and others at the back. Right now, you have to get yourself a screwdriver in order to unscrew them with proper care. Fix the plate aside after removing it.
Step-3: Remove the Blade
img source: ctfassets.net
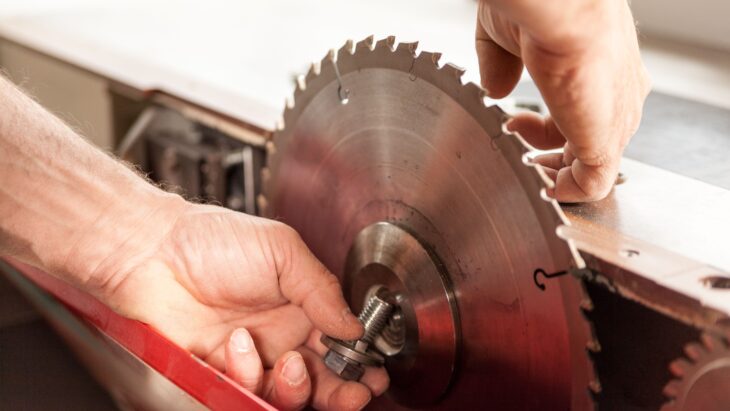
Till the blade turns in the highest position, make sure to move it at a stretch. Get yourself the tiny piece of wood in order to jam the blade as well as avoid it from unintentionally turning.
After that, you can remove the washer and nut from that blade. Make sure to turn it in a counter-clockwise direction with the assistance of a wrench. Tell me, is the removal done? If yes, then you can set it aside and move on to the next mission.
Step-4: Get Yourself a New one
While installing the new one, make sure that the teeth of your saw’s blade are facing towards you. So, what’s the next duty? Now you have to replace the washer and arbor nut.
In the time of re-tighten the nuts, ensure to use the wrench to tighten it as much as you can. Unlike the previous method, now you have to turn it in a clockwise direction (which means away from you). Don’t forget to pick up that small piece of wood for holding the blade in a safe way.
Step-5: Re-install the Blade Plate
img source: axminstertools.com
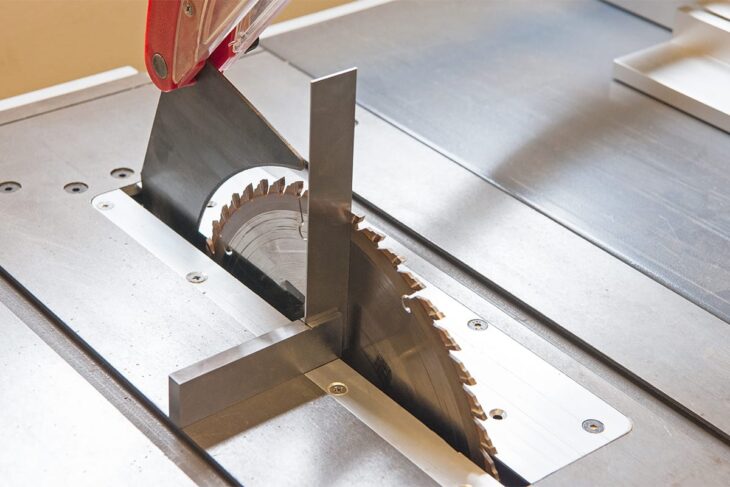
For re-installing the plate to its previous position, you should get yourself a piece of a screwdriver to make the job done. Basically, you have to tighten the screws that fasten the blade to the peak of your table saw.
Step-6: Time to Re-connect it!
The last and final duty is to check your table saw by reconnecting it. In that case, simply plug it back into a wall socket. Now you can turn your table saw “on” to see that everything is alright.
Safety Tips While Replacing a Table Saw Blade
Whether you are running a reciprocating saw, hand saw, chainsaw, circular saw, or even a table saw, maintaining adequate amounts of safety is the KEY to keep yourself away from accidental issues.
And when we talk about replacing, you have to abide by a few rules, of course. Don’t get worried, make sure to read on the safety tips so that you can say goodbye to accidental issues ever while replacing or switching a blade:
Tips-1:
img source: thesprucecrafts.com
It is quite necessary to follow the manual, even though most people neglect to read it more often. Not all types of table saws are the same around the marketplace, their functionality, way of running, and other features could be completely different.
As a result, you have to read the manual to get proper knowledge concerning the item that you have purchased. Long story short: if you want to replace or change the blade of your table saw, reading the entire manual could be a wise decision.
Tips-2:
As you are going to deal with sharp objects, so without a doubt, you have to wear hand gloves at once. It can protect your hands from major or minor accidents, which could occur during the time of blade changing.
Tips-3:
img source: bosch-presse.de
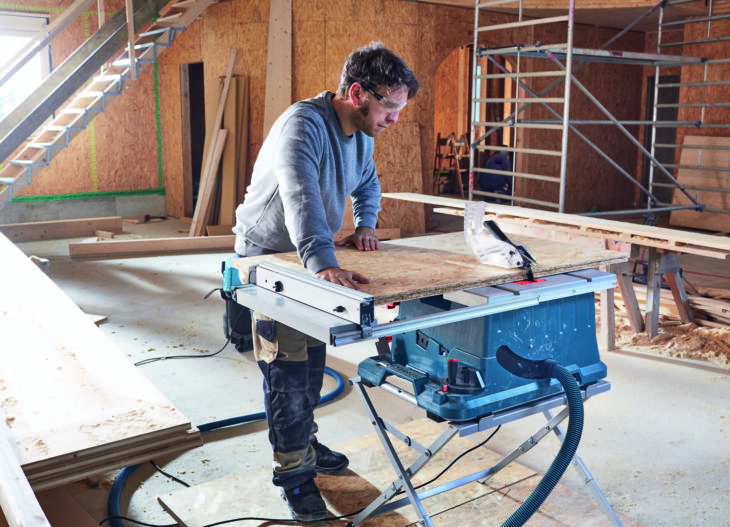
In a rush? Then you should highly avoid doing this type of work. Changing it might be a simple task, however, you need a sufficient amount of time to make the job done in a hassle-free way.
Wrap Up
That was everything on how to change a table saw blade. You see, the entire process seems as easy as ABS. So, from now on, you won’t have a hard time replacing or installing your table saw blade at all, hopefully.
After using it for a couple of months, it gets dull and doesn’t work in the way you really want. This is why you should change it when you feel it turns weaker. And never forget to maintain safety while changing or installing.
