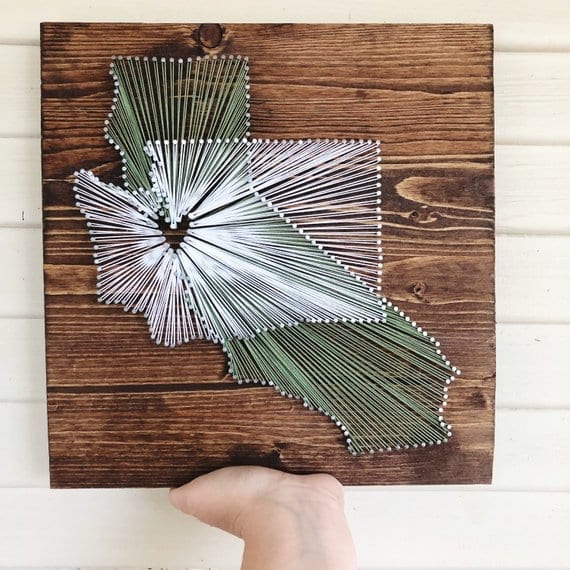
String art, also called pin and thread art, has been around for a while now and it represents a great and fun way of making DIY artwork, without needing to do any painting or sculpturing. String art was very popular in the ’70s and it’s making a comeback now because you can do anything you want, and all you need is patience and creativity.
String art is made by wrapping colored threads between nails to form various geometric figures or representational designs such as flowers or even a ship.

Source: decorhomeideas.com
Contents
What materials do I need?
In this guide, we are going to tell you all the necessary stuff you need to know in order to create string art.
In order to create string art you will need a few materials:
- Canvas, cork floor tile, woodblock, or anything of that kind
- Cloth or felt
- Some material or method of adhering surfaces such as glue or double-sided tape
- Embroidery Floss
- Hammer
- Nails (preferred small, but you can go bigger if you are planning on making a bigger artwork)
- Scissors
- Needle nose pliers
If you are lacking an idea of what to use as your first string art project, you can browse the Internet for cool ideas. Because it will be your first time, make sure to have a printed copy of it with you.
Source: PinterestStep 1: Outline the desired shape
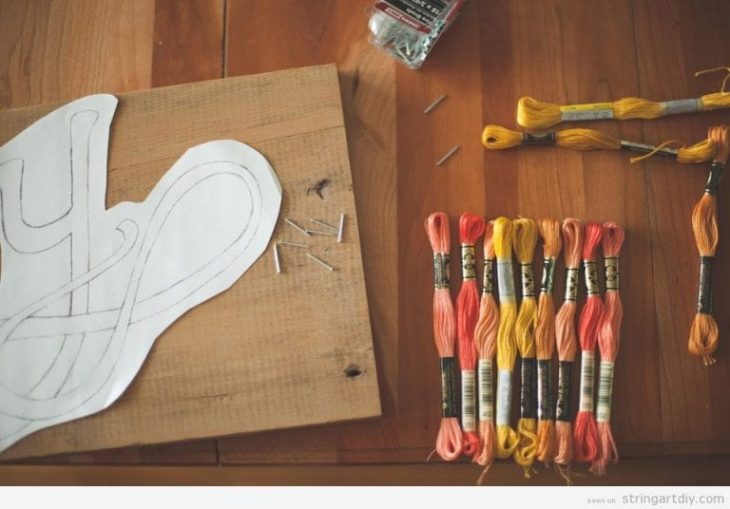
The first step into creating string art is to outline the shape with the small nails. You can do this by placing a printed copy of the desired shape on the piece of woodblock (canvas or cork floor tile). Make sure to cut out the outline before with your scissors. Position the nails around the paper, and gently hammer them with your hammer. Make sure to leave enough space between each nail, and make sure to nail them to the same depth.
Step 2: Outline the shape with string or embroidery floss
As soon as you finish outlining your shape with the nails, grab the embroidery floss, or string, and outline the shape. Firstly, knot the string on the first nail and make sure to leave a tail for when you are finished. There are two ways to continue this step. Namely, when you reach a corner, wrap the string around the nail on the corner and you can change the direction of the string by wrapping it to its parallel point or continue to go along the path.

Source: String Art DIY
Step 3: Fill in the shape with string
As soon as you’ve outlined the entire shape, it’s now time to fill in the rest of the shape. Remember to not cut the string but rather use the same one for the entire project. Begin filling the rest of the shape by crisscrossing and wrapping the string each time you get to a new nail. There is no right or wrong in string art, all you need is your imagination. Go from one side to another side, go from the top then change to bottom, cover each corner until you have your entire shape filled with string, or until you run out of it. Try to end where you’ve started, but if you fail to do so, simply glue the end to the closest nail. You don’t have to use the same string color for the entire project. As soon as you feel you need to outline something with a different color, do it because there is no right or wrong here, as we mentioned.
