If you want your Instagram strategy to be effective, there is one thing that you should know – consistency is the key. And, an Instagram post scheduler is one of the best tools for achieving this. With almost one billion active users and 15 million business profiles, it is not easy to stand out from the crowd. Instagram does not show posts in chronological order but instead uses an algorithm that reward posts that get a lot of engagement. In this article, you will be able to read how to schedule an Instagram post. Let’s take a look:
Contents
How to Schedule an Instagram Post

Source: Postcron
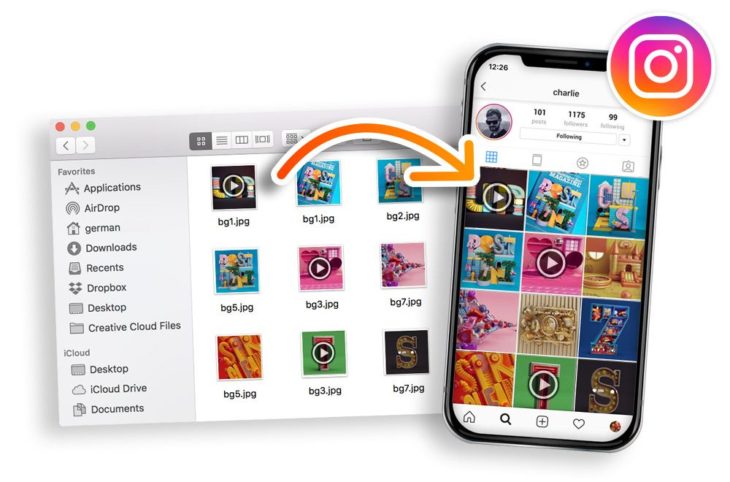
Since Instagram does not have a scheduling tool, you will need to use a third-party service to do so. For example, various applications will allow you to schedule posts from your mobile or the web. And after you have connected your account to the application that you have chosen, you can use it to add a photo, write a caption, add location, tag people, and select the time and date that you want the post published. Here are the simple steps you should follow:
Step 1 – Create an Account on the Scheduling Application you opted for
The first thing you should do is to create an account. Signing up does not take a lot of time, and some applications might even offer you a free trial.
Step 2 – Connect your Instagram Account to the Scheduling Application
Once you have registered, you will be directed to a dashboard where you will need to connect your Instagram account in order for you to schedule the posts. From the dashboard, you will be able to add pictures and video to your Instagram profile, as well as Twitter and Facebook accounts.

Source: Pinterest
Step 3 – Upload your Videos and Photos
Once you have completed step 1 and 2, you will be able to start scheduling your posts. The first thing you should do is select the pictures and videos you want to upload. From here you will be able to choose to upload one or 20 pictures if you want. You can do so by uploading them from your PC, an URL, the Internet, or you can upload the files from Google Drive, Dropbox, Box, or Google Photos.
When the uploading finished, you will be able to add more pictures to make a gallery post, or you can simply crop and edit the photos you have chosen.
Step 4 – Set it
Once you are done with editing your picture or videos, you can choose to write captions to your post. They will be automatically published at the time you want. You can also add hashtags, emojis, and you can tag other people as well. Keep in mind that you should add location tags in order to reach more people. Once you are happy with how the post looks like, you can choose to post it right away, schedule a time and date, or save it as a draft. The last thing you should do is save changes, and you are good to go. If you want to see a detailed guide to scheduling your posts on Instagram, click here.
Conclusion

Source: Hypebeast
As you can see, scheduling your Instagram posts is a simple thing. You will no longer have to worry about being consistent and it will make the whole process easier, less time-consuming, as well as less overwhelming. Hence, do not waste any more time and start searching for the perfect scheduling tool.
