Interior painting projects could be a lot of fun if you keep important tips in mind. Although smoother, faster and professional painting needs experience, following certain tips can help in achieving that without professionalism as well. Some of the best painters can be found on Go1daypainting.
So now that you are planning to paint your interior and give it a fresh look, the seven tips below will help manifolds. Continue reading and become a pro in interior painting.
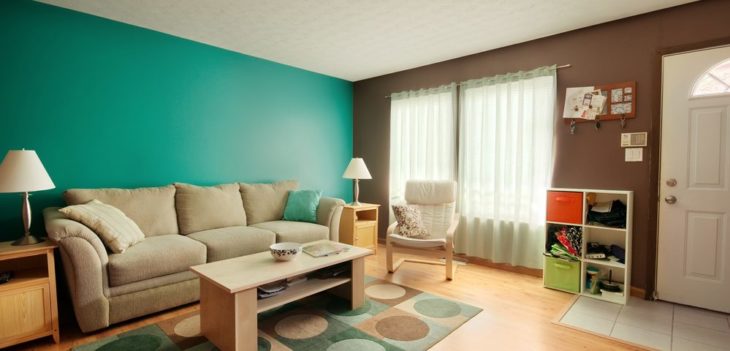
Source: Matt the Painter
Contents
1. Try not to get the lap marks
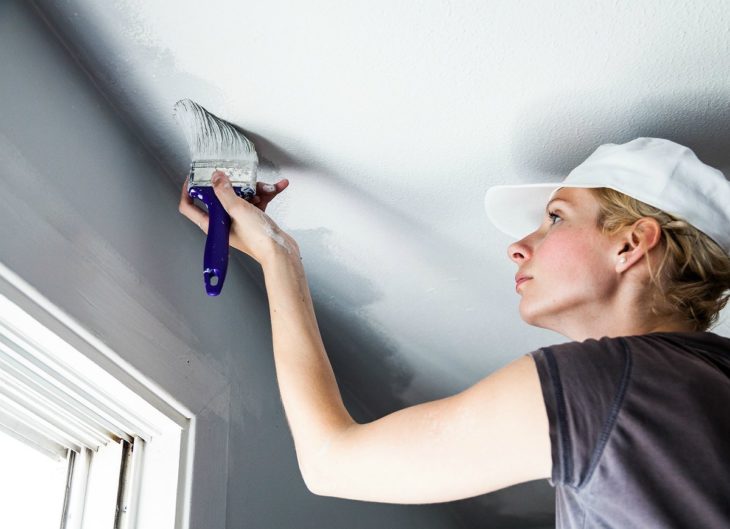
Uneven layers of paint create ugly lap marks on the wall. If you roll-over the paint on the dried or half-dried parts, you will get the lap marks. Moreover, if you live in warm and dry area, latex paints will not take more than one minute to get stiff. To avoid such a situation it is advised to maintain a wet edge. Every stroke you make with a wet edge will overlap the previous one before it gets dry, thus preventing the lap marks.
You can maintain the wet edge by starting form a corner, moving slightly over with each stroke and running the roller up and down covering the entire wall. Reload the roller as soon as you see it getting dry. Make sure it is always at least half loaded. The open side of the roller should face the areas which are already painted. All this will help in preventing the formation of awful lap marks and getting a smooth finishing.
Source: Bob Vila
2. Make consistent color
If you have more than one can of color, mix them all in one big container. It is because the shades in two different cans may vary slightly. Mixing all together will help in getting a consistent color. A noticeable difference can be seen when you paint the same wall from two different cans of the same color. It will be better if you can estimate the amount of color you would require and then get a single large can instead of 2 or 3 small ones.
Source: Connect Seward County
3. Get the perfect edge
It is advised to cut the tape loose rather than pulling it off the trim when the paint gets dry. Harsh removal of the tape may tear the pieces of dried paint off the wall. The film formed between the paint and wall will get disturbed and put all your hard work to waste.
Therefore, it is advised to always wait for the wall to get completely dry. It takes around 24 hours for thorough drying. Take a sharp knife and slice through the film. Start from the areas where the paint has gone hard to slice off with perfection. Cutting the tape when the paint is gummy will make things worse.
Source: ghanacareercentre.com
4. Trim followed by ceiling and walls
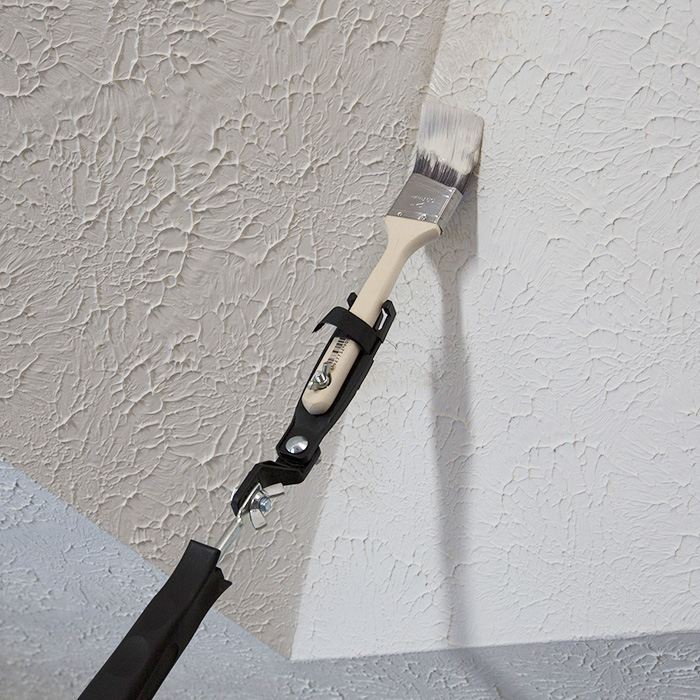
It is essential that you follow specific order when painting the interior. Usually the professionals start with the trim of the wall, followed by the ceilings and then the walls. It makes the work faster, more feasible and easy to accomplish.
Trim painting doesn’t require being very neat. All that is needed is a smooth texture. Moreover, if the trim paints get over the walls, you can work on them later. It takes around 24 hours for the trim paint to dry completely. Later, you can take the tape off and then start working on the ceiling and the walls.

Source: fabiocardenas.info
5. Avoid blotchy finish
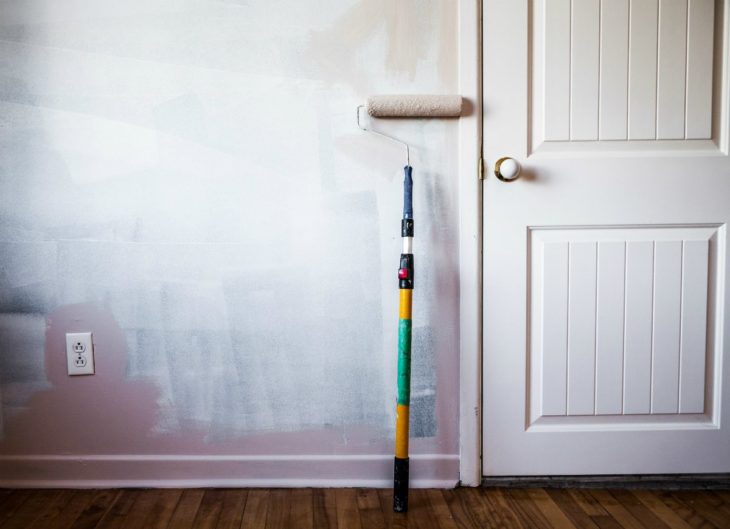
If you are not a pro, you might end up getting a blotchy finish on the walls. Inconsistent sheen becomes very evident. The holes and cracks of the walls are the culprit here. Moreover, if there are porous fillers on the wall, they absorb most of the paint making it look dull. In the dark room these spots might become unnoticeable, but as soon the light will strike, they will become visible reducing the aesthetic view of your freshly painted wall.
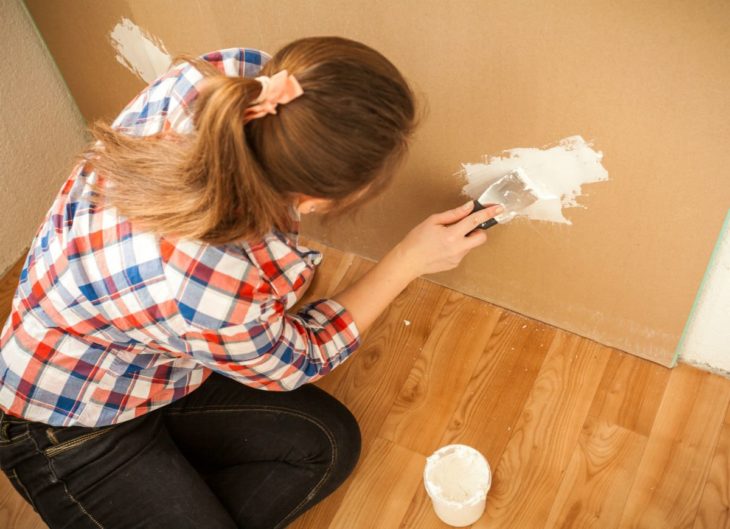
Therefore it is advised to fill these patches before starting the project. A coat of primer can solve this problem to a great extent. It can eliminate the flashing and texture differences easily. The primer works in sealing the patches so that the paint to do not sink in.
Experts at Sidepost, recommend investing in surface preparation tools such as sanders, putty knives, and spackle. Investing in quality tools will ensure better results and a smooth finish to your walls.
Source: Bob Vila
6. Work on the dirty surfaces
If you clean the oily, greasy or filthy surface before starting the painting project, it will give a better results. The paint tends to peel off after drying it applied over the dirty surfaces. You can use a de-glosser or heavy-duty cleaner for this purpose. They work pretty well over different surfaces like enameled, varnished as well as painted. Once the grime is removed, the new paint makes better adhesion with the surface.
Source: kleanstrip.com
7. Buy high-quality brushes, paint sprayers and rollers
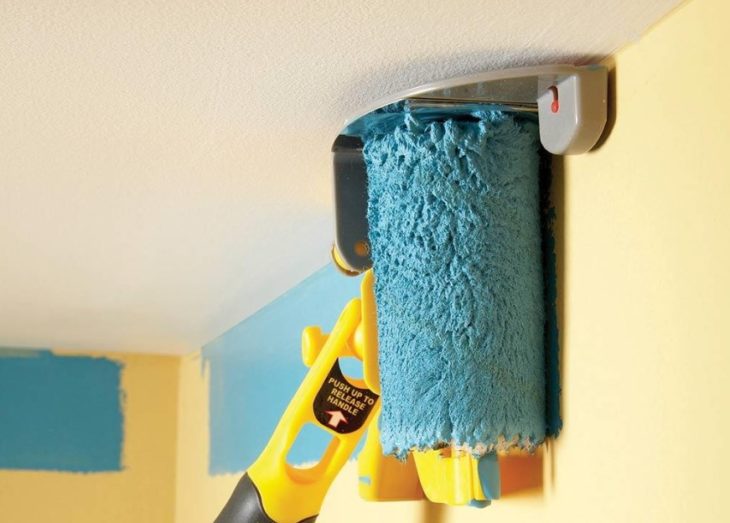
If you can get high-grade paints you must invest in getting high-quality brushes, paint sprays and rollers as well. You can head to concerned website Paint Sprayer Guy to get the best paint sprayers for your interior painting project. Good accessories in this category help in getting excellent coverage and thereby better results.
Source: The Family Handyman
Final words
DIY projects are always fascinating. All that you need is to keep the above tips in mind to get the best result. When it is about painting your interior, playing with the colors and making the most out of them will give a fresh look to the rooms. So get your favorite colors and the best painting accessories. Let your walls get the new look this year.
