Change in technology has now eased the way people do things without having to break a sweat. If you are into photos, then you probably know what this means. Photo lovers can now make their photos more appealing and eye-catching by making use of photo enhancer tools. These photo enhancer tools guarantee users high-quality images since there is a large number of options to choose from. However, one must be ready to use a photo enhancer tool that guarantees maximum results.
If you are having problems in getting a good image enhancer software, then it is high time that you tried Luminar. With Luminar, you will be provided with different options that will make your image more dynamic. All this is made possible through the “filters” and “presets” feature that come with Luminar image enhancer. These features ensure that you can either have complete control of different photo editing details or simply add eye-catching “presets”.
source: digitaltrends.comContents
Presets
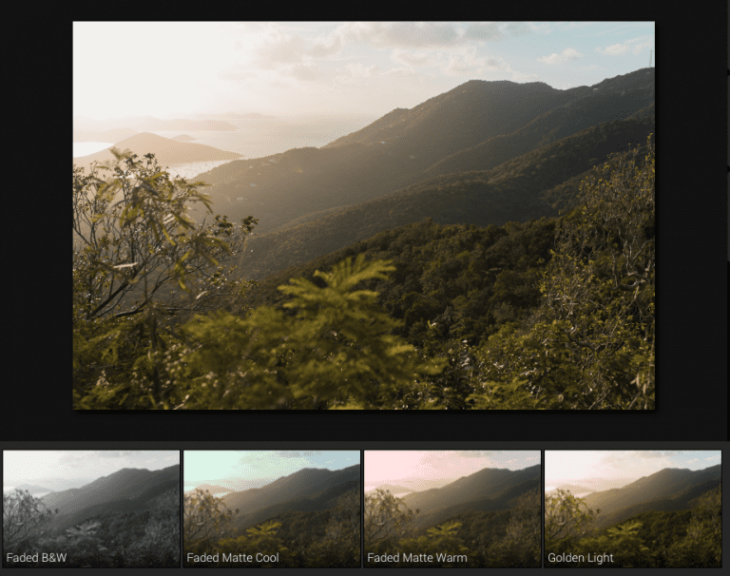
Presets mark an easier way of enhancing your overall photo since it acts as a good starting point for both newcomers and professionals. What makes presets reliable is the fact that it has two options to choose from, i.e. “foggy day” and “image enhancer”. Upon clicking on preset, the photo will automatically change the filter controls to match your descriptions. For instance, with “image enhancer” your photo becomes more vivid thanks to saturation and contrast filters.
Filters
The filter feature is specifically set aside for people who want to separately enhance quite a number of different elements inside a photo. Upon launching Luminar software, you will be able to see the filters bar on the left side. You can then easily drag each slider and enhance the image to suit all your preference and wants. This action not only gives you total control over the main photo-editing processes such as temperature and contrast but also provides numerous fine-tuning options such as warmth and smoothness.

source: helpx.adobe.com
Advantages of Luminar Software
Luminar software has plenty of features designed to make your photo beautiful, vivid and sharp. Some of the benefits that come with using Luminar software include:
- Resizing the image
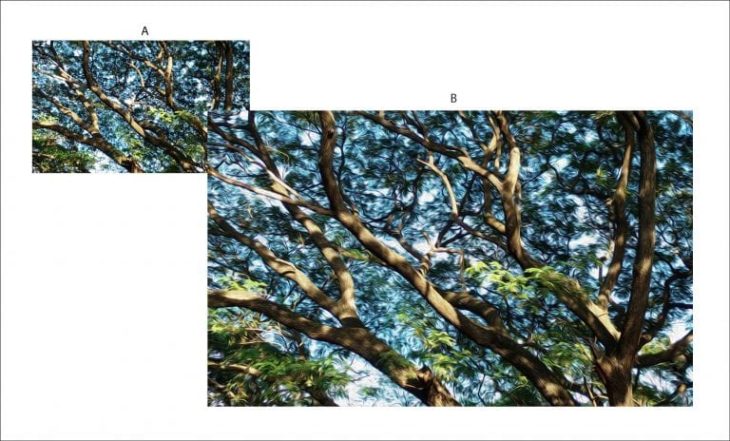
Luminar is one of those softwares that allows users the chance of resizing the image without necessarily tampering with quality. This action can be completed within a couple of minutes as long as you are aware of all the steps involved.
- Black and white photo editor
With luminar preset, you can convert any picture, sepia or color into your preferred black and white format thus making it stand out from the rest. Some of the black and white formats include dreamy, vintage and grunge.
- Color photo editor
Not many image enhancer tools will give you the freedom of changing the photo’s color. Fortunately, Luminar has a wide range of methods that one can use to have total control over your color photos.

source: medium.com
Grunge Texture in Photoshop
Grunge is one of the finest styles in photography, music, fashion and any other type of art that is applicable. It has a close relation with eeriness, gloom and suspense as they all play a role in self-doubt, trauma and social alienation. For instance, if you are interested in creating an atmosphere of decay and sadness, then you can easily achieve this artistic value by adding a scratchy texture, a black grunge background or a grunge paper texture.
Luminar software is designed with free textures that help you get impressive and unique looks. This is unlike Photoshop which takes some time to learn and adapt before finally offering the expected results. Below is a step by step guide on how to achieve a grunge effect using a PSD file or a grunge texture vector.
Step 1: Separate the object
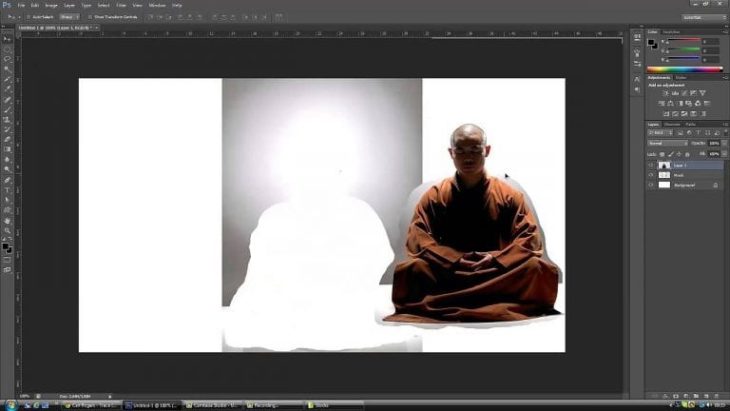
Before applying the changes, you must separate the main object and make use of the background to apply the grunge texture. To do this successfully, you will need to make use of tools like quick select, color range selector just to list a few. Create another layer from your selection by right clicking on “layer via copy”. The image will then be separated from the background.

source: youtube.com
Step 2: Create a Grunge Texture
The next step involves selecting a texture of your choice. To do this, simply download a vector grunge texture or any other tool which is compatible with Photoshop. You should then select a grunge texture file that is not smaller than the image.
Step 3: Add the texture
Now open the texture and copy it as a new layer while keeping it above your background. However, you should make sure that it is below the selection with the main object.
Step 4: Blend your image
Change the opacity of your image so as to make the grunge texture more natural. Repeat this action until when you have fully achieved your preferred results.
Step 5: Refine the edges
Finally, make use of the refine edge tool to smoothen the fine areas around the main subject until the image is in good shape. This action will remove any un-ideal look which may sometimes give away your intrusive editing

source: filtergrade.com
Grunge Texture in Luminar
Adding grunge texture in Luminar is a walk in the park since you only have to follow the four steps given below:
- You will first have to open the image that you wish to add a grunge texture in luminar.
- Next, download the found textures pack from luminar web application.
- Add a different image layer before selecting the desired grunge texture.
- Finally, make the necessary adjustments using a brush tool while at the same time applying the grunge texture.
It is highly advisable that you make use of Luminar software if Photoshop interface does not offer the intended results. However, you must first see if luminar suites your interests by making use of the 30-day free trial. So why not try making a grunge texture for any of your photos and see the life-changing advantages that it brings.
