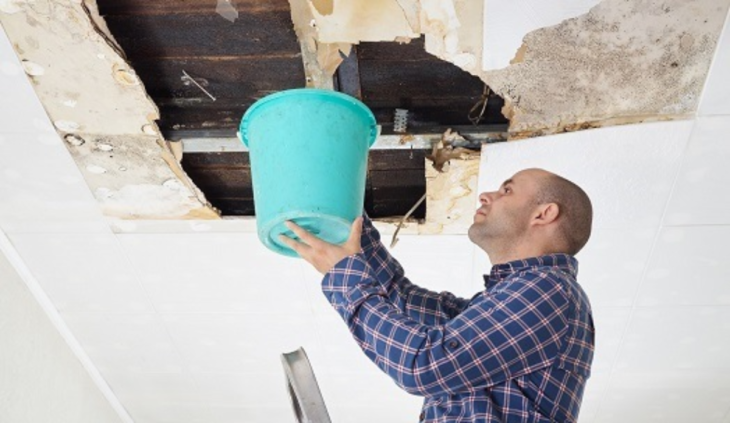
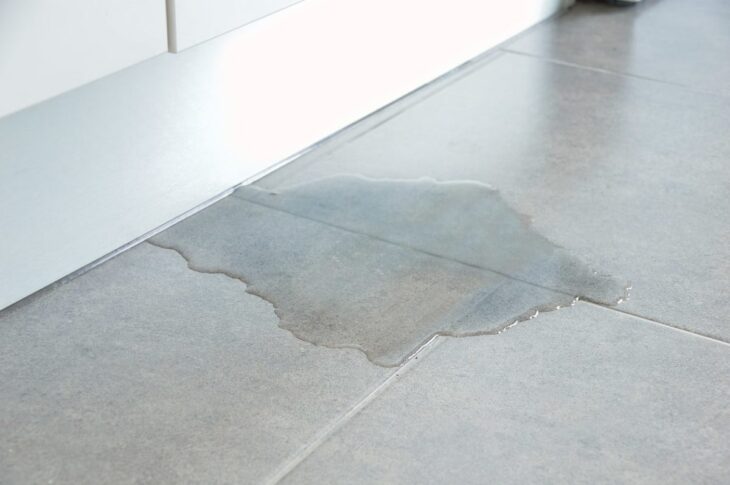
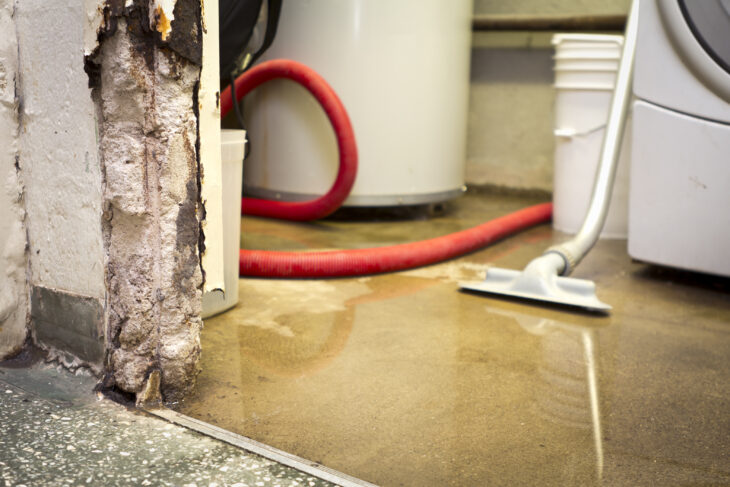
Being faced with any kind of water damage in your home can turn out to be disastrous. If you don’t act fast and do the damage control, things can get really ugly. We are not talking only about some superficial impairment that will ruin the aesthetic appearance of your home, but also about those that you might not be able to see at first.
In order to prevent these from happening, you have to take action immediately. In this article, we are going to provide you with a detailed guide on what steps you should take.
Contents
1. Understand the type of water
This probably seems odd to you. After all, water is water, right? Well, not quite. There are three different types of water, and each of them requires a different approach. The first one is clean water, i.e., the one that comes from leaky pipes, condensation, or rain. This one is pretty much harmless, and you should be able to deal with the damage on your own.
The second type is slightly dirty, gray water that comes from dishwashers, toilets, washing machines, and so on. Since this one is contaminated, drying out the affected area won’t be enough, meaning that you will have to disinfect it first and put in more effort.
The final kind is the so-called black water that comes from sewage, which means that is filled with all sorts of bacteria that can multiply quite fast. As you can imagine, this water can be very dangerous for your health, which is why, under no circumstances, should you deal with the damage on your own. This is a job for a professional crew of experts that use protective gear and equipment.
When it comes to hiring a team of professionals, there are certain things that you have to consider. After all, you want only the best out of the best, right? Well, since there are numerous companies in every city, you should check out waterdamagekansas.com to see what your options are.

Source: recentlyheard
2. Dry the area
Upon identifying the area damaged by water, your first step should be cleaning it up. Obviously, firstly you have to soak the excess liquid and then start the drying process. If the section is fairly small, you can use portable fans, one or more. On the other hand, if you believe that these won’t be enough due to the large surface, you should go with a dehumidifier. The great thing about this is that not only will it dry out the walls and floor, but it will also eliminate the moisture, which is a breeding ground for mold and mildew.

Source: mold
3. Inspect for mold
This brings us to our next point – fungi. You might not know this, but mold can develop with 24 hours, which is why it is of crucial importance to start the cleaning and drying process as soon as possible. If you do find any, you have to options. If the infected area is small, for example, if you found it on your carpet, you should get rid of it immediately. On the other note, if the infected area is larger, you will need professional help, once again. Surely you know that mold spores can be harmful to your health, which is why you should call experts immediately. One more thing, keep in mind that mold can appear in some hidden spaces, so you have to inspect every section thoroughly.
4. Throw away all the damaged materials
The next step you should take is to get rid of everything that has been impaired by water, and we do mean everything – rugs, carpets, pieces of furniture, wood, etc. There is no point in drying out the floor and walls if you won’t toss these items away because you won’t be able to completely clean them, meaning that mildew will probably develop, and then you would be right back at the start.

Source: rapidwaterrestorations
5. Disinfect everything
Once you get rid of contaminated items, it is time to get down on your knees and start scrubbing. The bleach solution is the most popular choice, but there are also numerous homemade products that you can use. Do a quick online research and choose the one that seems the best for you. Spray the product on the damaged section and wipe it down after a few minutes. For the best results, you should repeat this process a few times.

Source: thegroutmedic
6. Start with the repairs
Upon completing all the above-discussed steps, it is time to work on repairs. Firstly, you should begin with the ceiling. In case that damage occurred due to the heavy rain, it means that there is probably a hole somewhere that has to be repaired. Furthermore, if it was due to the leaky pipe, you have to locate the problem and fix it as soon as possible, because if not, this problem is bound to occur again in the future.
Moreover, replace any wooden plank that has been impaired. After all, they are the foundation of your home, so you cannot skip them. Don’t forget about the mold and mildew that we have already discussed. That issue won’t go away on its own.
Lastly, you might have to get new flooring. If you thought that just by throwing out the carpet, all your problems would be solved, you couldn’t be more wrong. Even if you have wiped down all the water, the moisture could still penetrate the wood flooring, which will eventually swell up.
If the damage occurred due to natural causes, you should also inspect the outside of the house. We are not talking only about the roof, but also external siding. Once again, if you notice any kind of problem, you have to remove or completely replace the siding to avoid any further damage to external materials.

Source: realpropertymgt
7. Finishing touches
We have finally reached the last item on your to-do list. Naturally, you can proceed with the list only if you have replaced and repaired the drywall in the affected area. Depending on the section of the damage, you might have to repaint the wall, or even purchase new items and pieces of furniture.
