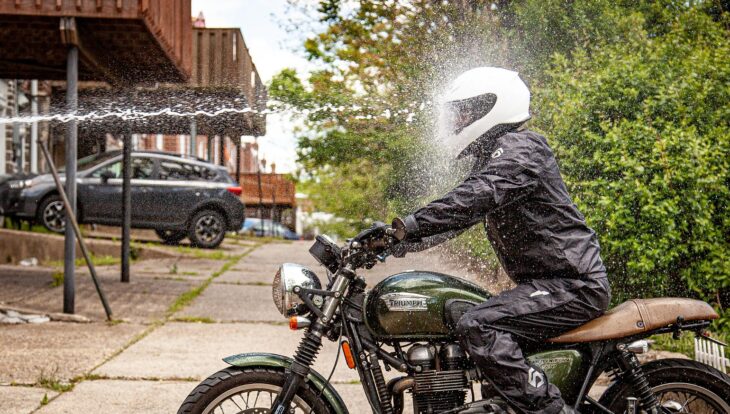
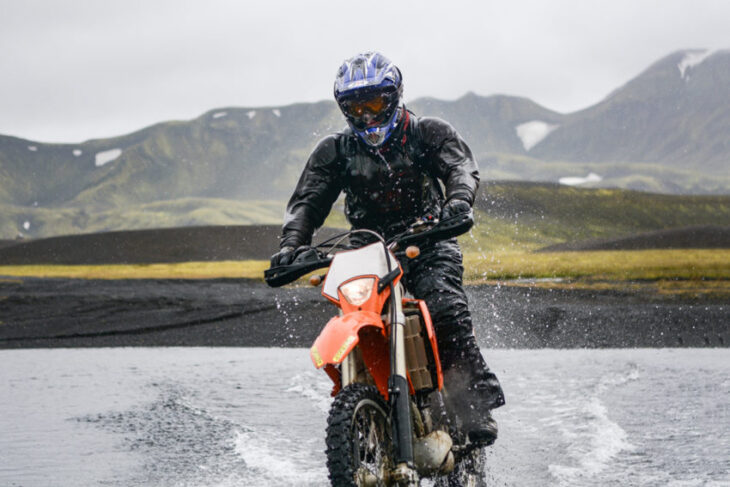
Motorcycles really shine on long rides when the weather is mild and sunny. Where cars deny us the experience of feeling the wind and sun on our body, they also shield us from negative weather influences. Most bikers avoid driving in the rain, for the sake of their comfort and safety. But it is not unheard of that you will get caught in changing weather and heavy rain unintentionally. Owning waterproof motorcycling gear will make these experiences less uncomfortable, but it might lose its functionality over time. In these cases, modifications to your gear can be the answer. Here’s how to DIY waterproof your motorcycle clothing.
Source: revzilla.com
Contents
The Protective Attributes of Motorcycle Clothing
Motorcycle clothing from ChromeBurner.com is built to protect you from negative influences during a ride:
- abrasions in case of a crash or fall
- the air stream, especially on cold days
- rain, even before waterproofing it
- UV-rays and the heat of the sun
To shield you from these things, most motorcycle clothing has a top layer made from leather or other strong textiles that keep air and water from passing through and can withstand cuts or scrapes without breaking. At the very least, the parts that are most in danger to get a) injured, b) hit by the airflow and c) hit by rain are covered this way or are covered by additional protectors made of plastic or foam. Underneath is a layer of light fabric, like Gore-Tex. It lets sweat travel to the outside layers to keep your skin dry and warm.
All these things make regular motorcycle clothing better suited to shield you from rain than regular street clothes. However, most are not specifically made to be waterproof enough to withstand heavy rain or lose their waterproof coating due to wear. In that case, you have multiple methods of re-waterproofing your motorcycle clothing.
These are universal instructions. Make sure to always read the specific instructions on the product you choose to use. There might be variations. In question, always follow the proofing agent’s instructions.
Source: hiconsumption.com
Waterproofing Spray
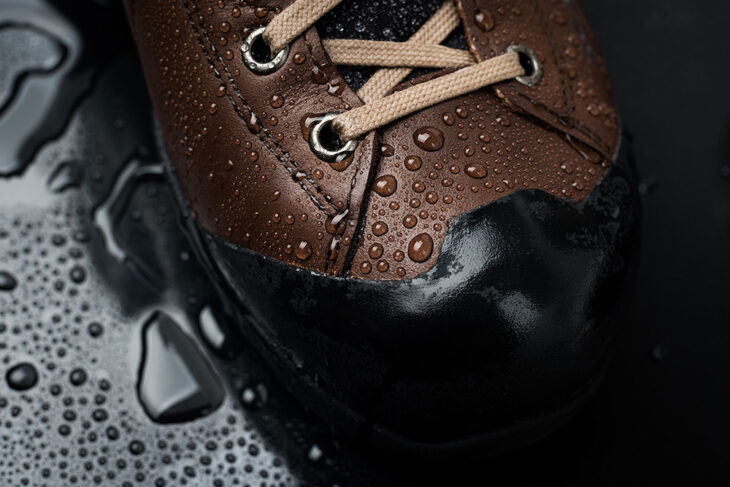
Most people are familiar with regular waterproofing spray. When you buy leather shoes or other leather clothing, the salesperson probably advised you to buy one. You can use it to help sensitive materials survive rain and mud. These sprays exist with differing potency. Some are designed for leather handbags, others are made to waterproof camping gear like tents. Naturally, the second one would be more effective in proofing a fabric.
What you want is the most potent proofing. You can use it to give leather and other fabrics like jeans a waterproof coating that will let oil or water pearl right off.
- Clean the piece of clothing you want to waterproof. If it cannot be washed, try your best to wipe it down or vacuum and brush it to remove any dust and dirt.
- Let the clothing dry. The coating does not adhere well to wet areas, and it might not seal perfectly.
- If possible: work outside or in a ventilated space. To protect the surface beneath the clothing, you can spread out some paper or cardboard, but a surface like concrete won’t suffer from a coating.
- Straighten the clothing and remove as many folds as you can so you can cover everything equally.
Tip: Hang the clothing on a coat hanger — if it is possible for that specific piece of gear — so you have access to both sides at once. This way, you can skip repeating the steps for the second side.
- You can protect yourself by using gloves and goggles. Spray the fabric from about 20 cm (ca. 8 inch) away. Only moisten the fabric, it should not get wet.
- Let the coat dry completely. This might take hours.
- When you made sure it is dry, apply a second layer. You can wipe down any excess fluid to even the spread. Let the coat dry once more.
- Repeat the steps on the second side. Let it dry for 24 hours before wearing the clothing.
Source: inthewash.co.uk
Wash-in Waterproofing
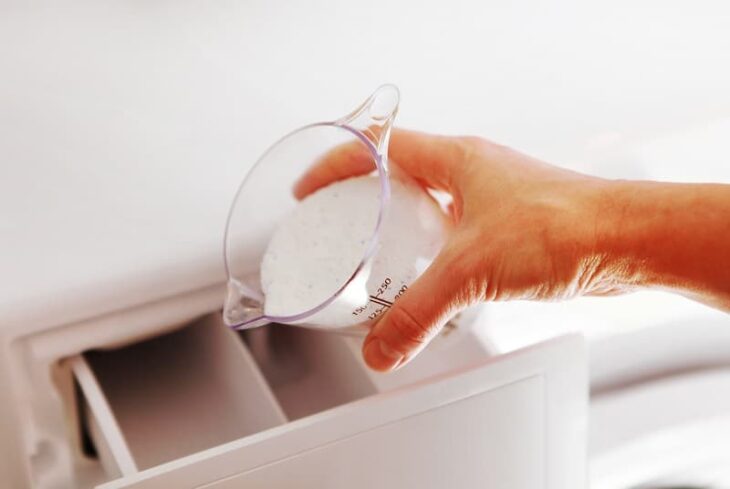
There is both liquid and non-liquid wax for waterproofing. The liquid variant can be used in a washing machine or a tub, where you have to submerge the fabric yourself. If you choose the washing machine, follow this instruction:
- Clean your detergent tray. Any remains of detergent will negatively affect the result.
- Pour the right amount of proofing liquid in the detergent tray, according to the product instructions.
- Wash the piece of clothing at 30 degrees.
- Let your clothing dry for 24 hours, in the open air if possible. Try to let it dry in a single layer. If the fabric folds and touches, the wax layer sticks together after drying.
Source: instructables.com
Rubbing Wax
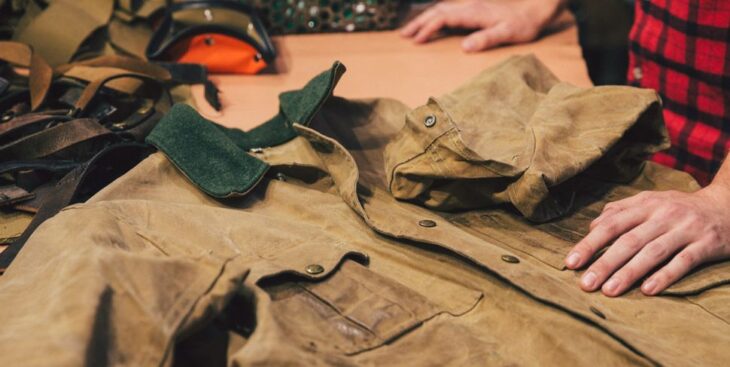
The non-liquid wax can be used as rubbing wax. Typically, it is used for leather shoes. Think of the cliché image of a shoe shining boy. When you want to waterproof fabrics other than leather, do some research on what type of wax works with the material.
- Slightly heat the wax. It’s enough to keep it in the sun for a while. It should not melt but be soft enough to be easily applied.
- Spread the clothing on a hard surface. Rub the wax evenly on the fabric. It is best to rub both from side to side and from up to down.
- When the wax covers all the fabric, you must warm it up to let it melt and fuse into the material. The best tool for this is a hairdryer. Evenly heat it for about 10 minutes.
- Let the clothing dry for about 24 hours, if possible, in a ventilated area.
Source: hiconsumption.com
Conclusion
If your motorcycle clothing is not as waterproof as you want it to be, you can improve it with different waterproofing techniques. All the above cover any fabric with a waxy layer that will make fluids pearl right off. Which technique works best, is dependent on your preference. Which liquid or wax you use, however, is mostly determined by the fabric in question. Make sure to read the product info to see what should or should not be used for your specific motorcycle clothing.
