Whether you’re a makeup newbie or a seasoned pro, chances are you’ve used a beauty blender at least once in your life. These versatile, egg-shaped sponges have taken the makeup world by storm, thanks to their ability to deliver a flawless, airbrushed finish.
However, if you’re not using your makeup sponge correctly, you could be sabotaging your makeup game and wasting your favorite products. Here are ten common beauty blender mistakes you never knew you were making and how to fix them for a truly stunning look.
Contents
- 1. Not Wetting Your Beauty Blender Before Use
- 2. Using the Wrong Type of Beauty Blender
- 3. Not Cleaning Your Beauty Blender Regularly
- 4. Using a Wiping Motion Instead of a Bouncing Motion
- 5. Overloading Your Makeup Sponge with Product
- 6. Not Replacing Your Makeup Sponge Often Enough
- 7. Applying Too Much Pressure When Blending
- 8. Neglecting the Pointed End of the Blender
- 9. Using Your Beauty Blender for Every Makeup Product
- 10. Storing Your Beauty Blender Incorrectly
- Final Words
1. Not Wetting Your Beauty Blender Before Use
The first mistake that many people make is not wetting their beauty blender before using it. The sponge is designed to be used damp, which allows it to expand and become softer, allowing for more even and seamless blending. A dry sponge, on the other hand, will only absorb more of your product and make it harder to blend.
To fix this mistake, simply run your makeup sponge under water until it’s fully saturated. Then, squeeze out the excess water so it’s damp but not dripping. You’ll notice an immediate difference in the way your makeup applies and blends.
2. Using the Wrong Type of Beauty Blender
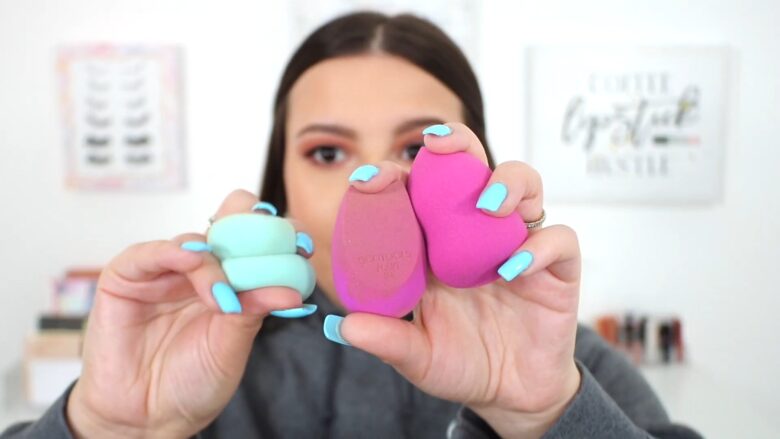
Not all beauty blenders are created equal. There are various types and sizes available, each designed for specific purposes and types of makeup. For instance, larger blenders work best for applying foundation and blending contour, while smaller, more precise blenders are perfect for applying concealer or setting powder.
To get the most out of your makeup sponge, make sure you’re using the right one for your needs. It’s also a good idea to invest in a high-quality sponge, as cheaper alternatives can be less effective and wear out more quickly.
3. Not Cleaning Your Beauty Blender Regularly
One of the biggest mistakes you can make is not cleaning your makeup sponge regularly. Dirty sponges can harbor bacteria and cause breakouts, not to mention compromise the quality of your makeup application. Ideally, you should clean your beauty blender after each use or at least once a week if you’re not using it daily.
To clean it, simply wet it and apply a gentle soap or blender cleanser. Massage the soap into the sponge, then rinse thoroughly until the water runs clear. Squeeze out any excess water and allow it to air dry.
Did you know that cleaning your makeup sponge in a microwave can be the most effective in removing bacteria and makeup residue.
4. Using a Wiping Motion Instead of a Bouncing Motion
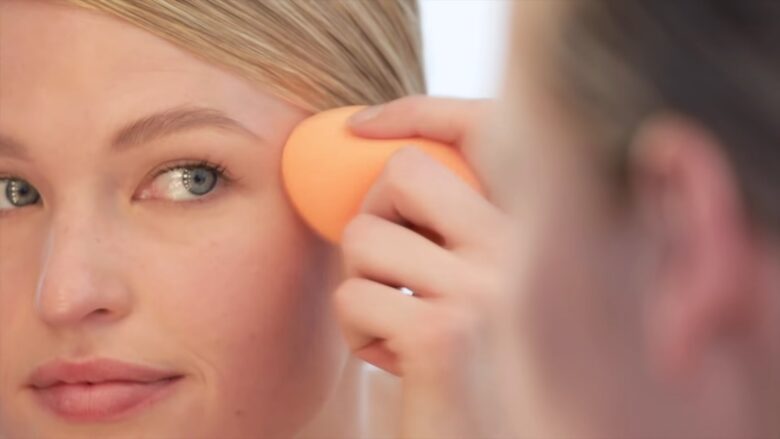
The key to achieving a flawless finish with a beauty blender is using the right technique. Many people make the mistake of wiping or dragging the sponge across their face, which can cause streaks and uneven coverage. Instead, use a bouncing or stippling motion to gently press the product into your skin.
This bouncing technique helps to blend your makeup more evenly and provides better coverage. It also helps to prevent the sponge from soaking up too much of your product.
5. Overloading Your Makeup Sponge with Product
Less is more when it comes to applying makeup with a beauty blender. Many people make the mistake of loading up their sponge with too much product, which can lead to a cakey and unnatural appearance. Instead, start with a small amount of product and gradually build coverage as needed.
To avoid overloading your makeup sponge, apply your makeup directly to your face or the back of your hand, then use the sponge to pick up a small amount of product at a time. This will give you more control over the amount of makeup you’re applying and help you achieve a more natural, seamless finish.
6. Not Replacing Your Makeup Sponge Often Enough
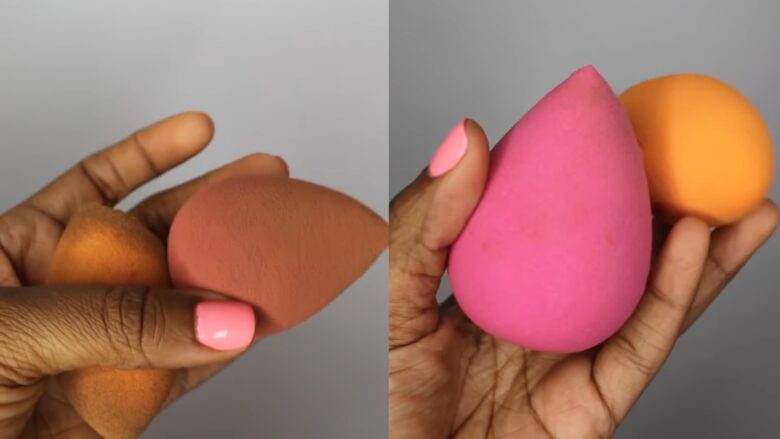
Like any makeup tool, beauty blenders have a limited lifespan. Over time, they can become less effective and even harbor bacteria, which can lead to skin irritation and breakouts. To maintain optimal performance and hygiene, it’s important to replace your makeup sponge every three months or sooner if you notice any signs of wear and tear.
Signs that it’s time to replace your makeup sponge include a change in texture, visible tears or holes, or a persistent odor even after a thorough cleaning.
7. Applying Too Much Pressure When Blending
When using a beauty blender, it’s crucial to find the perfect balance between pressure and gentleness. Applying too much pressure when blending can cause your makeup to appear cakey, streaky, or uneven. On the other hand, being too gentle may not provide enough blending power to create a flawless finish.
To achieve the perfect pressure, hold your makeup sponge between your thumb, index, and middle fingers, and use a light bouncing motion to blend your makeup. This will help you apply just the right amount of pressure to achieve a seamless, airbrushed look.
8. Neglecting the Pointed End of the Blender
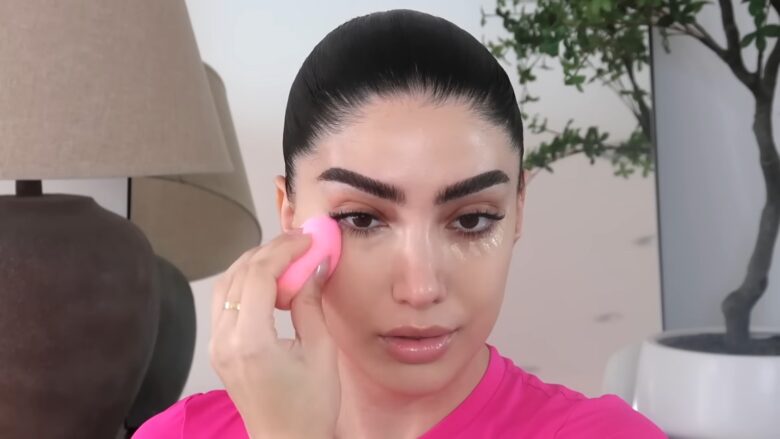
The unique egg shape of a beauty blender is designed to provide versatility when applying makeup. Many people make the mistake of only using the rounded end of the sponge, overlooking the benefits of the pointed end.
The pointed end of your makeup sponge is perfect for applying and blending makeup in hard-to-reach areas, such as around the nose, under the eyes, or along the brow bone. Don’t be afraid to switch between the rounded and pointed ends to ensure that every part of your face is perfectly blended.
9. Using Your Beauty Blender for Every Makeup Product
While a beauty blender is an incredibly versatile tool, it’s not necessarily the best choice for every makeup product. For example, using it to apply powder products, such as blush, bronzer, or eyeshadow, can result in patchy application and wasted product.
It’s also important to remember that not all makeup products and shades that match your skin tone.
To make the most of your makeup tools, reserve your beauty blender for liquid and cream products, such as foundation, concealer, and cream contour. For powder products, opt for a brush designed specifically for that type of makeup.
10. Storing Your Beauty Blender Incorrectly
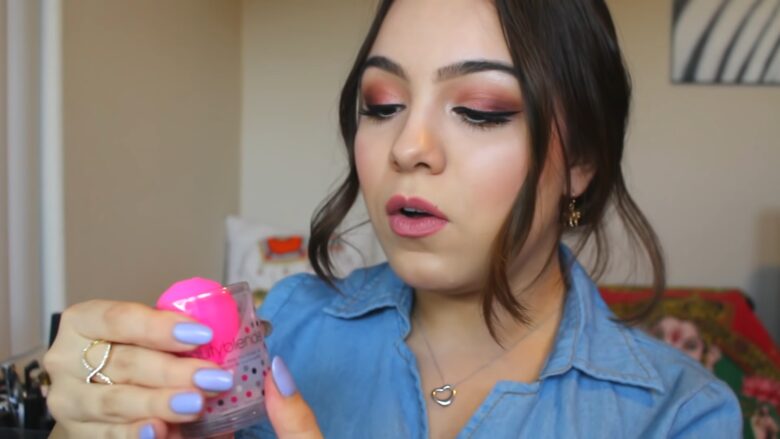
Proper storage is essential for maintaining the lifespan and performance of your beauty blender. Storing your sponge in a closed container or makeup bag while it’s still damp can trap moisture, leading to the growth of bacteria and mold.
To store your beauty blender correctly, allow it to air dry fully after each use, and keep it in a well-ventilated area away from direct sunlight. If you need to transport it, consider purchasing a breathable storage case designed specifically for makeup sponges.
Final Words
By avoiding these common beauty blender mistakes, you can elevate your makeup game and achieve a truly flawless finish.
Remember to wet your sponge before use, choose the right type of beauty blender, and use proper blending techniques to get the most out of your makeup. With practice and attention to detail, you’ll be a makeup sponge pro in no time.
