To all those people who say “I can’t cook/bake!” Repeat after me: Practice makes perfect. Practice makes perfect. Practice makes perfect. The #1 mistake I see kitchen beginners making is trying recipes that sound awesome but put an amateur in way over their heads – too many ingredients, too much set-up, too much chopping, too much multitasking, too many judgment calls that require a higher skill level in the kitchen. Diving into a complicated recipe without much experience is a surefire way to convince yourself that you’re destined for a life of takeout.
But have no fear! Here are ten recipes you CAN make, and that will make a foundation for most breakfasts, dinners, and desserts you’ll learn to make in the future. There’s only a few ingredients in each recipe, most of which you probably already have, and you’ll only need very basic kitchen equipment. Bon appétit!

Source: Thrive Global
1. Perfect Beef Tenderloin Filets: It sounds intimidating, but it’s not! For a 3-4 oz. filet: Make sure your filet is at room temperature. Salt and pepper both sides. Set your oven at 450-500 degrees. Heat a good amount of oil in a pan on top of your stove – it’s done when you sprinkle water on it and it crackles loudly (stand back! — also, I use coconut oil because it can handle high temps without burning). Cook your filet for four minutes on each side. Transfer it to a baking pan, and broil it for 5 minutes.
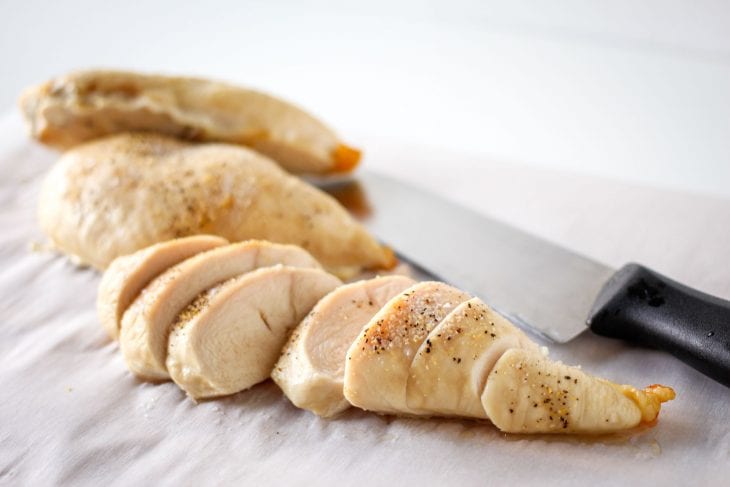
2. Baked Chicken Breasts: Marinate your chicken for at least an hour (see #6 for marinade recipes). Heat the oven to 350 degrees. Put the chicken in a baking pan and bake for 20 minutes (add 5-10 minutes if the breast is very thick, or pound it down with a mallet or the side of a broad knife).

Source: The Spruce Eats
3. Roasted Vegetables: Set your oven to 400 degrees. Chop up your vegetables (asparagus, eggplant, mushrooms, potatoes, peppers, onions, broccoli, cauliflower, brussels sprouts, squash, and kale all work well). Toss them in oil and season with salt and pepper and/or herbs, or use oil-based salad dressing. Lay the vegetables out on a baking sheet and bake until they’re fragrant and tender, usually about 20 minutes (longer for potatoes).
4. Baked Fruit: This works especially well for fibrous, hardy fruits like apples, pears, and peaches. Set your oven to 350 degrees. Cut your fruit in half and remove any seeds or pits. Make a mixture of brown sugar, spices, raisins, and chopped or broken-up nuts, and put it in the pit of the fruit (you could also use butter if you’re feeling extra-fancy).Put the fruit face-up on a baking sheet, and bake for 20 minutes.
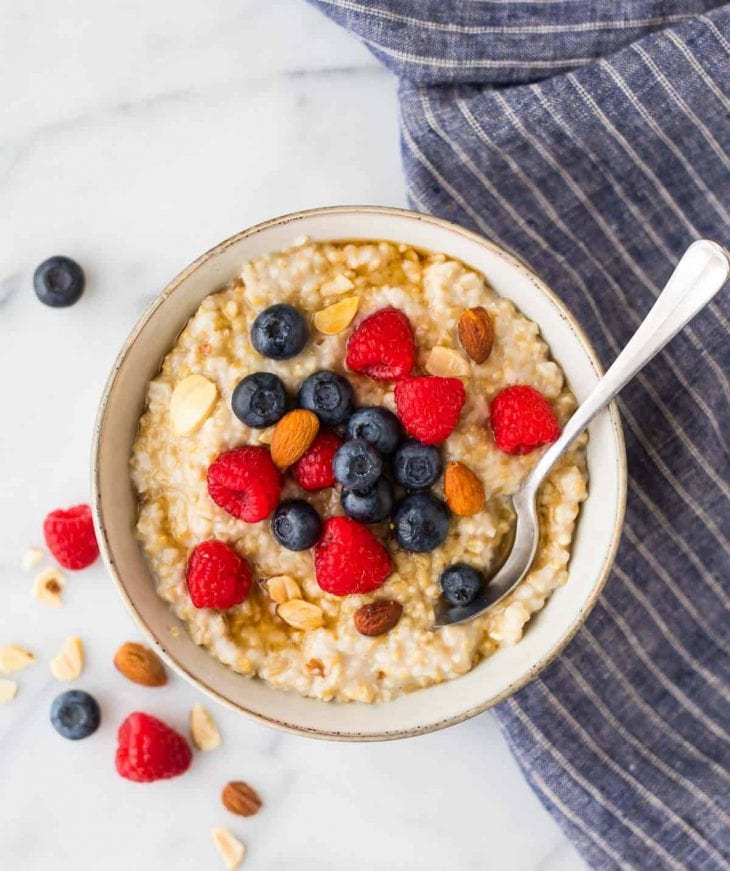
5. Steel-Cut Oats: First of all, steel-cut oats are THE BOMB. They taste way better than rolled oats and retain more fiber and nutrients. Moving on: For whatever quantity of oats you use, use 4x as much water. I usually find ⅓ cup of oats to be a good breakfast. Bring the water to a boil, then pour in the oats. Bring the water back to a boil, then lower the heat to simmering. Cover the pot (that’s important) and let it simmer for 20-30 minutes. Serve with chopped fruit and nuts and skip the sweetener!

Source: Well Plated
6. Basic Marinades: Marinades are really fantastic for poultry and vegetables. They always have an oil base, with liquids, herbs, and spices to flavor them. Don’t use something like coconut oil or butter that’ll firm up in the fridge; use olive, sesame, sunflower, or (not my fave but cheap) canola oil instead. Try combinations of the following flavors:
- Bitter: Vinegars, citrus juices, pomegranate molasses
- Sweet: Fruit, fruit juices, molasses, sugar, honey, onion
- Earthy: Herbs, truffle oil
- Spicy: Pepper powders, cinnamon, hot sauce, sriracha, nutmeg
- Salty: Salt (look into different kinds!), garlic
7. Basic Fruit Sauce: If you have fruit that’s on the verge of spoiling, use it by making a fruit sauce! The sugar in the sauce helps preserve it, so you’ll be able to keep it for a month and have it with your yogurt, oatmeal, pancakes, and ice cream. This works best for really watery fruits — I wouldn’t use it for bananas, in other words. Chop up your fruit as necessary and put it in a saucepan. Add a healthy amount of sugar (at least ½ cup), some spices, and some water. Heat it until it boils, then let it cool and put it in a tupperware container in your fridge.
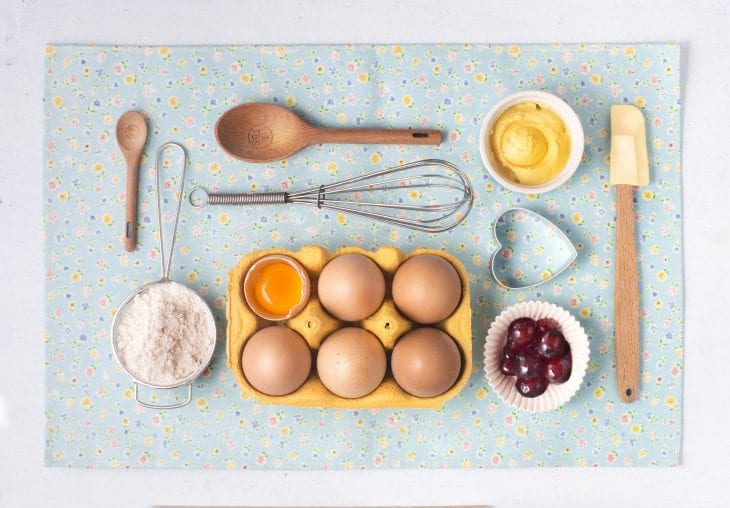
8. Cut-Out Shortbread Cookies: For this you’ll need 2 cups of butter, 1 cup of sugar, and 4 cups of flour, plus a little more for rolling. Bring the butter to room temperature. Beat it together with the sugar – if you don’t have a mixer, a spatula will do just fine, just make sure the butter is very soft before you start. Stir in the flour a little at a time until you get a very thick dough. Wrap up the dough and refrigerate for 1-3 hours. Use your extra flour to roll out your dough to about ¼ inch thick, then cut-out shapes either with cutters, or, if you’re like me and you don’t have much space, you can use a round glass for both the rolling pin and the cutter (true story). Heat your oven to 350˚ and bake each sheet for 10 minutes, or until the bottom edges are JUST golden. Let them finish cooking on the sheet while they cool. You can eat them like this, but they’re not super-sweet; if you want, you can also make a glaze by mixing a little bit of milk with a hefty amount of powdered sugar, or you can use…

Source: Taste of Home
9. American Buttercream: Please, please, please never buy canned frosting again. It’s so gross! Read the label! Buttercream is so easy, and you don’t even need a mixer; plus, the sugar in it preserves it, so you could leave it out of the fridge for 5-7 days without having to chuck it (who needs artificial preservatives?!). OK. You’ll need ½ cup of very soft butter, 3-4 cups of powdered sugar, and just a little bit of milk. Mix the butter and sugar together until it’s well-blended, then stir in the milk. You want it to be thick, but if it’s too thick it’ll get dry and crackly on top, so don’t overdo it and make like a Play-Doh with the powdered sugar; add in a little milk if you get to that point. SEE HOW EASY?! And speaking of meals with butter, have you seen this one at 9010nutrition.com
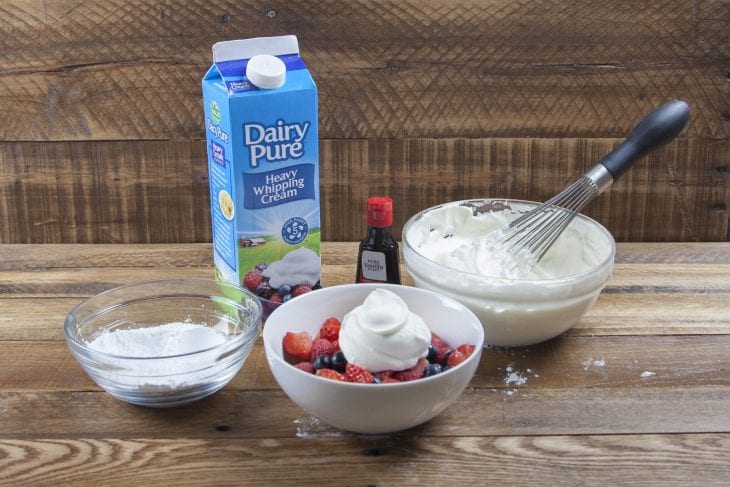
10. Whipped Cream: Again, stop buying the cans! So easy! For a pint of heavy whipping cream, you need maybe ½-¾ cup of sugar, powdered sugar, or brown sugar (mmmmm). You’ll want a mixer, but if you happen to have really fantastic upper-arm strength and feel like a challenge, you can use a whisk. Make sure the cream is cold but, contrary to conventional knowledge, the bowl only has to be at room temperature (colder makes it easier but is unnecessary). Put your cream and sugar in the bowl, and start your mixer out at a medium speed. Once it starts getting thicker, jump the speed up to the highest you can get without the cream splattering over the bowl. Whip it until it’s visibly thick — when you stop the mixer to check it, you want it to form soft peaks (you’ll know it when you see it); or, as another form of measurement, it’s done when you can turn a spoon of it upside down without any falling off. You can also mix in cocoa powder, liquid flavorings, or spices before you start whipping; or, if you make a very thick cream (whip it longer, but stop before it separates into cream and butter!), you can also put in ganache, fruit sauces, or fruit purees.

Source: DairyPure
Original by: Rebecca Vipond Brink
