If you are a person who needs braces, then you are merely one out of 4 million people in the United States who has to wear braces to straighten teeth.
We understand that you have a lot of questions regarding the subject, and one of them is “why?”
Braces improve your bite, close gaps, and in time they give you a better and more attractive smile. But the biggest and most frightening question is “what is the first day going to be like?”
The first thing you should know that braces take merely two hours to put on. Depending on your teeth, and the type of braces, the process might even take two appointments.
Putting braces on is not necessarily a painful process, but some parts of it could involve a sense of pressure.
In this article, we are going to tell you how orthodontists put your braces on.
Contents
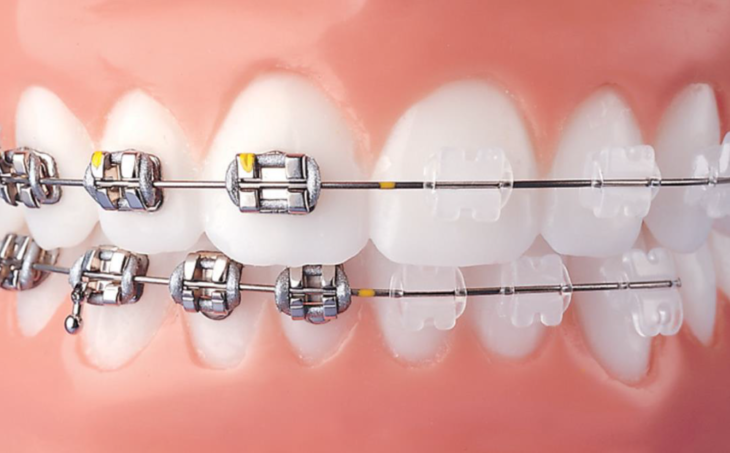
1. Conventional Metal or Ceramic Braces

Source: Papasikos Orthodontics
Spacers
If your back teeth are very close together, then orthodontists may put spacers to create enough space for bands to fit around your back teeth. Spacers are usually applied about a week before the bracers need to be implemented.
Cleaning
The day has come for the orthodontist to put your braces on. You should know that your teeth must be really clean before the procedure starts. The orthodontist might thoroughly clean and dry your teeth before the process starts.
Gluing
According to Gladwell Orthodontics, the bracer process starts with the gluing on the brackets. Brackets are small metal or ceramic devices that hold the wires in place onto your teeth. Each bracket is glued onto each tooth so that they can stay in place.
Attaching
Once each bracket and band is properly glued in place, it’s now time for the orthodontist to start attaching the wires to the brackets. The attaching process involves wrapping a small amount of rubber band around each bracket to hold the wire in place. The attaching part is considered the most fun part, as you get to choose the color of the rubber band.
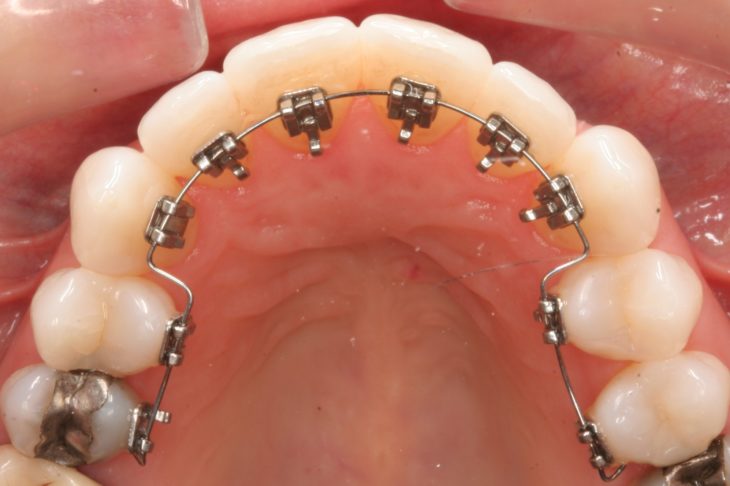
2. Lingual Braces

Source: 32 Dental Studio
Lingual braces have many of the same components as conventional braces, but they are applied to the back of the teeth. The process is the same as conventional braces, and the only difference is that the braces are applied to the “tongue side” of the mouth, rather than the front.
Since it involved putting them into places harder to reach, this procedure takes a little longer.
3. Clear Alignment Systems
Clear alignment systems reposition your teeth and they don’t require bands or wires during the applying process. This type of braces use clear alignment trays and your orthodontists will make all the necessary adjustments so that you can wear the braces with ease. He will also teach you how to wear and care for them during the alignment process, so all of your questions will be answered right on the spot.
Attachment
The orthodontist must make sure that the clear alignment system holds to your teeth. To do this, he might need to glue small attachments to your teeth, so that your teeth can move efficiently into place. These attachments act like handles for your alignment trays to keep the teeth in the desired direction and position. The process of clear alignment systems is painless and very quick.
