Makeup enthusiasts know that a Beautyblender is a game-changer when it comes to achieving a flawless finish. This little egg-shaped sponge has become an indispensable tool for millions of people around the world. However, as with any makeup applicator, keeping your Beautyblender clean is essential for maintaining its performance and ensuring healthy skin.
While there are various methods for cleaning a makeup sponge, this comprehensive guide will walk you through the steps for using your microwave to clean your Beautyblender quickly and effectively. So, get ready to achieve a squeaky-clean sponge that’s free of bacteria and ready to deliver impeccable makeup application!
Contents
Why Is It Necessary to Clean It?
Before diving into the cleaning process, let’s discuss the importance of maintaining a clean Beautyblender. The sponge’s unique texture is designed to absorb makeup and blend it seamlessly onto your skin. Unfortunately, this also means that it can become a breeding ground for bacteria, mold, and other unwanted microbes if not cleaned regularly.
Cleaning your makeup sponge is crucial for:
- Preventing breakouts: Dirty sponges can transfer bacteria and dirt onto your skin, leading to acne and other skin issues.
- Preserving sponge quality: Regular cleaning helps maintain your Beautyblender’s shape and texture, ensuring it continues to perform optimally.
- Extending sponge life: A well-cared-for Beautyblender can last up to three months or more, saving you money in the long run.
Step-by-Step Guide: How to Clean Your Beautyblender in a Microwave

Using a microwave to clean your Beautyblender is a quick and easy way to eliminate bacteria, dirt, and makeup residue. Follow these simple steps to have your sponge looking and feeling like new in no time:
What You’ll Need:
- Dirty Beautyblender
- Microwave-safe bowl
- Liquid dish soap
- Water
- Microwave
Step 1: Prepare the Cleaning Solution
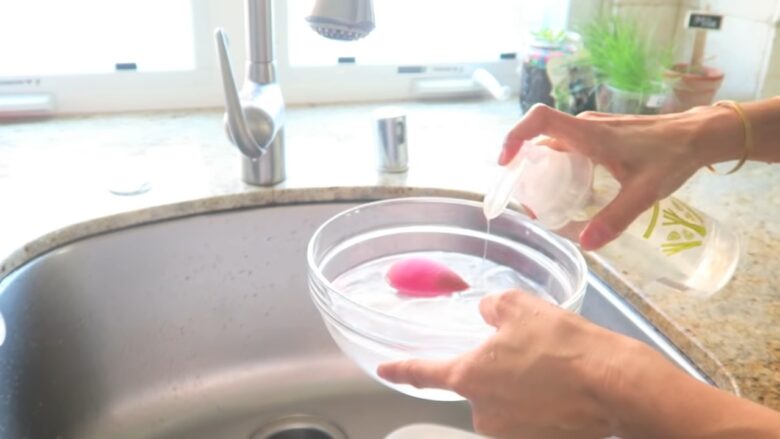
In a microwave-safe bowl, mix equal parts water and liquid dish soap. The soap will help break down the makeup and grime on your sponge, while the water will provide the necessary heat and steam for disinfection.
Step 2: Soak Your Beautyblender
Fully submerge your dirty Beautyblender in the cleaning solution, ensuring it absorbs the soapy water. Give it a gentle squeeze to promote saturation, and let it soak for 1-2 minutes. This will help loosen stubborn makeup and dirt trapped within the sponge.
Step 3: Microwave the Beautyblender
Place the bowl with the soaking sponge in your microwave, and set the timer for 1 minute. Keep an eye on the sponge as it heats, ensuring it doesn’t become too hot or expand too much. The heat and steam generated in the microwave will further break down makeup residue and kill bacteria.
Step 4: Carefully Remove and Rinse
Once the microwave timer goes off, be cautious when removing the bowl, as it may be hot. Allow the sponge and water to cool for a minute or two before handling. Carefully remove your Beautyblender from the soapy water, and rinse it thoroughly under warm running water. Squeeze the sponge repeatedly to remove excess soap and water, and continue rinsing until the water runs clear and free of suds.
Step 5: Dry and Store
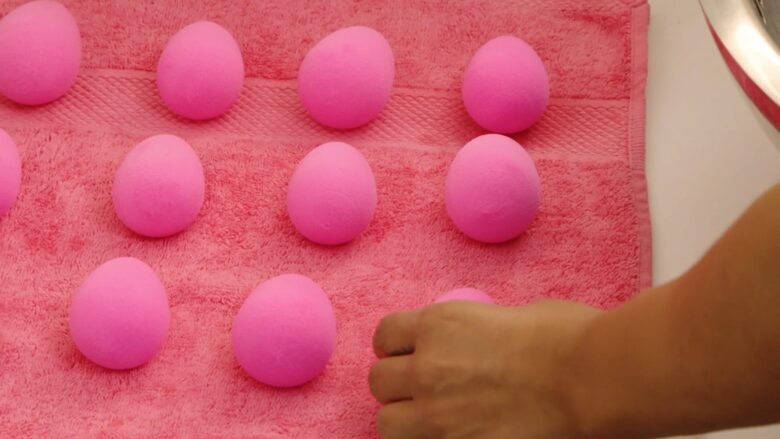
After you’ve rinsed your Beautyblender thoroughly, gently squeeze out any remaining water and pat it dry with a clean towel. Allow your sponge to air dry completely before storing it in a well-ventilated area to prevent bacterial growth. Avoid using the sponge immediately after cleaning, as the residual heat from the microwave can cause the sponge to become too soft and less effective for makeup application.
Tips and Precautions for Microwave Cleaning
While cleaning your Beautyblender in the microwave is a convenient and effective method, it’s essential to keep these tips and precautions in mind to avoid damaging your sponge or causing harm:
1. Use the right soap
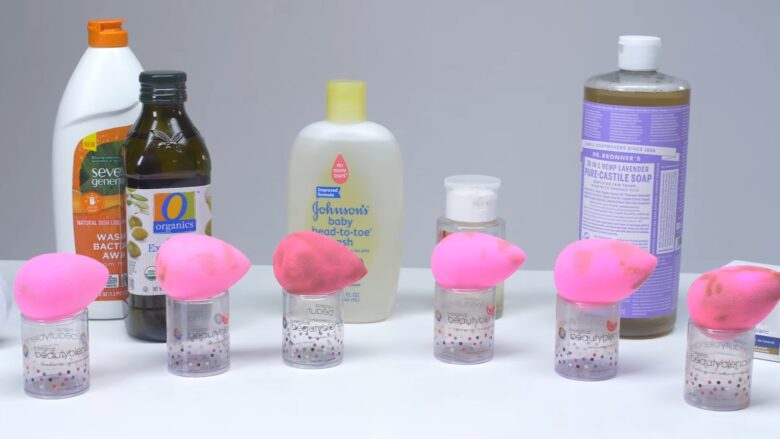
Stick to a gentle, fragrance-free liquid dish soap to avoid potential damage to your sponge. Avoid using harsh cleaners or bleach, as these can break down the material and shorten the lifespan of your Beautyblender.
2. Monitor the heating process
Keep a close eye on your Beautyblender while it’s in the microwave. Overheating can cause the sponge to expand excessively, compromising its shape and performance. If you notice the sponge expanding too much, pause the microwave, allow it to cool down, and then continue heating in shorter intervals.
3. Handle with care
The bowl and water will be hot after microwaving, so use caution when removing them from the appliance. Allow the sponge and water to cool for a minute or two before handling to avoid burns.
4. Don’t overdo it
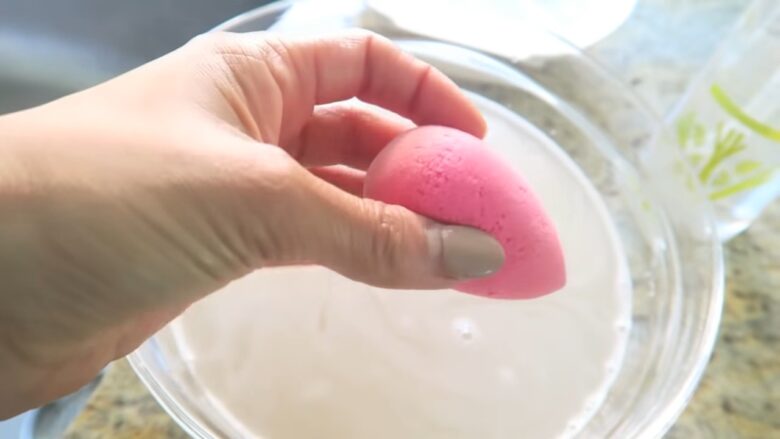
While the microwave method is effective and convenient, overusing it can eventually cause damage to your Beautyblender. Alternate between microwave cleaning and other gentle methods, such as using a mild soap and water or a dedicated sponge cleanser, to prolong the life of your sponge.
5. Know when to replace
Despite regular cleaning, your Beautyblender will eventually need to be replaced. Signs that it’s time for a new sponge include a change in texture, an altered shape, lingering odors, or visible mold. A well-maintained Beautyblender typically lasts for three months, but it’s essential to replace it sooner if you notice any of these signs.
Tips for Long-Lasting Cleanliness
Proper Storage is Key
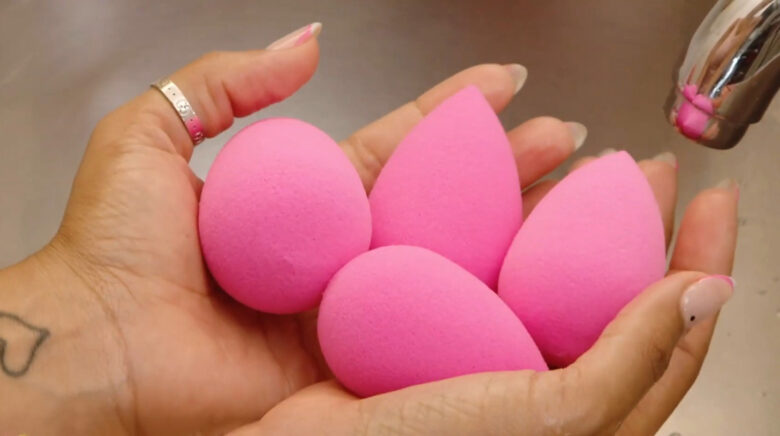
One of the most critical factors in keeping your makeup sponge clean for an extended period is how you store it. The sponge requires adequate airflow to dry thoroughly and prevent bacterial growth. Here are some tips that will ensure the long-lasting cleanliness of your Beautyblender
- Avoid airtight containers: Storing your sponge in a closed container traps moisture and promotes bacterial growth. Instead, opt for a breathable mesh bag or a perforated storage case specifically designed for makeup sponges.
- Keep it away from damp areas: Avoid storing your Beautyblender in damp environments, like the bathroom, as moisture can encourage mold growth. Choose a dry, well-ventilated area for storage.
- Dry it properly: Make sure your Beautyblender is completely dry before storing it to prevent the growth of mold and bacteria.
Daily Maintenance
Daily maintenance can help prolong the cleanliness of your Beautyblender and reduce the frequency of deep cleaning. By incorporating these simple habits into your routine, you can keep your sponge in great shape:
- Rinse after each use: After applying your makeup, rinse your Beautyblender with warm water to remove any surface makeup and dirt. This practice will prevent the buildup of product and make your next deep cleaning session more manageable.
- Spot clean: If you notice a particularly stubborn makeup stain on your sponge, address it immediately with a spot treatment using a mild soap or sponge cleanser. The sooner you tackle the stain, the less likely it is to become embedded in the sponge’s fibers.
Rotate Your Sponges
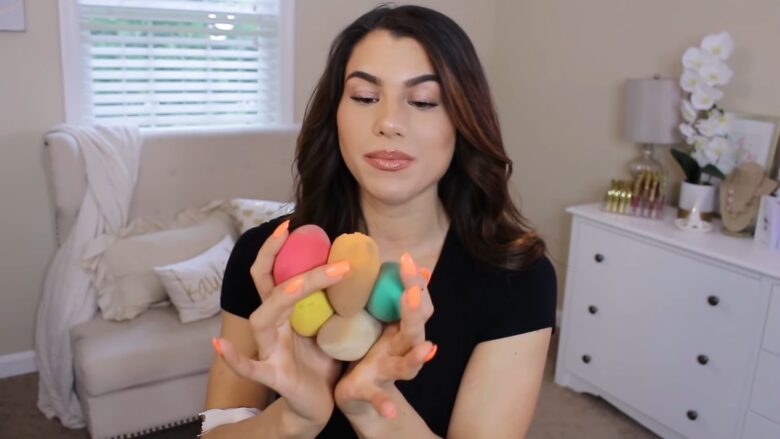
If you’re an avid makeup user, consider having multiple Beautyblenders in rotation. By alternating between sponges, you can extend the time between cleanings and prolong the lifespan of each sponge. Additionally, having a backup sponge allows you to clean and dry one thoroughly while using the other for makeup application.
Final Words
Cleaning your Beautyblender in the microwave is a fast and efficient way to keep your makeup sponge fresh and germ-free. By following the steps outlined in this guide and taking the necessary precautions, you can ensure that your sponge remains in optimal condition for a flawless makeup application.
Regular cleaning not only promotes healthier skin but also helps extend the life of your Beautyblender, making it a crucial part of your beauty routine.
