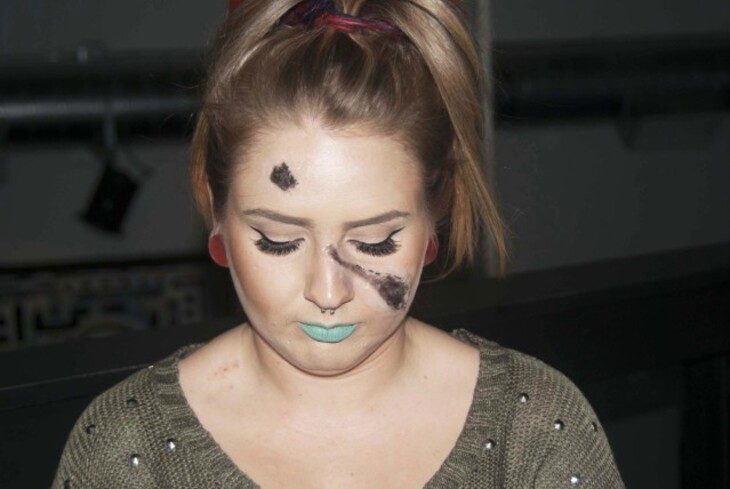
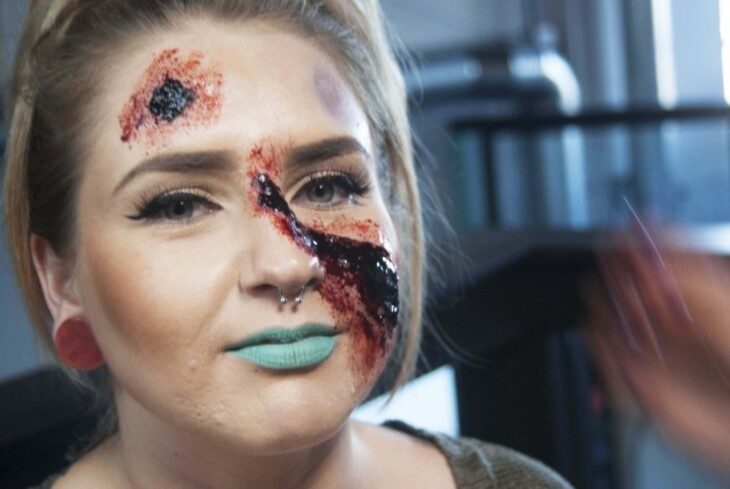
Um, excuse me, Halloween is soon?! If you still haven’t figured out your costume but you want to make a splash, you can always just go in your normal clothes but add this amazing gash and bruise makeup, courtesy of San Francisco-based hair and makeup artist Josie Rodriguez!
What You’ll Need
- 3rd Degree or liquid latex and tissue
- A small makeup spatula or Q-Tips
- Black cream makeup
- Injury or bruise makeup (I like Kryolan’s Bruise Wheel, but you can get generic injury cream makeup at Halloween stores)
- Fake blood – the thicker the better
- Foundation
- Makeup sponges and wedges
Part One: Molding Your Wound
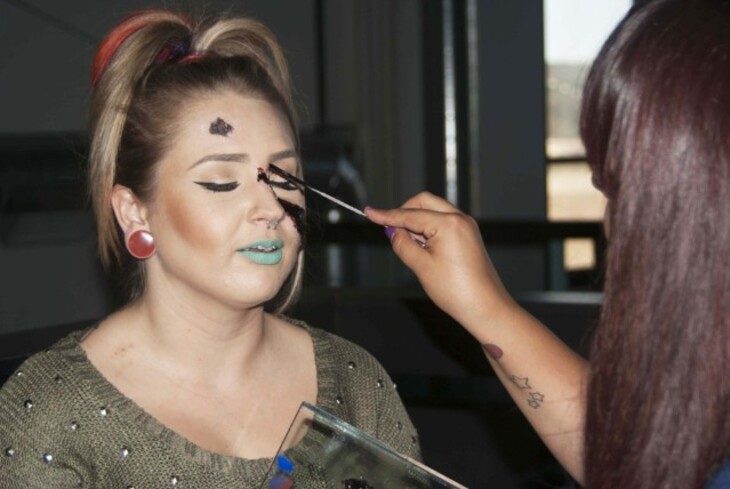
Step One: After applying your normal makeup, spread a thin layer of 3rd Degree or liquid latex (you can find it at your local pop-up Halloween store) across your skin on the area where you plan to have your gash. It’s helpful to have an idea planned out in advance for what you want it to look like, as these products can dry quickly.
Step Two: Use a small spatula or a Q-Tip to spread the 3rd Degree or latex and start shaping it into whatever you want your gash to look like. If you’re using latex, place a piece of tissue over that latex while it’s still wet, and seal the edges off with more latex. Build up layers of tissue and latex until you get the shape and thickness you want. If you’re using 3rd Degree, it will dry pretty fast, so make sure you shape and mold immediately.
Step Three: Once tissue is dry you can start a small hole in latex with scissors or the end of small spatula. You can continue to cut the rest of your gash, or you can rip it to create a larger hole. Note that the great thing about using 3rd Degree is that you can peel the mold off and use it again!
Part Two: Making It Bloody

Source: The Frisky
Step One: After you have made your gash opening, add black paint on the inside to add depth. Then cover the latex or 3rd Degree with your foundation.

Source: The Frisky
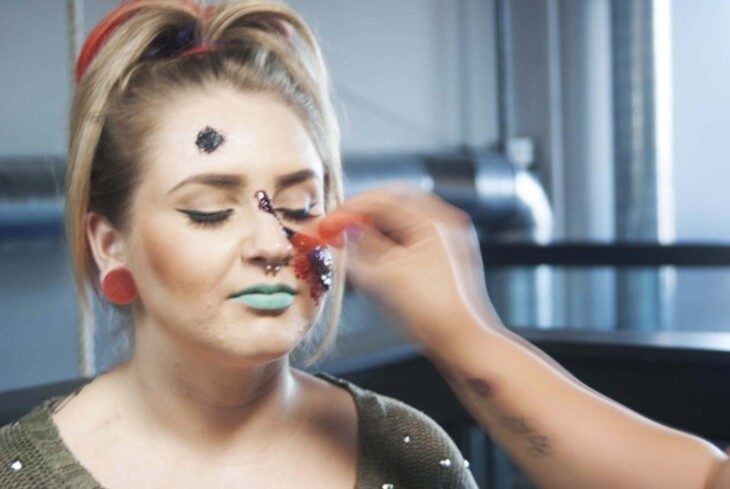
Step Two: Add blood! I like Fleet Street, because the consistency is thicker. Another good one is Fresh Scratch Blood Effects from Kryolan, which is a very thick paste-like blood. It gives the wound more texture.

Source: The Frisky
Step Three: Use a sponge to apply blood around the gash as well to create a splatter-like effect.

Source: The Frisky
Step Four: To create bruises, I used the Kryolan Bruise Wheel (if you can’t get it in time, you can find injury cream makeup at most Halloween stores). Apply light purple in the shape you desire using a small stipple brush, or you can tear a foam wedge sponge in half to add texture.
Step Five: Apply a small amount of red over the purple, then small amount of dark purple to add definition and depth.
In the captivating realm of theatrical makeup, Halloween offers a magical opportunity to unleash your creativity. If you’re eager to transform yourself into a spine-chilling character, look no further! Learn how to master the art of gory gashes and vampire teeth for a frightful Halloween look that will leave everyone spellbound.
Creating realistic gashes demands precision and the right tools. You can find these tools and products at Treasure House of Makeup, a supplier of theatre and stage makeup. To make your gory gash horrifying, consider using stage blood to achieve a freshly wounded appearance. It’s essential to practice this technique beforehand to perfect the art of horror.
For a step by step tutorial on applying captivating vampire makeup, check out our exclusive guide at Treasure House of Makeup. Here, you’ll find expert tips and tricks to make your vampire transformation utterly enchanting. You can even find a detailed guide on how to create your own vampire teeth from scratch at home!
With these techniques at your disposal, your Halloween look will be the talk of the town, captivating and haunting all who dare to behold your ghoulish allure. Embrace the darkness and enjoy the thrill of becoming a Halloween masterpiece!
You’re done with your gash victim! Oh no, what on Earth happened to you?!
Original by Josie Rodriguez
