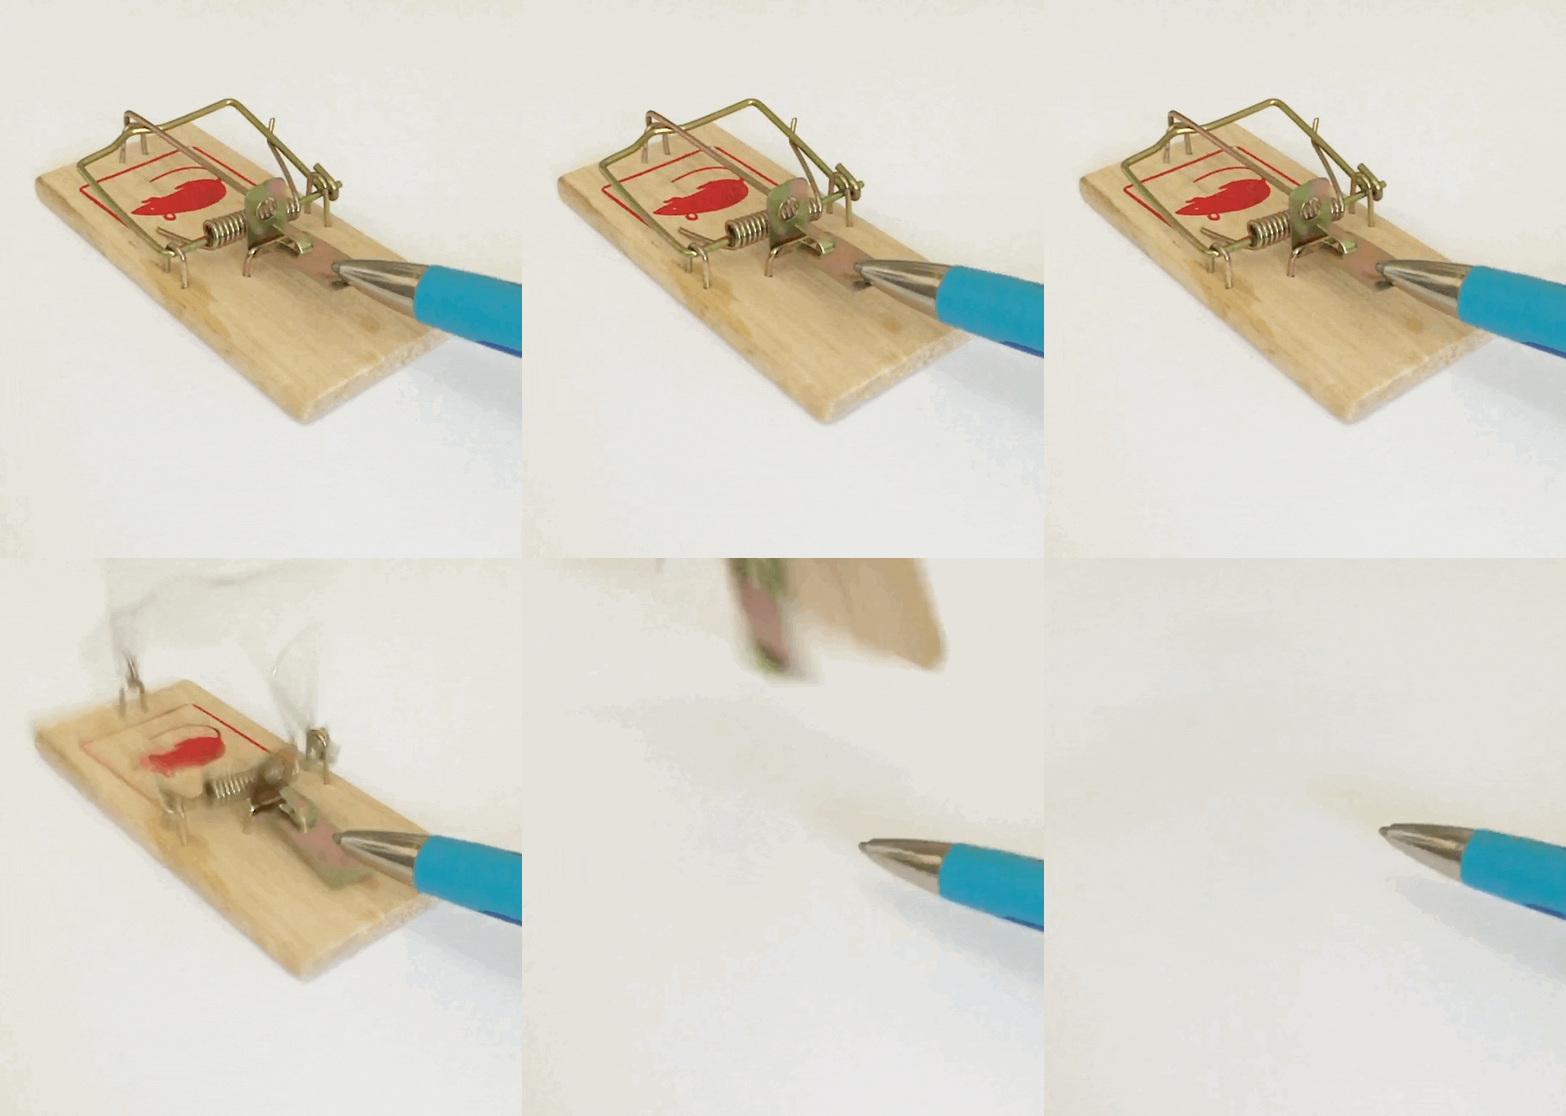
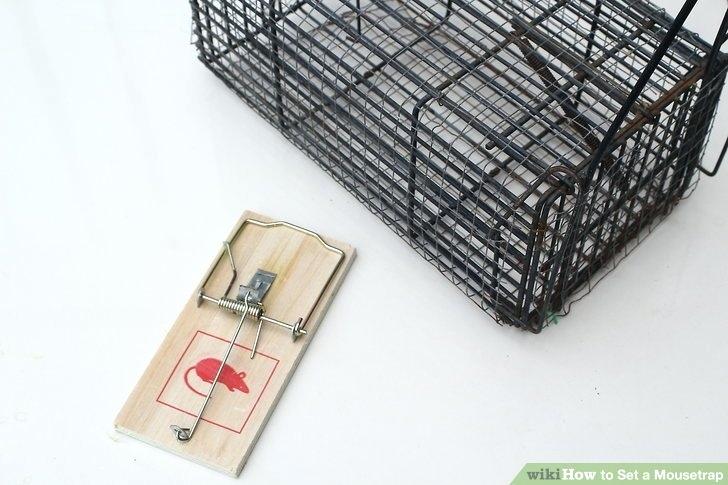
Mousetraps come in all shapes, types, and sizes. The more traditional varieties are a snap or spring traps. Most are affordable and trap mice easily as long as the setup is correct. Setting a mouse trap is essential to ensure you get the most effective means of tapping and getting rid of mice.
With a snap or spring traps, the greatest fear is getting your fingers caught in the trap. We would like to advise caution before setting them up and only to choose the best mouse traps reviewed by the professionals. Here are some ways to set a mousetrap:
Wooden spring traps
If you opt for a reusable trap like a spring variety, you need to know how to set it up and clear it properly.

Contents
1. Know your trap
The wooden spring trap has a few parts. Namely the base, bait pedal, spring coil, and armbar. On the face of the trap is a small clip that keeps the trap arm close to the wooden base. Take out the clip using pliers or screwdriver. Next, lift the armbar and let it rest over the rear of the trap. Place the bait onto the metal plate and place the armbar firmly down to the wooden frame. Rest your thumb onto the edge of the armbar. Keep your finger out of the way of the metal clip.
Hold the armbar and place it beneath the groove in the bait lever. Slightly raise your thumb off the bar. As the arm bar sits in the metal groove, remove your hand quickly. Keep your fingers clear of the killer bar in the event any movement triggers the latch. Next, allow the snap wire to press toward the lock bar on the trigger. The bait area goes up, securing the mousetrap into place.
Wear gloves when setting traps: It’s a good idea to use a glove when setting traps. Mice are smart creatures and can pick up your scent easily and may bypass traps.
2. Set the bait
Place the bait onto the center of the metal plate and set the armbar firmly onto the wooden frame. Ensure the bait sticks to the plate. Mice can get wise to baiting methods and nibble on the food without getting caught.
Use a high-protein food like bacon, nuts, chocolate or peanut butter. You can also place the bait onto a piece of cotton ball, string, dental floss or yarn. Wrap the floss or line across the trap close to the trigger.
The string will help lodge the bait more firmly in place and prevent mice from dislodging it. The mice can also get the floss caught in their teeth, which would trigger the killer bar.

Source: Johnson Pest Control
3. Place the trap
The position is everything. When the trap is ready, set it close to the areas where you notice mice. Since mice like to scurry along walls, behind furniture and appliances, these are good areas to target.
Set each trap with the trigger end closest to the wall. Areas to target include dark corners, attics, and basements, garden sheds, behind appliances and to the back of cabinets or cupboards.
For tool sheds, place the traps inside and outside:
Inside: Place traps close to the edges of the shed close to the juncture between the groundsill and the foundation.
Outside: Ensure you’re holding the trap at the end where the lock bar connects to the wooden block. The trigger end of the trap should rest closest to the wall.
4. Set multiple traps
It’s best to put more than one trap in any given area to make trapping more effective. Set pairs of traps perpendicular to each other, and a few feet away along the wall. Position the trigger ends so that they can trap mice from both angles.
Mix and match your traps. Alternate the types of traps you have in each area. For example, pair a glue trap and a spring trap near each other. Chances are, if a mouse escapes a snap trap, it may likely skip right onto a glue trap.
5. Set the traps at the right times
Knowledge is power, and timing is everything. Some studies show that mice ill likely become trapped within the first hours of setting the trap.
Set traps in the latter part of the afternoon or evening. Depending on mouse activity, start with at least a dozen traps the first night.
Bait mice at set intervals before setting the traps. Tempt the mice by placing some bait onto a trap that is not set up. It will encourage mice to frequent the area a few times before you eventually set it.

Source: snegmagazin.club
Quality vs. Quantity
The portion of bait you set is critical. Bait must not be too big. Larger pieces may encourage mice to nibble away without being caught.
Bait similar to the size of a pea is ideal. It’s also a good idea to mix and match food bait in various areas. If you set a trap near a rice bin, for example, you can place some peanut butter next to the rice.
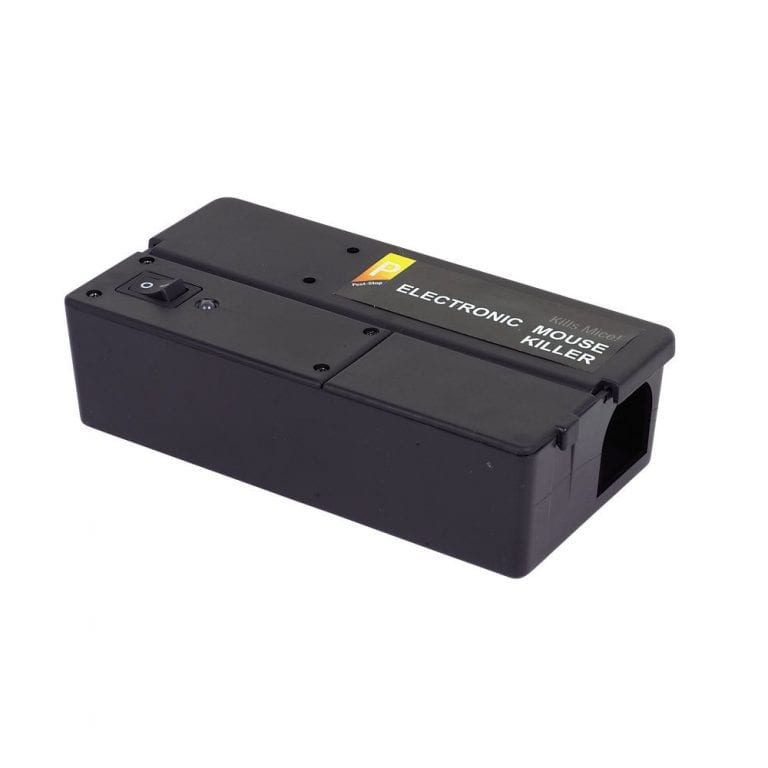
Electric traps
Electric traps kill mice by emitting volts of electric shock on contact. Set the bait to the back of the trap to entice the mice fully into the trap. As they step onto the plate, it triggers the shock.
Glue Traps
Open the package and set the glue trap in the select area with the sticky surface facing upward. Glue traps can work with or without bait. If you opt for bait, place it directly onto the glue base or next to the trap.

Source: Rat Bait
Catch and release traps
Place catch and release traps along the baseboards of the wall or in dark, confined spaces.
Open the trap and place the bait inside the trap, to the rear of the enclosure. Leave enough open space at the entrance for the mouse to get inside. Set the lever in place by pulling the front of the trap. Next, pull on the hinge to create a small opening.
Line up the entry hole of the trap against the wall. As the mice move along the wall, they will go right in. As they enter, the release mechanism activates and traps them within. Since it’s not an “open” trap, you’ll need to check frequently to discard any mice caught inside.
