Although you must have heard about ombre hair, have you already come across ombre nails as well?
Truth be told, they are already well settled down in the manicure world, slowly starting to take over Instagram feeds and reels worldwide.
Therefore, it’s high time to familiarize yourself, or maybe even apply ombre French nails (click here) on your next manicure session.
Contents
What are ombre French nails?
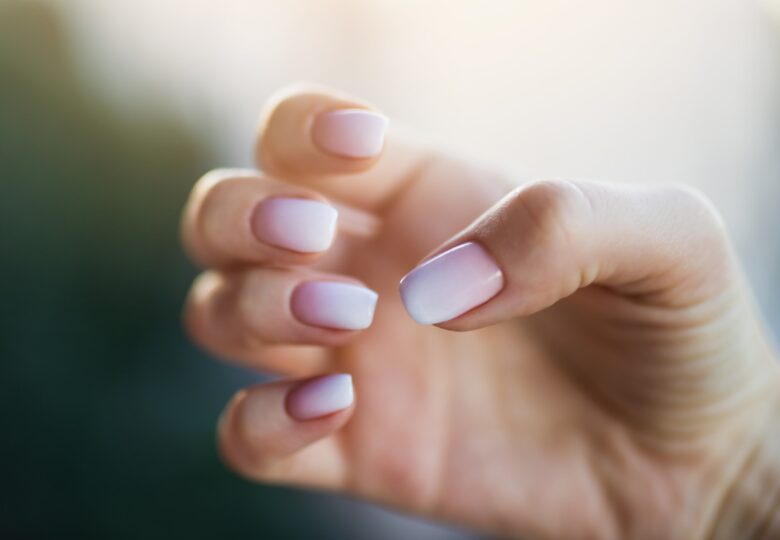
If your initial thoughts on ombre French manicures were bold, gradient colors typical for ombre – no worries.
Quite on the contrary, French ombre nails usually stick to neutral and delicate shades of pink, nude and white.
Nonetheless, instead of having the typical line of demarcation below a bold, white tip, a French ombre manicure has a natural fade element.
As a result, instead of a beautiful, but slightly cliche French manicure, you get an incredible modern twist on a classic.
It is also worth mentioning that this trend is sometimes referred to as baby boomer nails. Although the origin of this name is not entirely known, it is believed that many women during the baby boom years (from 1946 until 1964) painted their nails in shades of white and pink.

Source: canva.com
What type of nail polish for French ombre nails?
French ombre nails can be done with multiple types of nail polish.
Traditional and gel nail polish
If you like traditional solutions, you can simply opt for traditional nail polish. Nonetheless, keep in mind that it won’t have a long-lasting effect and after a week you will have to take care of your manicure again.
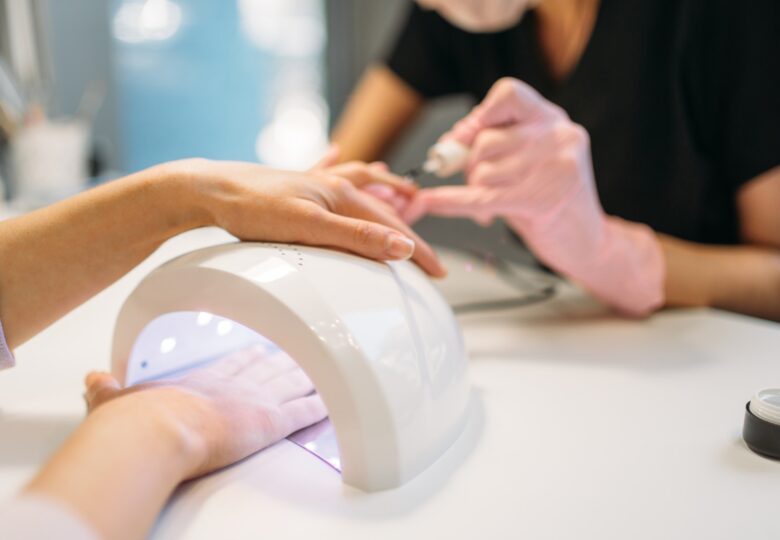
Nevertheless, French ombre nails can also be done using a gel nail polish that will last at least two weeks and will give your manicure a shiny full-color effect.
Dip powders
Another option for doing French ombre nails can be dip nails. Dip powders are getting an increasing amount of attention, but they are still not widely known.
Similar to gel nail polish, they fuse color substance to your nails, but they don’t use UV rays to harden it. Instead, dip powders, after being applied on your nails, provide the color using the pigmented powder.
This technique is especially useful for ombre French manicures, as you can easily layer up different colored powders to blend into each other.

Source: canva.com
How to do ombre French nails?
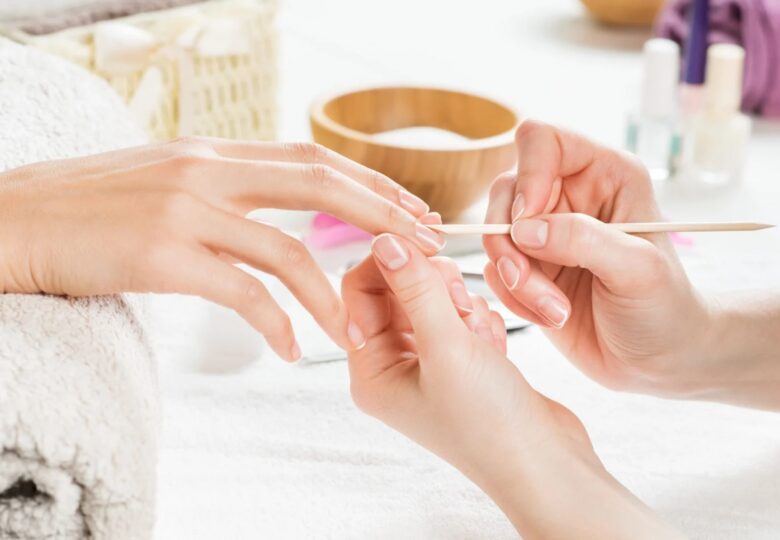
Once you decide on the type of nail polish or dip powder you want to use, you need to find some free time just for yourself and take action.
If you feel confident about your nail skills, you can try to do them yourself at home. Although they might look intimidating at first, ombre manicures are surprisingly easy to do. Moreover, you can find some at-home gel or traditional nail polish kits with all you need for this type of manicure, which should make things easier.
Nonetheless, if you don’t want to challenge yourself, you can simply head to a reliable salon and let the nail technician do the magic for you.
All in all, ombre French nails are beautiful nail designs that are a universal crowd-pleaser. They preserve the timelessness of a classic French manicure, adding a little twist that makes it even more exciting and beautiful.

Source: unsplash.com
The process
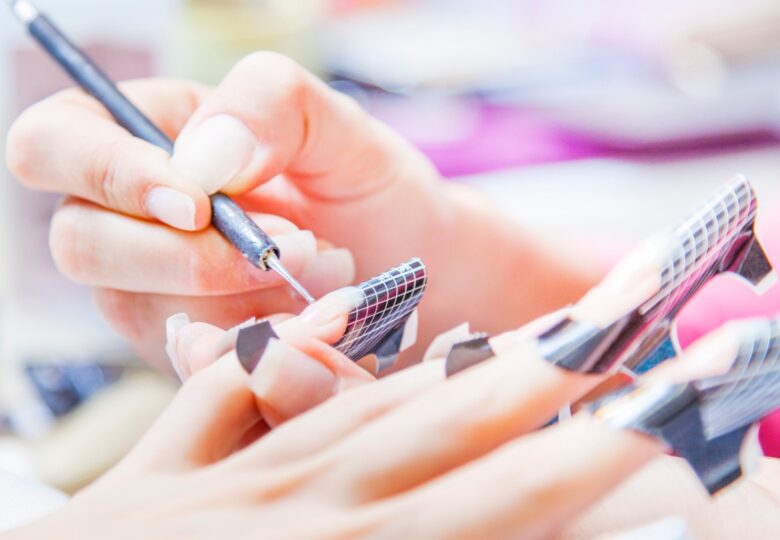
To do ombre French nails, you will need to choose the type of nail polish or dip powder you want to use, select your desired colors, and then follow a few simple steps. To begin, you will need to prep your nails by filing and buffing them and applying a base coat.
For gel or traditional nail polish, you will need to apply your base color and let it dry completely before applying your second color. Using a makeup sponge, dab the second color onto the sponge and then lightly dab it onto the tips of your nails. Keep adding more of the second color to the sponge and lightly blend it downwards towards the base of your nail until you achieve the desired ombre effect. Finish with a topcoat.
For dip powders, you will need to apply the base coat and the first color dip powder as usual. Then, using a small brush, blend the second color powder onto the tips of your nails in a back and forth motion, working quickly before the base color sets. Keep adding more of the second color powder and blending until you achieve the desired ombre effect. Finish by filing and buffing your nails and applying a topcoat.
Overall, ombre French nails are worth it because they offer a fresh and modern twist on the classic French manicure, while still remaining chic and sophisticated. Plus, with a variety of colors and techniques to choose from, you can customize your ombre French nails to match any occasion or outfit.
Last but not least, an important step that should not be forgotten when doing ombre French nails is to protect your skin and cuticles from any excess polish or powder. You can do this by applying a thin layer of petroleum jelly or liquid latex around your nails before you begin the ombre process. This will make it easier to clean up any mistakes or excess polish or powder that may get onto your skin during the process.

Source: canva.com
Maintaining your ombre French nails is essential to keep them looking fresh and beautiful. Here are a few tips to help you maintain your manicure:
- Moisturize your nails and cuticles regularly to keep them healthy and prevent dryness or cracking.
- Avoid using your nails as tools, as this can cause them to break or chip.
- Wear gloves when doing housework or other activities that could damage your nails.
- Apply a fresh topcoat every few days to protect the polish and extend the life of your manicure.
- If you notice any chips or cracks in your polish, touch them up with a small brush and the appropriate polish color as soon as possible.
- Finally, consider getting regular touch-up appointments at your nail salon to keep your ombre French nails looking flawless. Depending on the type of nail polish or dip powder you used, you may need to get a touch-up every two to three weeks.
