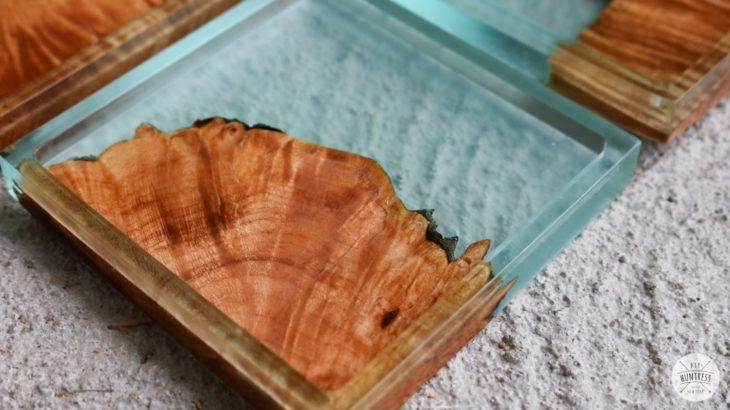
The epoxy resin is a type of reactive prepolymer and a polymer containing adhesive groups. These resins react with themselves in the presence of catalysts, or with many co-reagents, such as amines, phenols, thiols. The properties make it an ideal protective coating material for components in demanding industrial environments. And suitable material for permanent repair of wooden structures and furniture.
For more information about the combination of epoxy resin and wood, you can find more informations here.
Inspiration 1: Craft your Resin Epoxy table

Source: epoxy resin
Risen Epoxy tables are instantly recognized, because of the glossiness, glass-like unique depth coating. The table is durable and attractive, making it a preferred option for home and restaurant projects. The most notable feature of the table is the freeness to craft objects. Adding jewelry in your design results in an ideal table demonstrating the designer’s preferences. You can choose to customize your table with stamps, paintings, jewelry, shells, and even fabrics. The following are easy steps that you can follow to craft your first table:
- Choose a table or place with strong legs. For supporting your Jam-packed heavy epoxy. Ensure that your table is free from dust, dirt, and stains, to avoid trash being trapped.
- Use masking tape at the bottom and edge table to protect the base from falling. Use an old newspaper for collecting drops by placing them under the table. Then use a hot glue gun to attach decorations to the table. It is good to remember that when you glue and seal these items, you cannot easily remove them hence choose the location carefully.
- Using all-purpose glue seal the table to cover its top. And allow it to dry for at least four hours.
- Following the manufacturer’s instruction mix resin. The amount of epoxy will depend on the size of the tabletop and the objects that you intend to embed on it.
- Pour the mixed resin evenly on the tabletop by using the mixing stick. Remove any air bubble that may have developed after applying resin on the tabletop.
- After removing air bubbles, use a scraper to remove excessive resin then protect the table from dust as it dries.
- Allow your resin to cure, and then you can add another coat following the same process to achieve your desired thickness.
Inspiration 2: Resin Epoxy Casting

Source: ringscollection
The ecstasy of epoxy resin casting is that it gives you the motivation to mold your ideas to admirable ornaments. This includes bracelets, earrings, rings, bracelets, and brooches without limiting your choice. You can add images, buttons, flowers, or even feathers on your jewel to make it more unique.
You are not limited to jewels. There are many other items you can craft such as coasters, coffee tray, and many other household decorations. You can do all this with transparent resin. Perhaps your drawers have knobs and handles that are old or not matching; you have an option to renovate it.
The crafts have an outstanding touch and gives your office or home a classic look. This is why epoxy casting has stormed manufacturing.
Inspiration 3: Filling Cracks with Epoxy Wood

Source: diyhuntress
Fillers are the best to repair voids left in your woodwork either through insect or rot damage. There are a few general steps to follow when fixing cracks using this adhesive:
First, remove any paint or old caulk from the damaged wood. Then coat the base of the wood and wait for it to cure. Dam the cracks and the entire wood surface with epoxy putty.
After the dam has cure pour a liquid to fill the unseen insect passages. Finally, allow to cure for at least 24 hours; then you can paint, and install your polished wood back.
