Summer is practically days away, which is one of the reasons why you have started preparing your pool for the upcoming warm season. A summer spent next to a pool can help you bare the high temperatures, as well as help you relax after a long and tiring day at work, but, did the finishes on the surface start peeling and cracking?
If you found yourself in this situation, you’ll need to resurface your entire pool. Now, this is something that you can do by yourself, which is why this article might be helpful. Let’s take a look at the top 4 tips for resurfacing it, as well as some steps that you’ll need to take if you choose to do it alone:
The 5 Tips You Should Remember
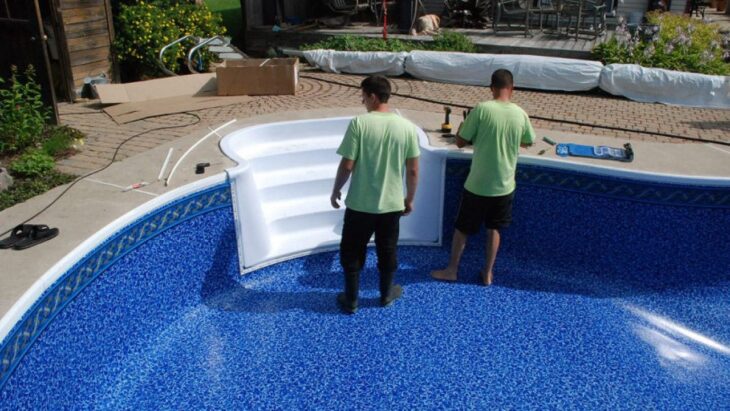
Source: noobpreneur
1. The Water Chemistry Levels Need to Always Be Normal
Bad maintenance, poor water chemistry, and exposure to the sun can all cause the finishes on it to be damaged. This is especially true for the chemicals, which is why you must buy a chemical level testing kit that’ll help you with figuring out the chemistry of the water. Do not forget to keep logs of the readings since it can help you determine what is wrong.
2. Something Needs to be Repaired? Fix it Right Away
You should never, I repeat, never put off the repairs, instead, take care of the issue as soon as you see that something might be wrong. Ignoring the problem will only lead to more expenses, especially if the damages get worse over time. Damaged finishes can even cause leaks – which is something that you do not want to happen.
3. The Patches Won’t Help You For a Long Time
When you see an issue with the surfaces, patching is one of the options that you should never opt for. If one part of it starts deteriorating, over time, other areas will probably follow that example. So, why is patching a bad option? Well, the do not create a strong bond between the new material and the old one. Additionally, if it comes off, you’ll need to resurface it all over again.
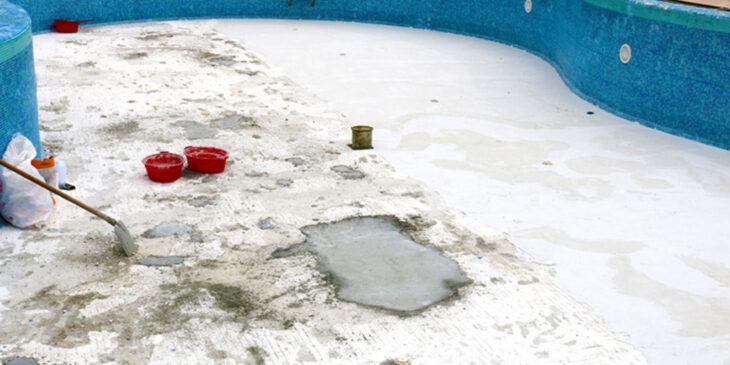
Source: swimmingpool
4. Maintenance And Then Some More Maintenance
If you want to make the entire process of resurfacing easier, you must remember to maintain your pool frequently. Depending on the type, you can do so by using various cleaning products, as well as sponges, nets, and so on. This will also help you during the resurfacing since you won’t need to spend a lot of time cleaning everything once you drain the water.
5. Resurfacing Does Not Take Long And is An Easy Process
A lot of people think that resurfacing will take weeks or sometimes even months, however, this is not entirely true. Whether you choose a professional company such as poolresurfacingchandler.com or you choose to do it by yourself, it will only take you approximately 4 to 5 days to finish everything. Which leads us to the next section of this article:
The 7 Steps You Should Take
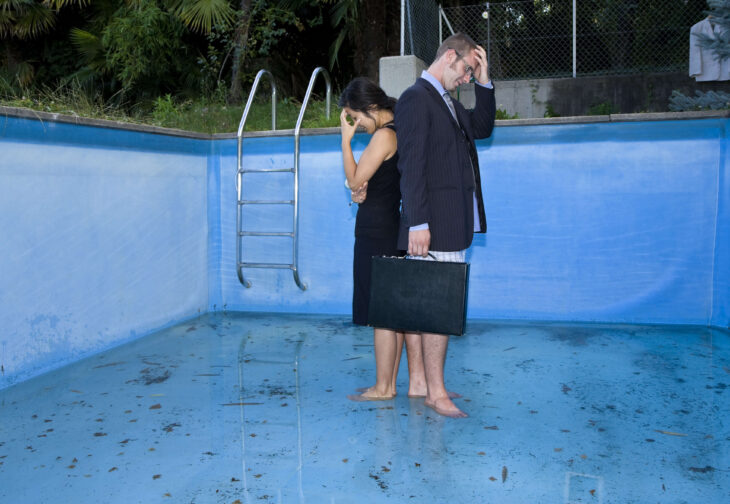
Source: swimmingpool
Step 01: Gather The Materials And Tools
Before doing anything else, you’ll need to gather the materials you’ll need. Hence, head to the hardware store and get a specific epoxy primer & topcoat, patches for underwater use, a power washer, paint brushes & rollers, lots of sandpaper, as well as a mask that will protect your face. Once you gather everything, move on to the next point.
Step 02: Drain The Water From The Hole
This part is, perhaps, the easiest. The best time to resurface the finish is right before summer, ideally, right before you want to fill it up. You should check whether or not your government allows you to drain the water and renting a sump pump will be useful for getting all of the liquid out.
Step 03: Clean it Properly And Thoroughly
Before continuing with the process, you must clean all the debris, dirt, leaves, branches, twigs, and algae from the floor. Once you are done, you might want to pressure wash the remaining mold or algae, but, keep in mind that you can only do this with concrete or plaster surfaces.
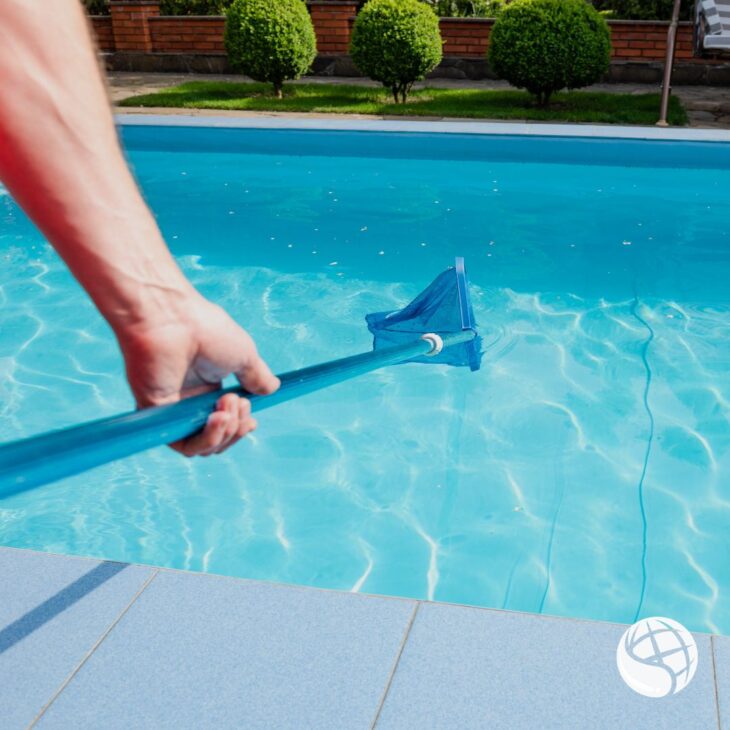
Source: pinterest
Step 4: Prepare All The Surfaces
You must make sure that the surface is in good condition before going to the next step. If there are any holes or cracks, you must fix them with the aforementioned underwater patches. If you come across larger deficits, it might be best if you call a contractor that’ll help you.
Step 05: Apply The Primer to The Surface
Most refinishing products will require you to prime the surfaces first with a special epoxy primer. You can use a roller or brush for covering the surfaces with the primer, and ensure that you cover every single part of it. Depending on the size, you might need to apply the primer for at least 2 hours.
Step 6: Apply The Finish
When the primer sets and dries, you can start painting the pool from the deeper to the shallower part with the topcoat you opted for. If it is in a different color than the previous product, you won’t have any problems with spotting the parts that you might have missed. When you open the container, make sure that you check the instructions.
Step 07: Let Everything Dry And Refill Your Pool
When you are satisfied with the results, you can exit the pool and let everything dry. It should remain unfilled for at least five to ten days, especially since you’ll want to be completely sure that it is dry. When it is dried properly, you can start refilling your pool and enjoying its new and improved look.
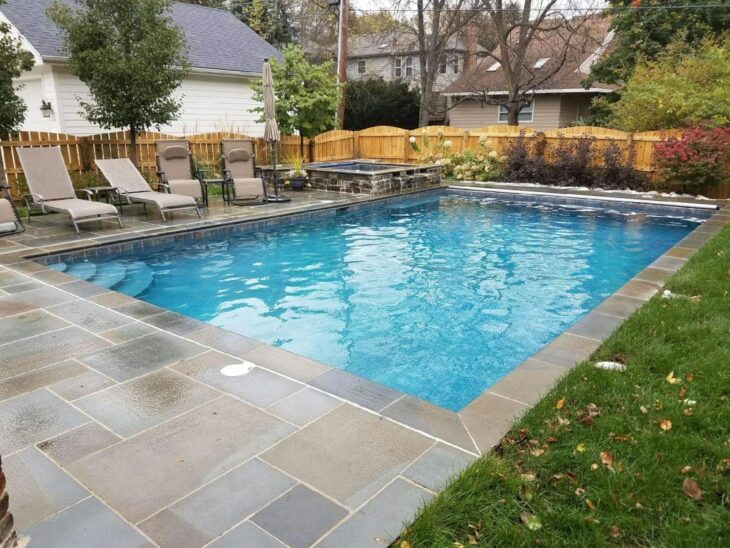
Source: pinterest
Conclusion
As you can see, resurfacing your swimming pool is actually an easy and time-efficient project. Besides providing you with the ultimate experience, resurfacing will also prolong the life of your pool and it will lower your bills, especially if you repair it on time. So, now that you know what you should do, do not lose any more time. Instead, gather your materials and start resurfacing your swimming pool right away!
