It’s likely that your home will be the most expensive thing you’ll buy. This means you’ll need to take care of it. While many people are happy to rely on professionals to help them, they might be able to deal with any issues themselves.
The good news is that many repairs can be done by homeowners or renters even if they have no DIY experience. However, you should always do your research, especially if you’re going to be working with electricity.
Below you will find 7 of the most common DIY projects and repairs that even the least experienced people can do:
Contents
1. Replace or Mend a Damaged Toilet Lever
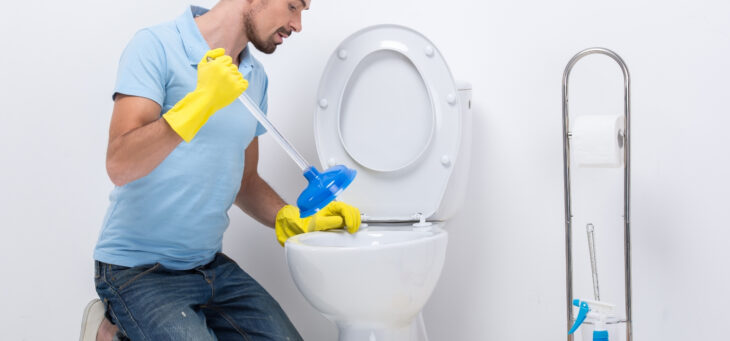
Source: happyhiller
Toilet levers tend to be very easy to mend. When they break you can typically open the tank and attach the chain. However, there may be times when you find the level is corroded. Alternatively, a metal rod, the chain, or a handle can break.
Either you repair it with a glue like Loctite glue for the material or if you want to fix the problem completely, you can buy spare parts. The good news is that the parts are quite cheap.
You will need them: A spare toilet step kit and an adjustable wrench.
2. Repairing a Leaking Bathroom or Kitchen Pipe
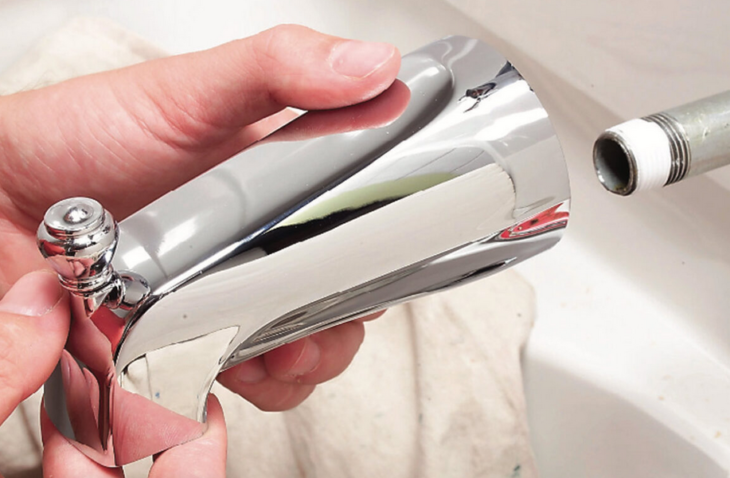
Source: familyhandyman
Pipe leaks usually occur under the bathroom or kitchen sink. They are usually caused by a broken or loose compression nut or a washer that’s worn out. To repair the leak, turn the water off. Place a bucket under the pipe and remove the compression nuts. Rinse the debris from the curved pipe. Once the washer or pipe has been replaced you can switch the water on again.
You will need A washer or P-trap (The curved pipe) and a bucket.
3. Unclogging a Toilet Drain
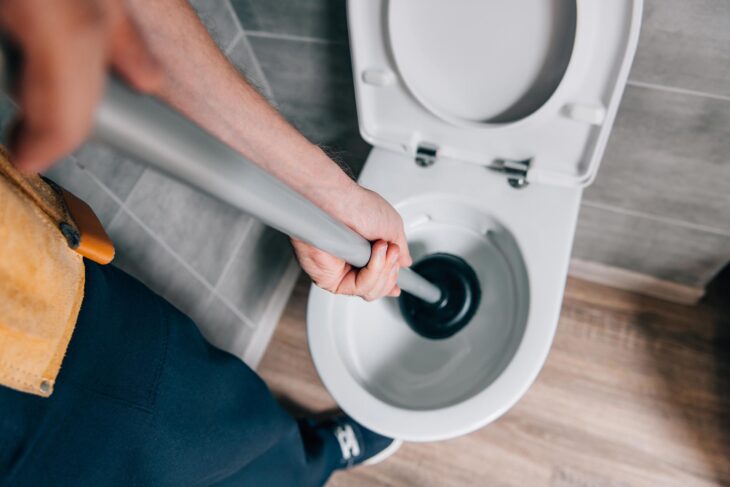
Source: rd
One of the first things you should do is to use a plunger to unclog the toilet. Use one that has been specifically made for this purpose. If the toilet bowl does not contain much water add enough so the plunger’s head is completely submerged. It’s likely that a minor clog will clear after you’ve used the plunger using 10-12 downward thrusts.
If your toilet is still clogged you might have to use an auger. They do cost more than plungers but they can also work well. Place the auger’s end in the toilet and turn the crank. You should have no problem pulling out the clog.
You will need a plunger and a toilet auger.
4. Clearing a Garbage Disposal
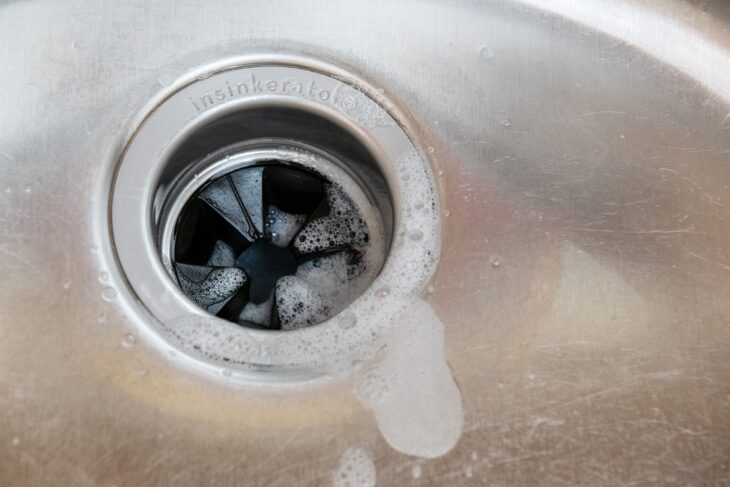
Source: thespruce
Garbage disposals are noisy and contain hidden blades. The good news is they’re relatively easy to clear. Just make sure you cut the power before you do anything to your garbage disposal. As soon as the power is cut you’ll need to adjust the flywheel with an allen wrench. Place the wrench in the hole that’s located in the middle at the bottom of the unit. This can help to unclog the garbage disposal. When the clog is cleared, the power can be reconnected.
You will need An allen wrench, pliers, and a wooden dowel.
5. Patching a Hole In a Drywall
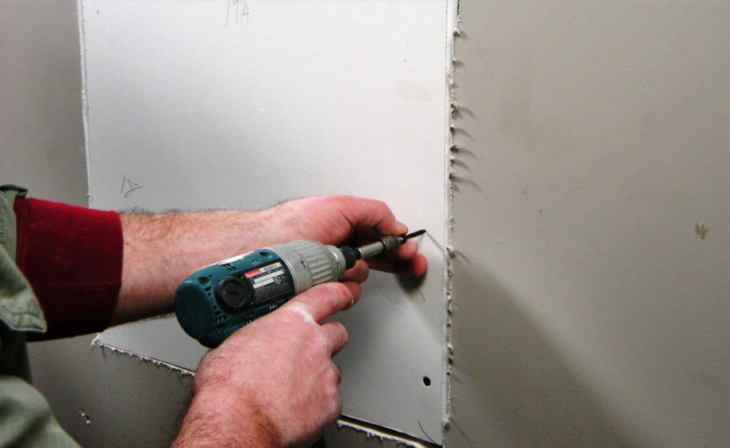
Source: diynetwork
Holes in drywalls are fairly common. The great news is most holes can be repaired very cheaply. Most holes are caused by screws or nails being hammered into the wall. If you have holes such as these simply wipe the area clean. Then use a putty knife and press some spackle into the wall. Allow the spackle to dry. As soon as the spackle is dry, take some fine sandpaper and sand it until it is flat.
If the hole is big, it can be harder to patch up. You might need to cut out a rectangular or square section of the wall that surrounds the hole. Now cut some drywall and keep it in the hole by drilling some screws below and above the hole. Now add a screw into the drywall and place some tape around all of the seams. Take some joint compound and scrape it with a putty knife. Do this until it is flat. Finally, sand the area down and wait for it to dry.
You will need: An electric drill, drywall, drywall tape, spackle, wood screws, and a putty knife.
6. Replacing a Damaged Light Switch
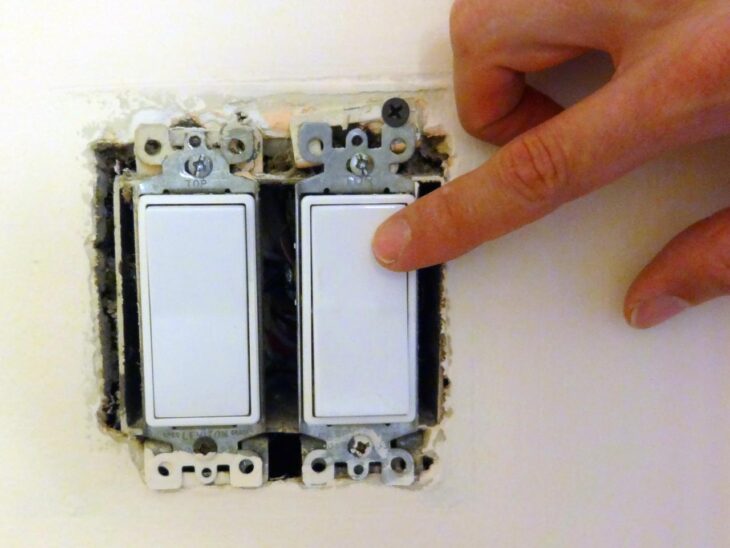
Source: diynetwork
Please note that most electrical work should be carried out by a professional. This is serious there is a serious risk of death. However, when it comes to light switches, they are very easy to replace. Just make sure you turn the circuit breaker off before you start. Double-check that you have done this.
Use a flathead screwdriver and remove the faceplate. Now remove the switch using a Phillips head screwdriver. Test the two wires that you see to make sure there’s no electricity. Now disconnect the wires before attaching them to your new light switch. Once you’ve done this you can attach the new faceplate.
You will need: A replacement light switch, a flathead screwdriver, and a Phillips head screwdriver.
7. Loosening a Stuck Window
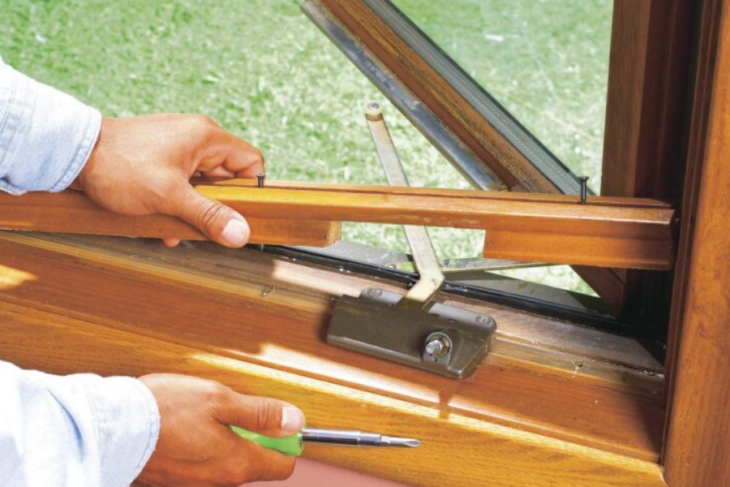
Source: familyhandyman
Windows can easily become jammed. While it’s not difficult to loosen the window it can take some effort. You will need some WD-40 as well as a putty knife so you can wriggle the window’s edges open. As soon as you have opened the window, be sure to give it a thorough clean so it doesn’t get stuck again.
You will need a WD-40, a rag, a putty knife, and some cleaning supplies.
All of the above DIY projects and repairs can be carried out effectively even if you have no experience. Just make sure you take your time with every project or repair as you’re less likely to make mistakes. If you’re not feeling confident you can always call a professional to help you. However, doing so can be quite expensive and you might wonder if you could have done the job yourself. Do your research, work slowly especially when there’s electricity involved and you could find yourself with a new set of skills.
