Several years back, it was way easier to meet someone who didn’t have an Instagram account, but today it seems like almost everyone spends hours per day scrolling through their feed. Many of us want to stand out on Instagram – whether you’re an individual entrepreneur aiming to improve your business online, a micro-influencer, or just a regular person craving to experiment with your photos. The best way to go about it is with authentic and appealing visuals.
Of course, you can always buy images at Depositphotos – you’ll be amazed at how many artistic, aesthetic, and exciting photos and illustrations you can find on contemporary stock websites. But in 2024, it can be an excellent option to look at some proven DIY photography ideas since many modern phones have unique cameras. With these easy and useful mobile photography tips, you will be able to shoot your perfect phone pictures like a pro and radically improve your skills to help your images stand out.
Contents
- 1. Make sure your lenses are clean (like spotless)
- 2. Always adjust your focus and exposure manually
- 3. Set the gridlines for better composition
- 4. Don’t use flash
- 5. Never zoom in
- 6. Search for unconventional perspectives and angles
- 7. Find some interesting leading lines
- 8. Don’t overlook negative space
- 9. Experiment with some editing tools
1. Make sure your lenses are clean (like spotless)
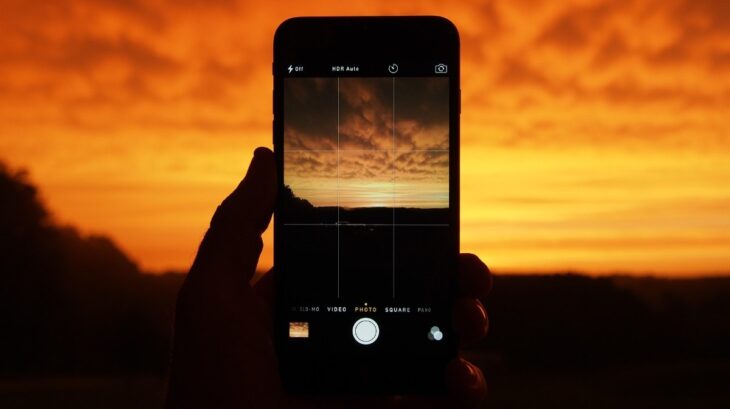
Phones spend a lot of time in dirty places like pockets and bags, and their lenses become dust. Don’t forget about those fingerprints! So it’s pretty obvious that you won’t take a clear shot with dirty lenses of your phone camera, right? Nevertheless, somehow lots of people do forget to regularly clean their lenses, which is the very first step to taking great pictures.
So get in the habit of cleaning your lenses often using a soft piece of cloth. Sometimes you better blow at your lenses before you wipe them to avoid scratching since there might be some dust, sand, or even crumbs on your lenses and between them.
Source: fossbytes
2. Always adjust your focus and exposure manually
Modern smartphones automatically set the focus and exposure when you open your camera app and focus on an object. Often, the algorithms might miss the object or make a picture too light or too bright. To avoid it, set the focus and exposure yourself – it takes just a second.
Tap on the screen to set the focus on your subject to make sure it stands out in your picture. And setting exposure is also a matter of one tap – the icon for exposure on iPhones looks like a small sun icon, and for most Androids, you can adjust your exposure with the scale next to the focus by sliding up or down. Explore all the options of manual exposure according to your phone, as this will give you more control over the outcome.
3. Set the gridlines for better composition
Composition plays a crucial role in the balance of your photos. That’s why it’s good to learn basic composition rules and how to work with them. However, getting new knowledge takes some time, and some hacks are built-in in your phone camera app that can improve the composition of your images without minimal effort.
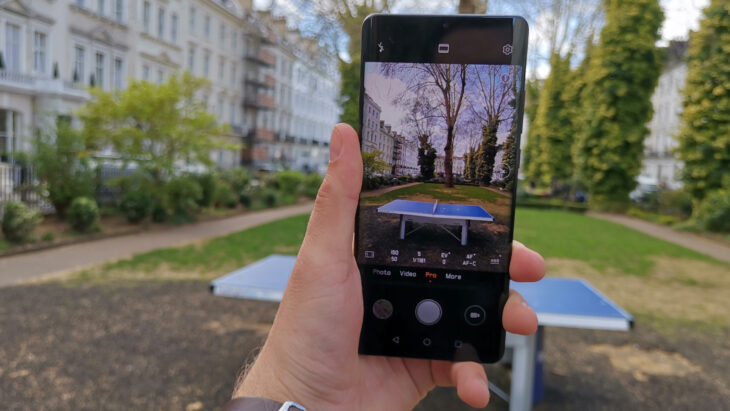
Go to the settings in your camera app and set the gridlines option on – it’s available both on iPhones and Androids. After this, a series of lines will appear on your screen every time you open your camera app. The gridlines are based on the ‘rule of thirds’ and separate your screen into 9 squares. All you need to do for better composition is to place your subject along the intersecting lines.
Source: digitalcameraworld
4. Don’t use flash
You should avoid using your phone’s built-in flash most of the time since it doesn’t bring great results. Understandably, many people want to use a flash when shooting at night. However, it’s especially important not to use flash after dark since it makes night pictures overexposed. Try to find sources of natural light instead – you can find them even at night. When you look carefully, you’ll notice that you can use car lights or well-lit buildings as a source of light.
If you do use your flash, do it during daytime and for stylistic purposes. In bright spaces, some experimenting with the flash can even improve your images by lamps. For example, sometimes, flash can be of real help when shooting still life.
5. Never zoom in
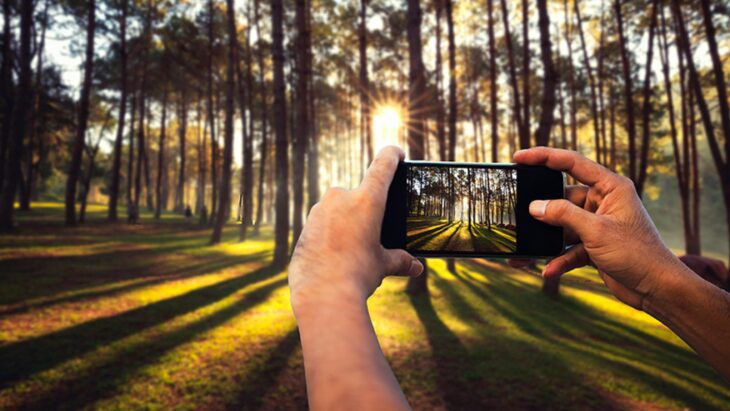
One of the most common mistakes people make when shooting something in the distance on their phones is zooming in. Unlike with DSLRs, most phones don’t have an optical zoom when the lenses are moving. Instead, they have a digital zoom, which means the image is just cropped on the screen. That leads to a significant quality loss and blurred photos. Try not to zoom in unless you want to create some ironic lo-fi vibes with a grainy and pixelated picture.
It’s good to adopt the habit of getting closer to the object you shoot instead of zooming in when you can. This is a typical photography tip for any shoot – get moving and get closer.
Source: pcmag
6. Search for unconventional perspectives and angles
Sometimes you have to take a shot as quickly as possible, which results in snappy images with a skewed perspective and angle. However, when you need good results with your photos, you should try to experiment with perspectives and angles a little bit to find just the perfect shot.
You can try shooting your photos upward or downward, or slightly turn your phone until you see the image you want in the shot. Most people take pictures from their chest standing on their feet, but why don’t you try to kneel or squat, and shoot from a low angle? Perspective is what makes photos look interesting and appealing, so experimenting with different angles is a good way to boost your mobile photography.
7. Find some interesting leading lines
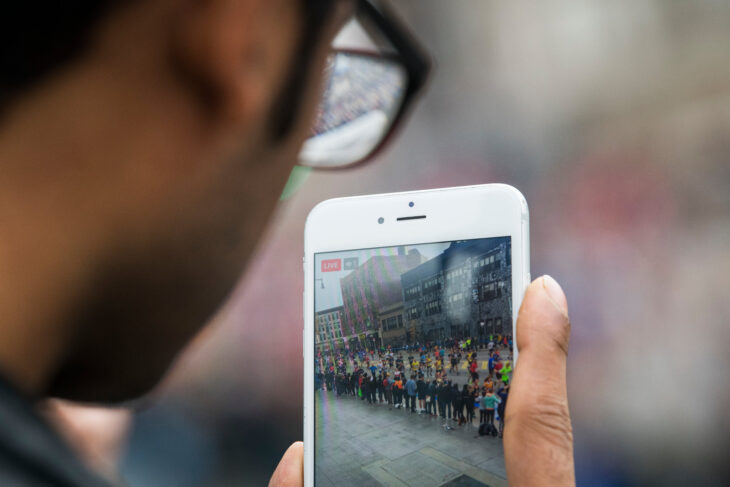
Lines that lead the eye to the subject in the picture are called leading lines. For example, leading lines can be straight like a road or a bridge and make a viewer look from the foreground to the background of your picture. Or they can be spiral, like round staircases or a riverbank.
Searching for amazing leading lines around you can drastically improve your phone pictures since they add real depth to your photos and catch a viewer’s eye, leading them to the focus of your shot.
Source: nytimes
8. Don’t overlook negative space
Negative space is all the space around the object or objects of your picture. Many people shoot an object close and leave very little space around it. However, if you add some negative space to your photo, you will see that the main object or subject in your shot stands out more because of the extra room.
Negative space can be used to make your images more attention-grabbing and artistic. It also creates a slightly dramatic visual effect, which is perfect for Instagram aesthetics.
9. Experiment with some editing tools
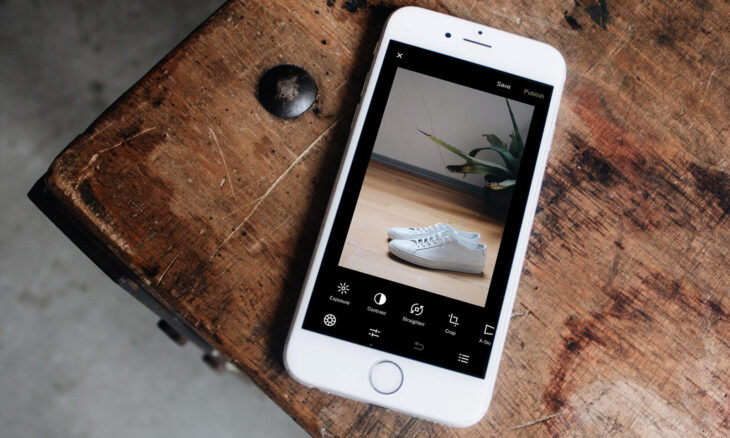
Don’t ignore the power of editing apps and tools. You don’t have to use advanced programs like Photoshop and radically change your image. Hundreds of amazing (and free) mobile apps easily edit your photos – from improving the angle to exposure and quite advanced retouching options. Just some necessary color adjustments can do miracles to your pictures, even when the shots turned out good without editing.
Using editing tools can help you change the atmosphere in your photo and consequently, the mood you want the shot to be associated with. Most of the filters on Instagram and photo editing apps allow for basic and more advanced color correction, which means the very same picture can be quickly altered to change the aesthetics and the look and feel of the final shot.
Source: volusion
Conclusion
Nowadays, everyone is a content creator. The availability of smartphones gave everyone the possibility to create outstanding shots. With these basic tips on taking better shots with your smartphone, you can continue exploring your photography to go from ‘good’ to ‘great’.
It’s often said that all that it takes to succeed is to practice and shoot daily. Opening yourself to regular experimenting with different compositions, perspectives, and editing apps, you will be able to shoot amazing and appealing images and continue exploring the art of mobile photography.
