People like to take photos every single day. The number of the male population that likes to make attractive pictures is huge. Yet, we need to be honest and say that women are those that repeat this activity more often. The stats from Instagram can confirm our statement. Maybe you didn’t know, but around 43% of the women population uses Instagram. The percent of the male population is around 31. So, we can confirm that women like to take pictures more.
Besides that, we need to be honest and say another thing. Publishing a picture on social media is not an easy task. Let’s say that a lady wants to take a picture. It is hard to believe that she will only take one and publish it on social media. Most of us usually take a couple of pictures in a row. After that, the more complex the problem comes. You need to pick the right one and edit it in the best possible way.
Fortunately, different photo editing programs allowed us to do that in a lot easier way. For some of them, you will have to pay to use them. However, there are also some photo editing tools like Fotor that are completely free.
Anyway, we have also noticed that some users edit photos completely wrong. We believe that the original version of a photo was a much better choice than the upgraded one. Because of that, we want to give some photo editing tips and tricks for beginners.
Contents
1. Determine the Right Size of a Picture
Source: fiverr
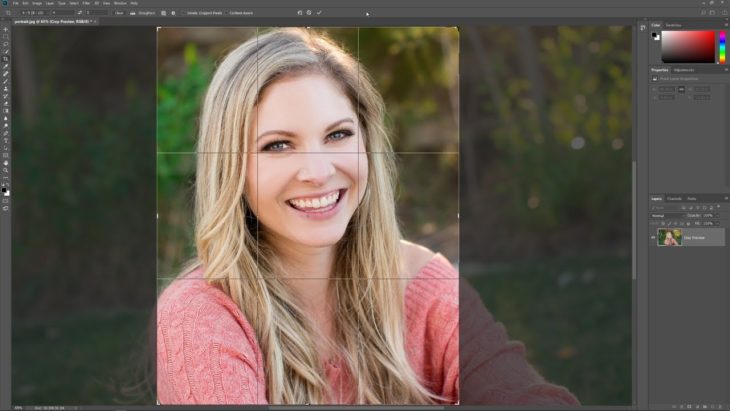
There is a big chance that you will have to crop your picture. Still, we have noticed that people do not do that properly. First of all, the size of the photography depends on the background of the picture.
Let’s imagine that you took a picture in front of some historical buildings. Logically, in this case, you would want to capture yourself and the building as well. Still, that doesn’t mean you should completely focus on the building. Because of that, we suggest you do not stand too close to the building. It should be behind you more than 10 meters (at least). In that way, you will be able to crop it perfectly.
P.S. For a better picture, it would be good that you are somewhere in the middle of the picture. In that way, you won’t cover the building/nature behind you a lot.
2. Adjust the White Balance
Source: pinterest
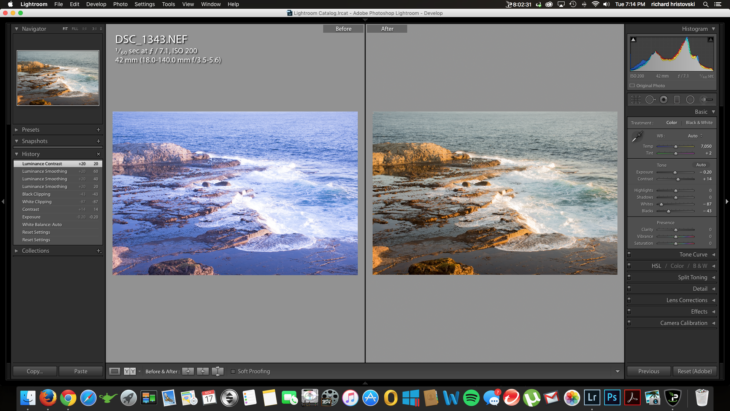
There are two different situations when you might need to adjust the white balance. First of all, if you are taking a picture outside, the color tone might seem unnatural. This especially counts if you take a picture on the opposite side of the sun.
Despite that, this problem can arise if you are taking a picture in the dark. Logically, in that case, you will have to use the flesh. However, we have noticed that many mobile phones do not have high-quality fleshes. Because of that, the color tone can be displeasing as well. Once again, the solution to that problem is the adjustment of the white balance.
3. Adjust Contrasts of the Picture
Source: wikihow
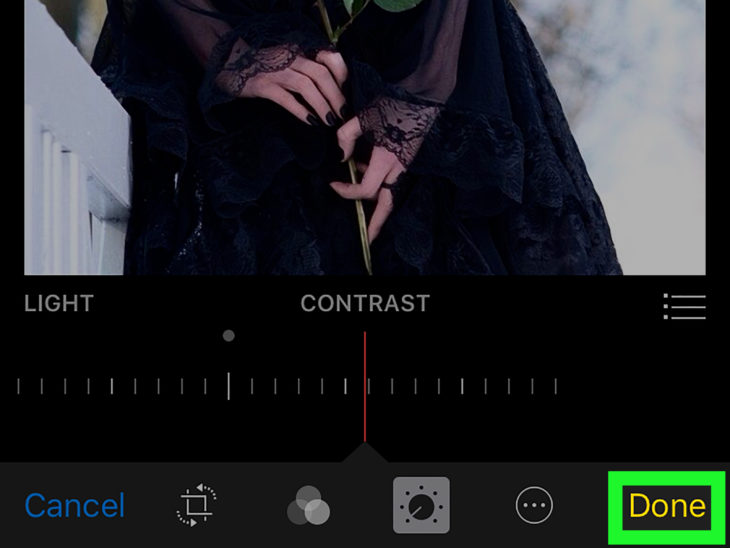
It doesn’t matter how good your camera is. You can even have the best possible professional camera in the world. In most cases, you would want to make the photo exactly dark or bright.
This is once again connected with the flesh or daylight. Sometimes, it seems that the entire picture is too bright. This includes the background and the person on a picture as well. Thanks to this option, you can make the background darker. Besides, if the color tone of a picture is the same, then the picture might be a bit monotonous.
4. Adjust Color Vibrancy and Saturation
Source: softonic
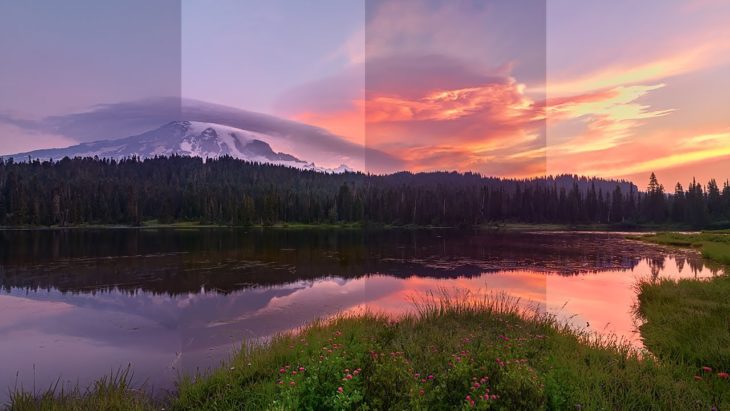
Okay, the white balance is not the only thing that you have to balance. It can happen that you will have to additionally refine colors in your photo. This task you will do with two different options – vibrancy and saturation. So, let’s explain both options.
First of all, when you increase the vibrancy, you are increasing the color intensity in neutral color tones. Despite that, you are also maintaining the color intensity in the brighter colors.
On the other hand, the saturation feature brings you a different option. When you increase the saturation, you will make all the colors through the frame more intense. The bright color pop will give your photo a more dramatic look.
5. Adjust Sharpness
Source: phlearn
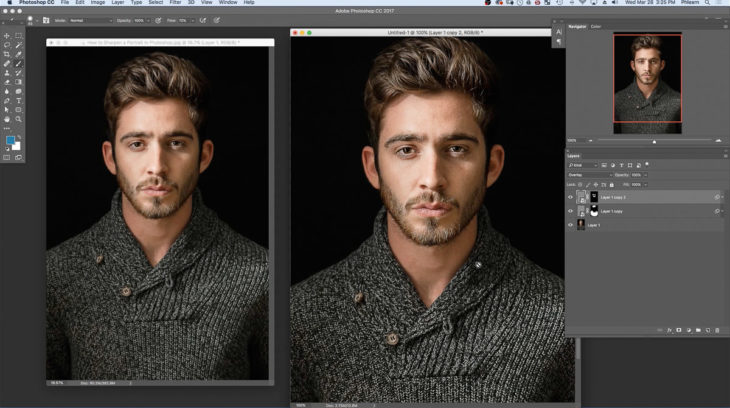
People that are publishing images on Instagram actively usually use this option. Logically, we all tend to have a crisp and clear picture. However, that is not always possible to achieve. This especially counts if you are using an average mobile camera to take a picture. Because of that, the best possible way to make a picture crispier and cleaner is to adjust sharpness.
We do not know if you are going to use the photo editing program that we suggested or some other one. However, most of them will give you the same option. You can adjust the overall amount of sharpness from 0 to 100. Our recommendation is to start at 50%. In that way, you will easily be able to adjust the sharpness to the right level.
We can’t tell you exactly which level of sharpness is the best one. It depends a lot on the quality of the photo itself. However, we encourage you to experiment with things for each picture separately.
Still, there is one thing that we might need to say. It is not the point to overdo it. Parts of the picture will look “stronger”. However, making it too strong will make the picture look unnatural.
Bonus Tip: Repeat the Entire Process

Source: architecturelab
Before we say “goodbye”, there are a couple of things that we have to say. First of all, if you are a social media fan, then we recommend you always edit a picture. Even you completely like it, there is always enough place to change some minor details. We do not want to say that the effect will turn you into a model, but it will make your picture more attractive.
Still, if you want to teach yourself to do this as soon as possible, we recommend you experiment with things. For example, edit the same picture in a couple of different ways. In that way, you will find your style and continue in the same manner later.
